
The Minimalist Solar Package
This setup works well if you:
- Plan to install in a minivan/car/off-road truck/cargo van with limited roof space
- Want a lightweight setup
- Plan to run a laptop, USB charger, and some LED lights (but do not plan to run any large motors/microwaves or large appliances)
- 100 amp hour usable deep cycle battery
- 100-200 watt solar panel
- 20 amp MPPT charge controller (PWM controller if on a tight budget)
- 750 watt inverter
- $130-$260 for Solar Panels
- $125 for Solar Charge Controller
- $280 for Lead Acid Batteries or $950 for Lithium Batteries
- $170 for Inverter
- $140 for Branch Connectors/Cable Entry Gland/Wire/Crimp Connectors/Fuses
- $50-$150 for Tools (Cheap tools are available, but you are better off buying high quality tools)
- Complete System with Lead Acid Batteries: $1,075.00
- Complete System with Lithium Batteries: $1,745.00
(Lithium is still cheaper option because it will last 4-8 times longer than the lead acid system)
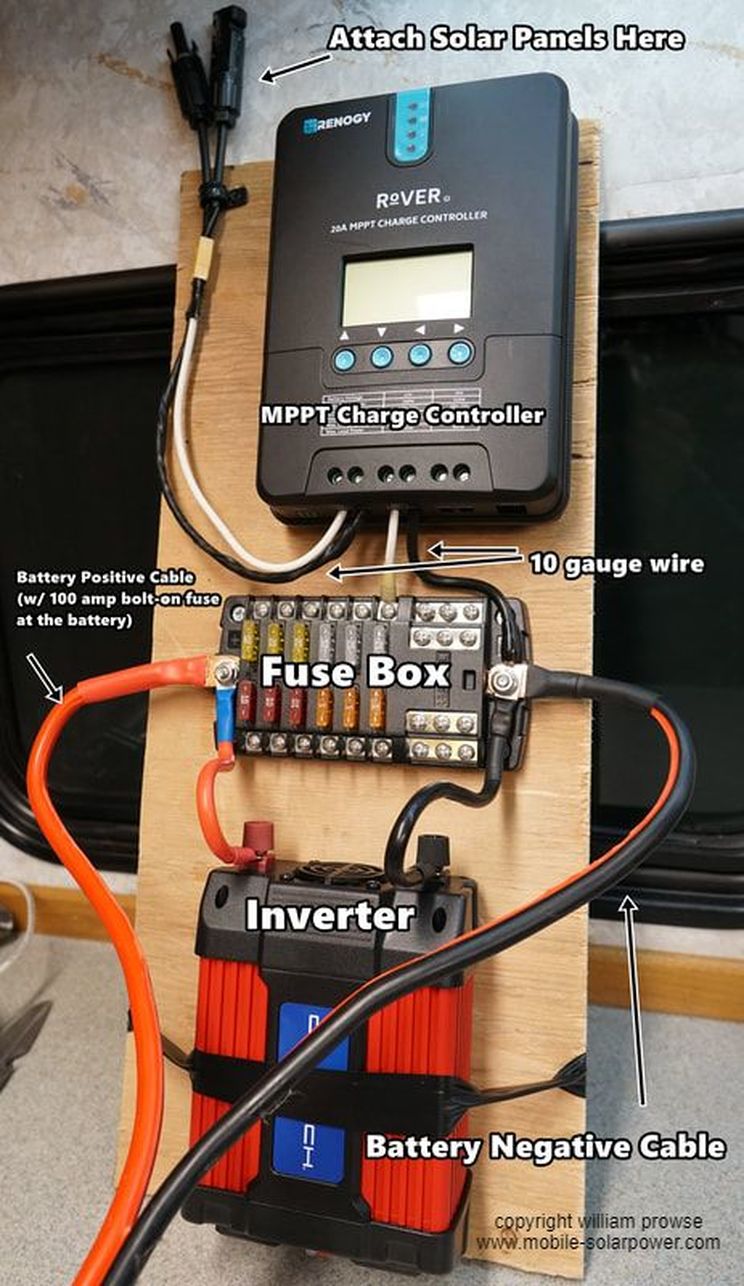
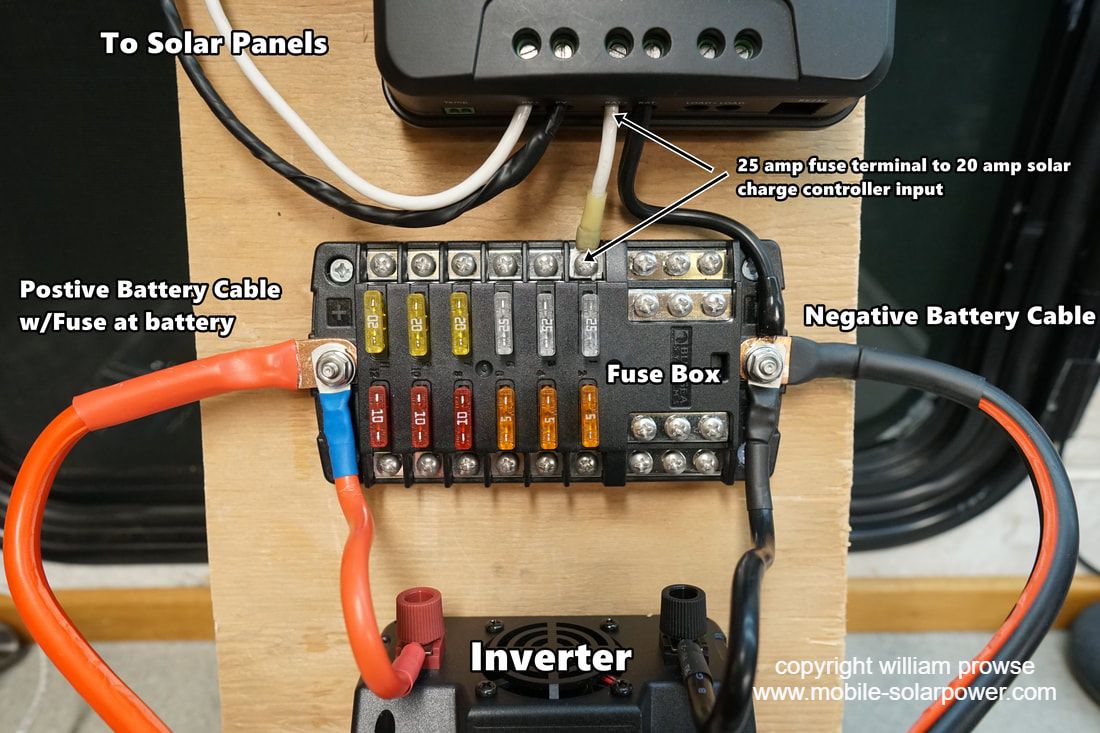
Major Components of this system mounted to a wooden board
What I recommend
(I Make A Commission For Purchases Made Through The Links Below)
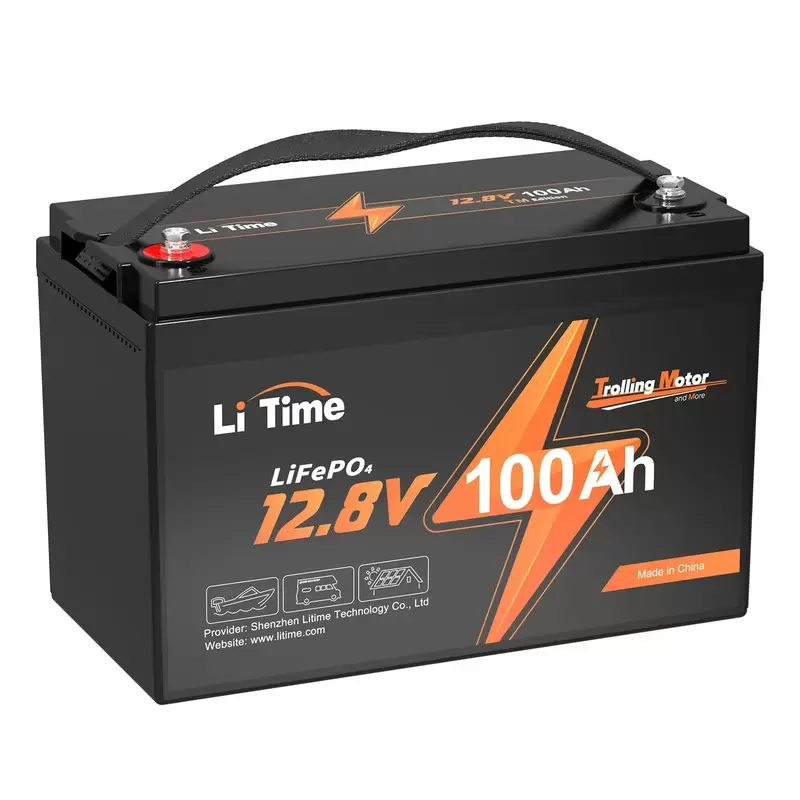
Buy this battery:
|
The Li Time 12V 100Ah Battery. Best bang for the buck lithium battery around!
This battery will last 3,000 to 5,000+ cycles. It is small and light weight. 100Ah Li Time Battery Click Here to Purchase If you need a cheaper battery, click here for more options |
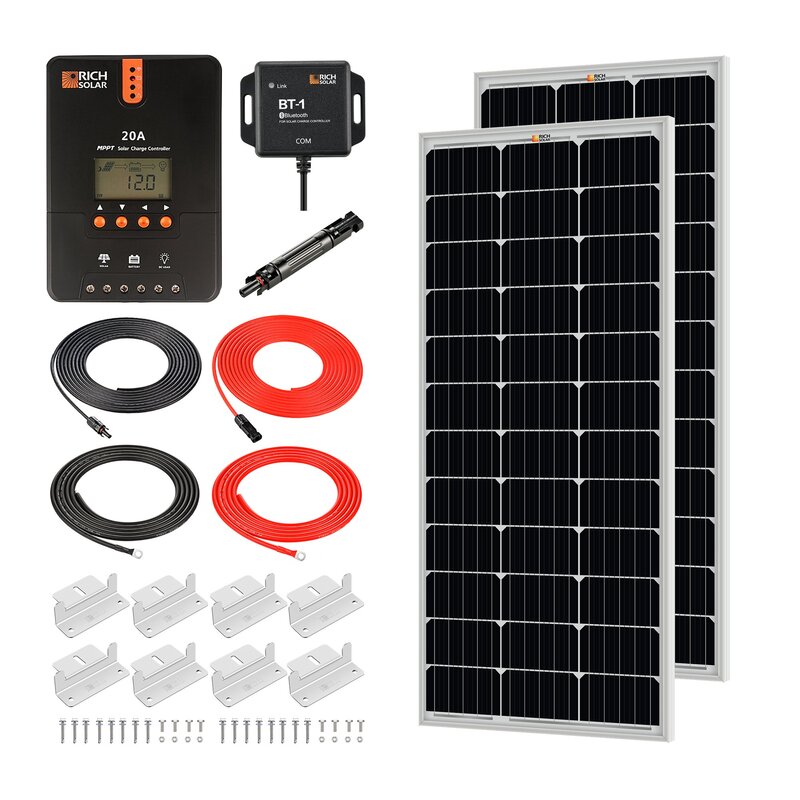
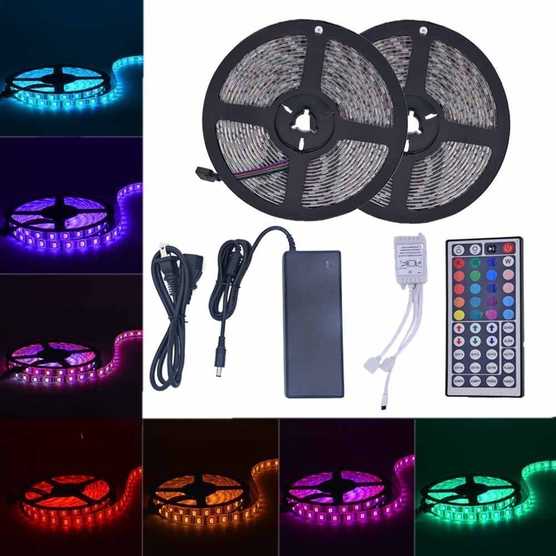
Buy 200 watt solar kit:
|
Doesn't get cheaper or easier than this! This kit is everything you need to charge a 12V battery with solar.
Buy direct from rich solar by clicking here Or from amazon.com by clicking here |
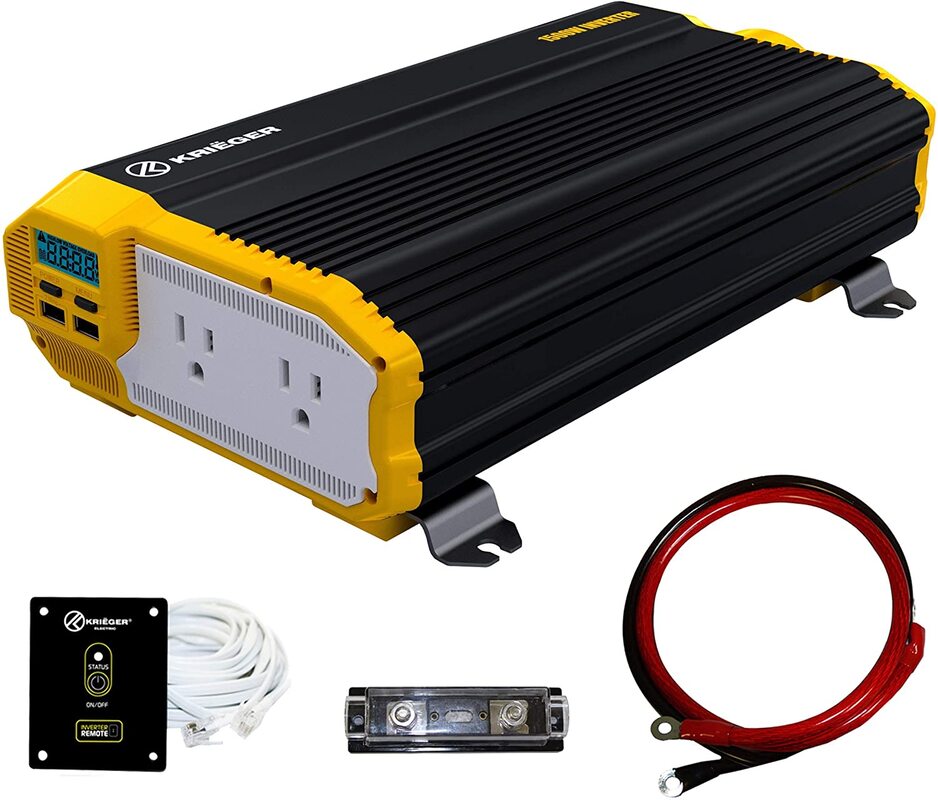
Buy This 1000 watt inverter:
|
Really great inverter! I used this one for a few years without a single issue.
Click here for a cheap price |
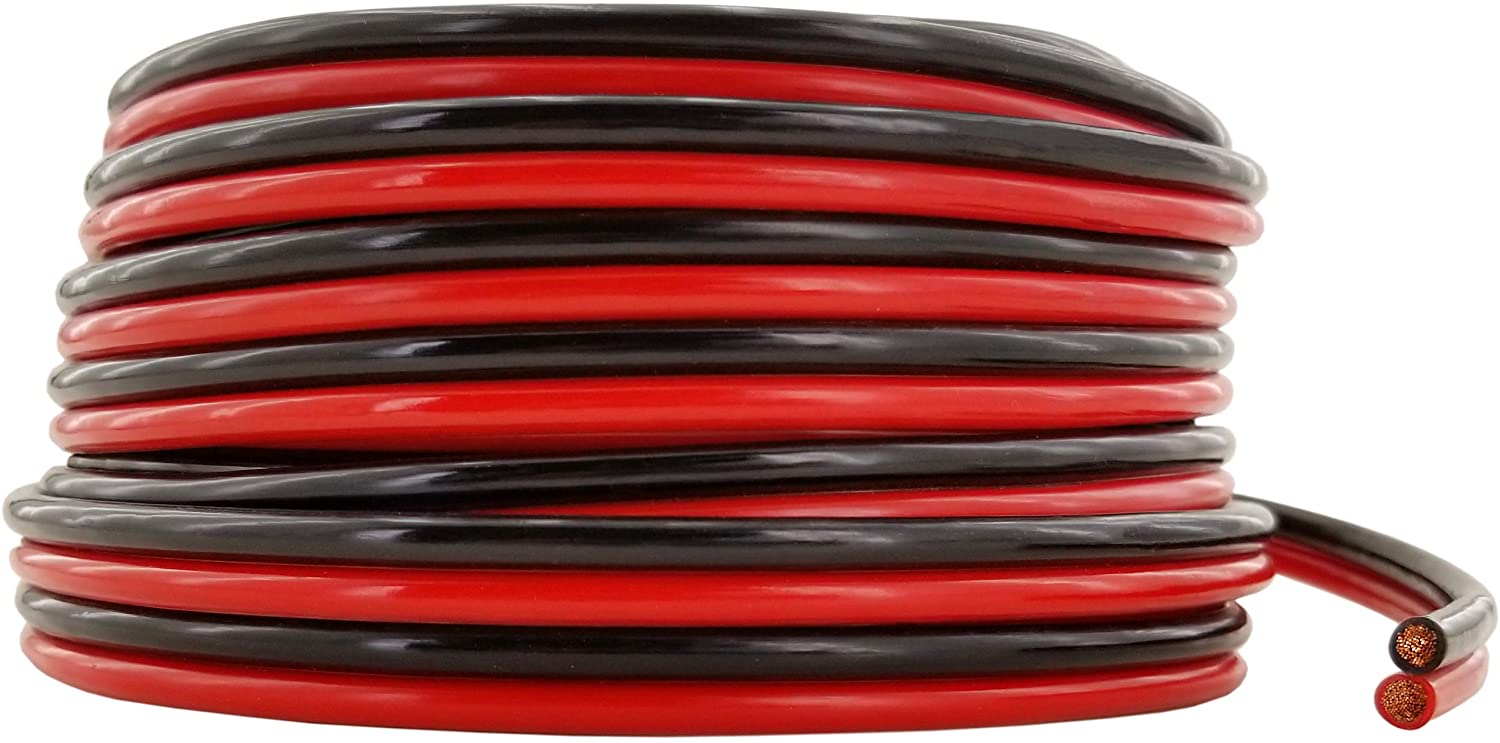
Wiring products:
|
High-Quality Copper Wire for DC appliance hookup
(most wire on amazon is "copper clad aluminum", which is cheaper but lower in quality): 50 feet 10 gauge Blue/Black Click Here |
|
|
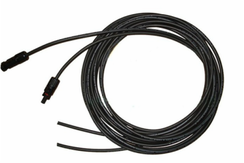
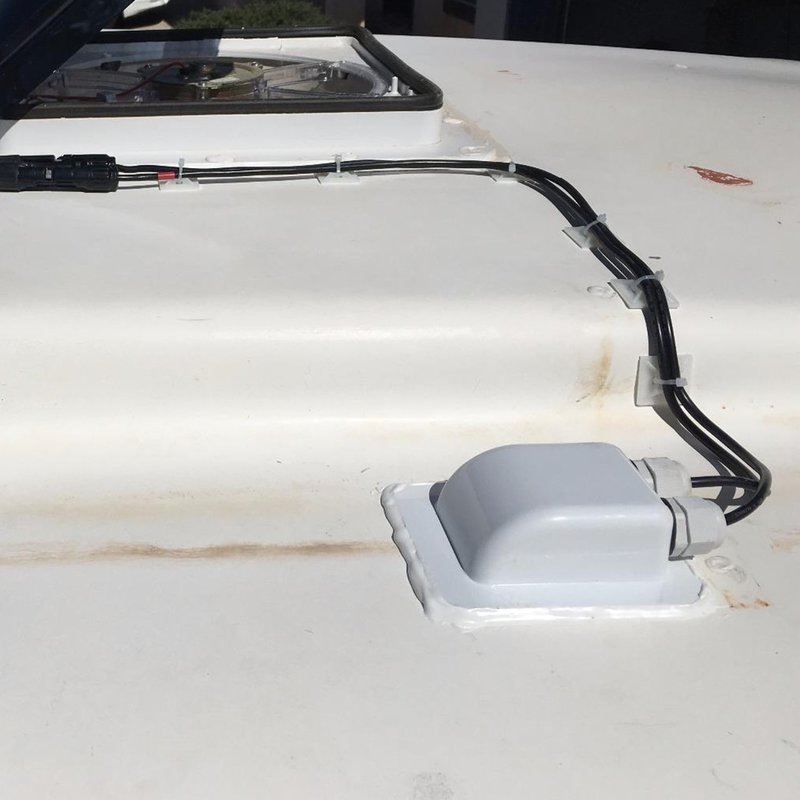
Solar Panel Cable Entry Gland
When your solar panel array wires enter your vehicle, you will need to drill two holes. Use this cover to prevent roof leaks from developing. Click Here |
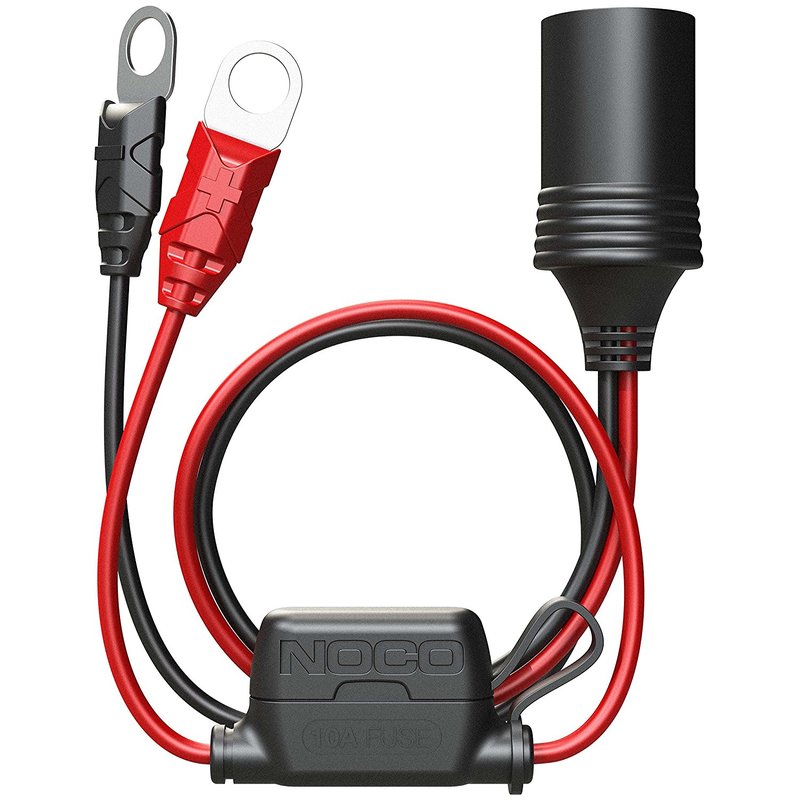
Fuses Required for this system:
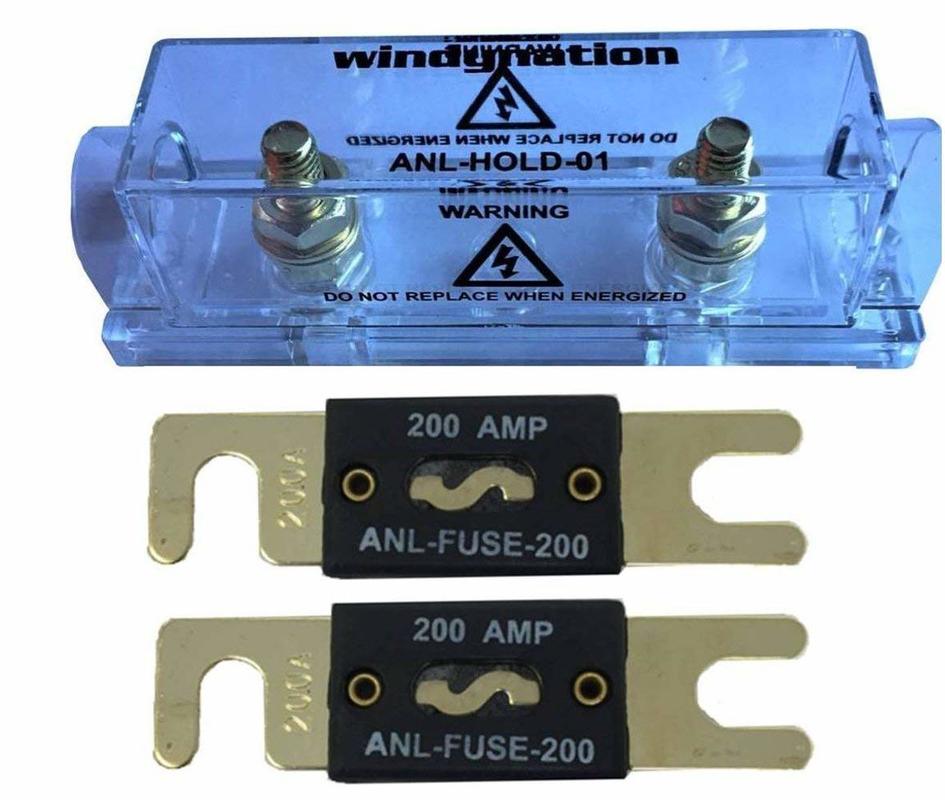
|
|
Solar Panel Mounts:
Every vehicle is different, so check out my book or this page (click here) to figure out how to mount your solar panels
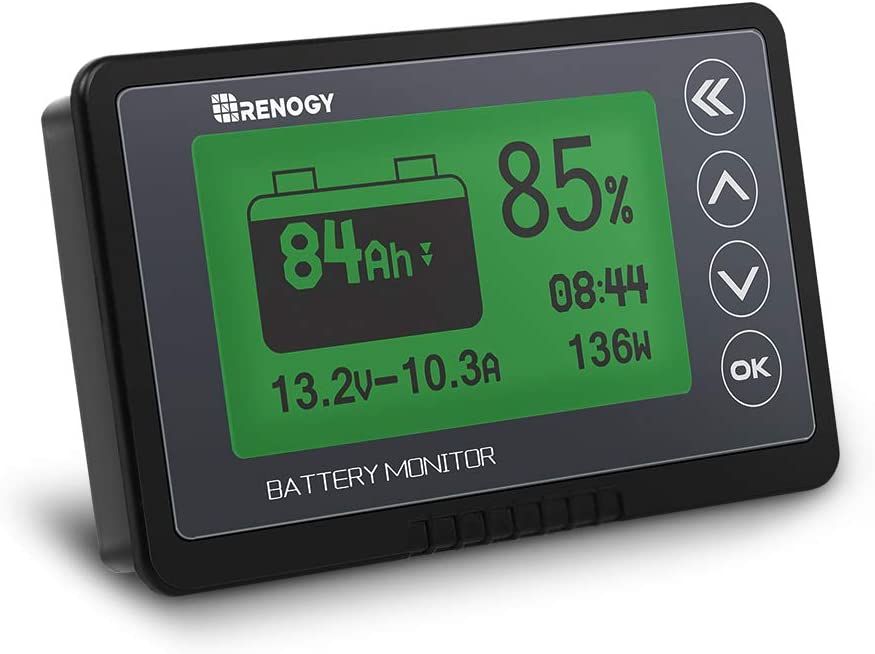
Battery Monitor:
|
This device will tell you how much power you have left before your batteries go to zero. Simply attaches at the main negative lead of your battery bank.
Click Here to purchase If you want a higher quality battery monitor with bluetooth connectivity and data logging, check out the Victron Smart Shunt instead. It does cost more, but it is a fantastic device that I use on all of my systems: Click Here |
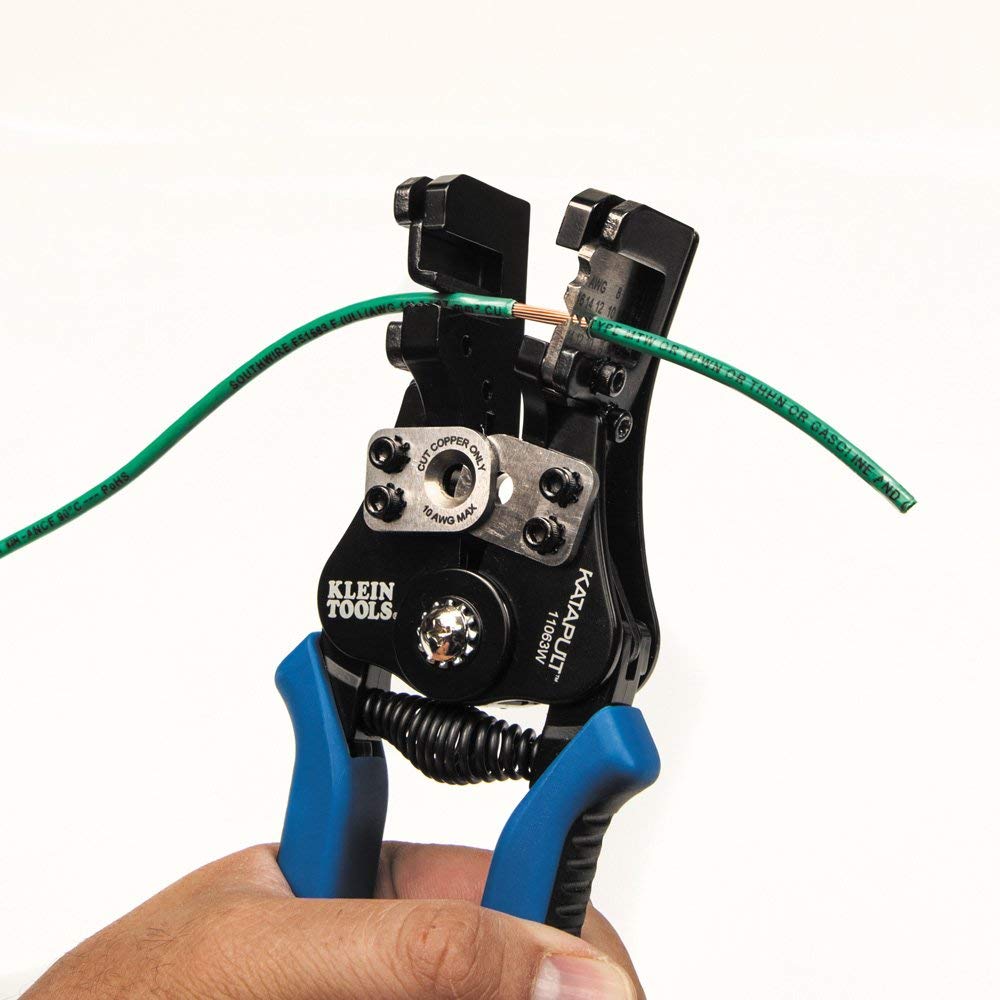
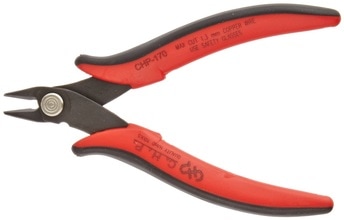
Required Tools:
|
|
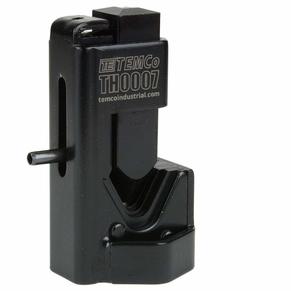
Hammer Type Crimper
Can crimp up to 4/0 gauge wire, and it is much cheaper than other large wire crimpers. If you plan to build only one system, this is the tool for you. Click Here |
|
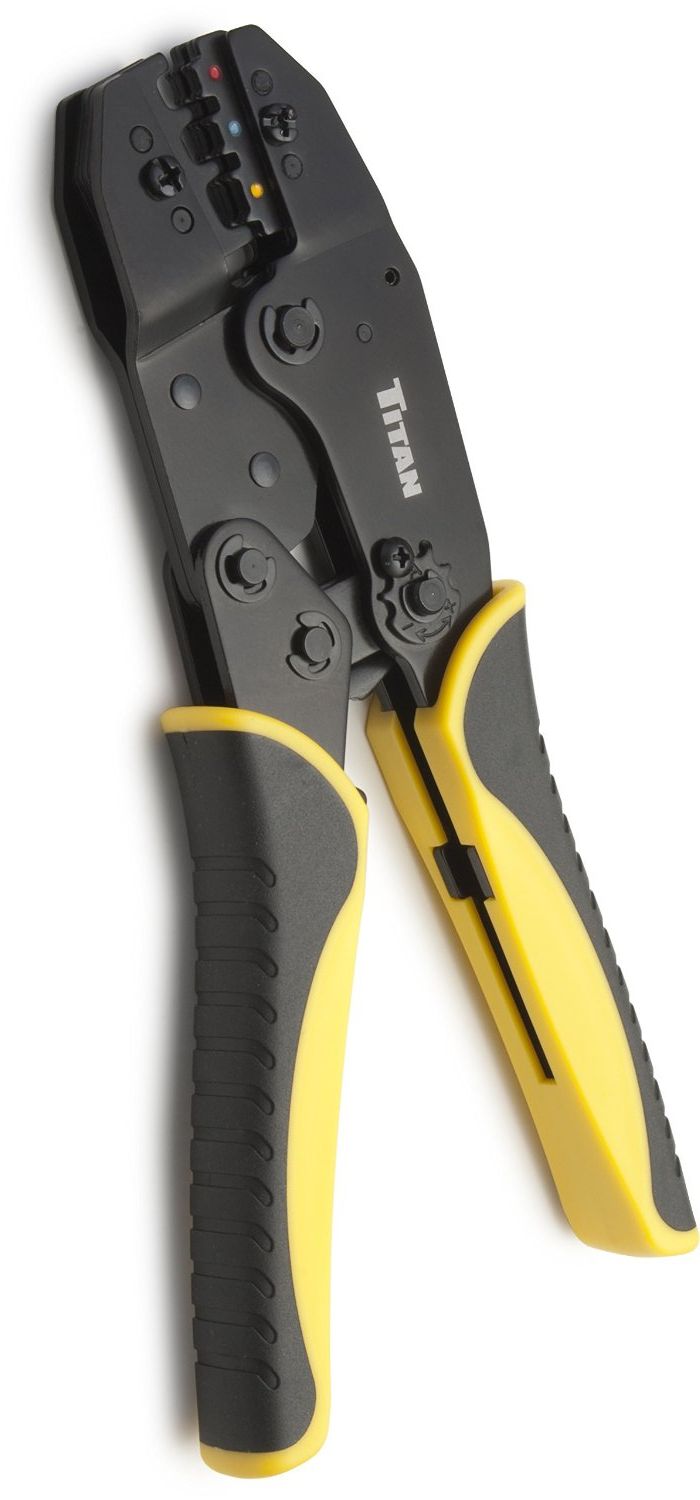
Ratcheting Crimper
Allows you to crimp standard size crimp connectors. Does not work well on waterproof connectors. Click Here |

|
High quality manual force crimper
I use this crimper when I am dealing with a non-standard size connector. The long arms provide a lot of leverage and I can usually crimp anything under 8 gauge. Click Here |
|
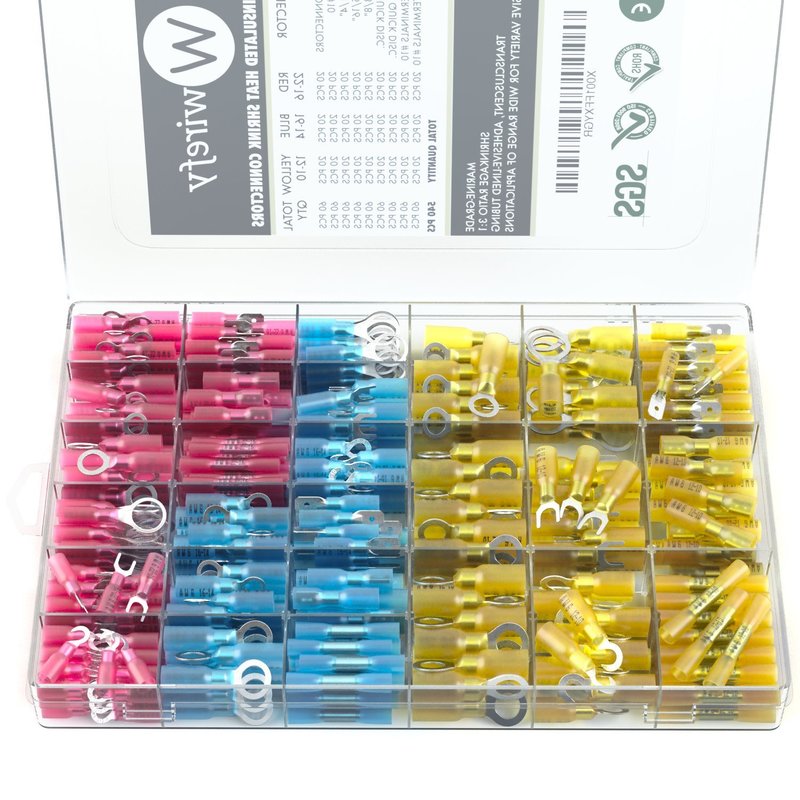
Crimp Connector set
There are cheaper crimp connector sets available, but they are junk! Spend the extra money and buy a high quality set of connectors. The cheap chinese ones will fail and I have had it happen before. This is what I currently use: Click Here |
Accessories:
|
12 volt USB charge strip
Click here |
|
|
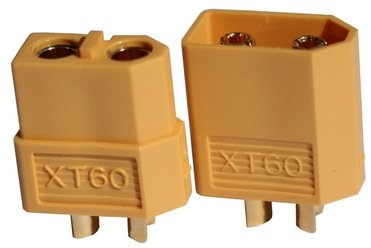
When connecting fans or lights or pretty much anything, use these quick connectors that are rated to 60 amps! I have used them for years for my rc airplanes and helicopters, but they are insanely useful for living in a rv.
Click Here |
|