The Classic 400 Watt Solar Package
Ideal for RV's/ Vans/ Buses
This setup works well if you:
- Spend a lot of time inside your vehicle, moving or stationary
- Plan to use a large van or RV
- Plan to run most appliances, such as a computer, microwave, fridge and more
- 400 watts of solar panels and a 40 amp MPPT charge controller
- 300 amp hour lead acid deep cycle battery bank (or 200 amp hour lithium battery)
- 1100-2000 watt inverter
- $500-$600 for Solar Panels
- $200 for Solar Charge Controller
- $700 for Lead Acid Batteries or $1029 for Lithium Batteries
- $200-$300 for Inverter
- $160 for Branch Connectors/Cable Entry Gland/Wire/Crimp Connectors/Fuses
- $50-$150 for Tools (Cheap tools are available, but you are better off buying high quality tools)
- Complete System with Lead Acid Batteries: $2,010.00
- Complete System with Lithium Batteries: $2,339.00
(Lithium is still cheaper option because it will last 4-8 times longer than the lead acid system)
400 watt Solar System Blueprint
Warning: Please read my book for full installation instructions and safety considerations!!
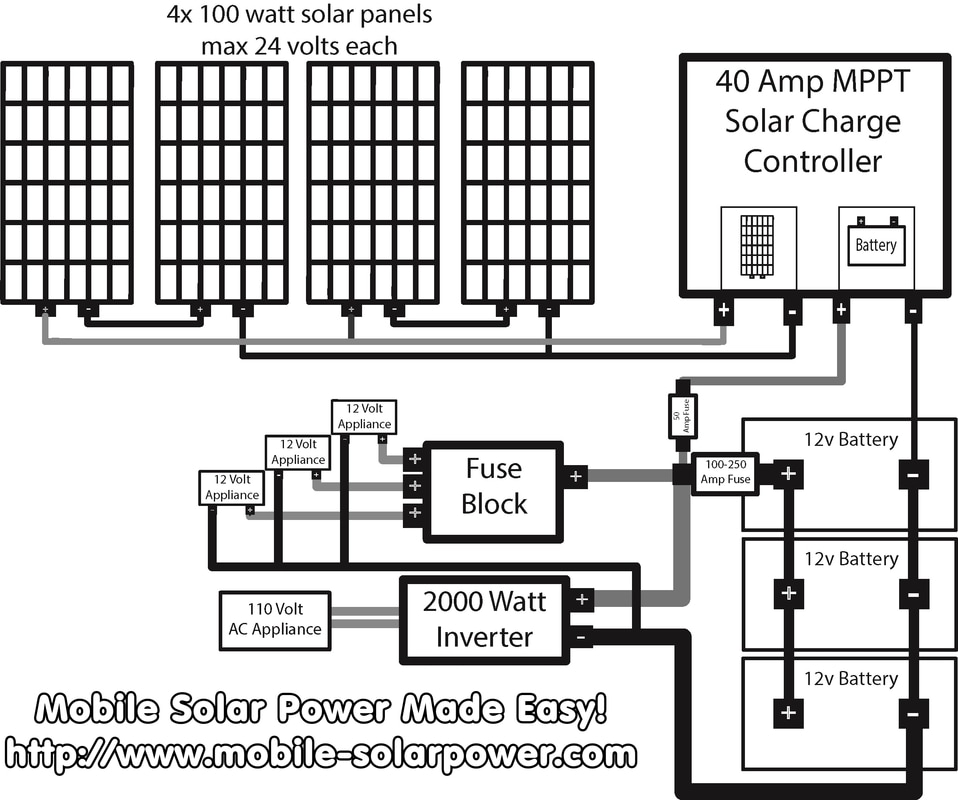
Step 1: Mount components to a wooden board like this:

This picture should give you a rough idea of how to mount and connect your components. Each system is different though, so be sure to use my book to calculate the fuse and wire gauge size for your components. This picture does not cover other remote wires/shunts/temperature compensation wires etc, so please be sure to use my book to understand how this all works!
Step 2: Connect the Battery Bank
If everything is installed correctly, the solar charge controller should now turn on, and you should be able to run the inverter. You may see a small spark when you connect the inverter to a battery, and this is completely normal.

Step 3: Mount Solar Panels to the roof and Connect them to Solar Charge Controller
If you follow the previous steps correctly, the solar charge controller should now be charging your battery! (if there is sunshine present)
For more information on how to do this, please check out my book :)
For more information on how to do this, please check out my book :)
What Components I recommend for this system:
(I make a commission for purchases made through the links below)
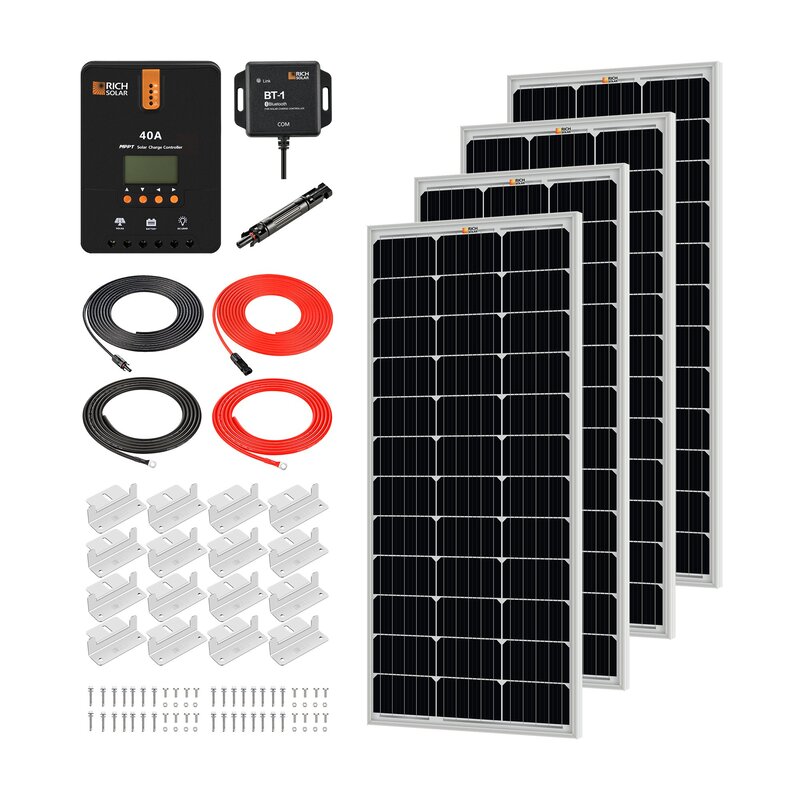
Buy 400 watts of glass solar panels and a 40A MPPT:
|
Doesn't get cheaper or easier than this! This kit is everything you need to charge a 12V battery with solar.
Buy direct from rich solar by clicking here Or for $200 more, you can get the same kit on amazon by clicking here (not recommended, but people prefer amazon) |
Purchase This Battery:

|
Buy 1 or more of these:
The Li Time 12V 240Ah Plus Battery. Best bang for the buck lithium battery around!
230Ah Li Time Battery Click Here to Purchase If you need a cheaper battery, click here for more options |
Choose an inverter:
Modified Sine Wave Inverter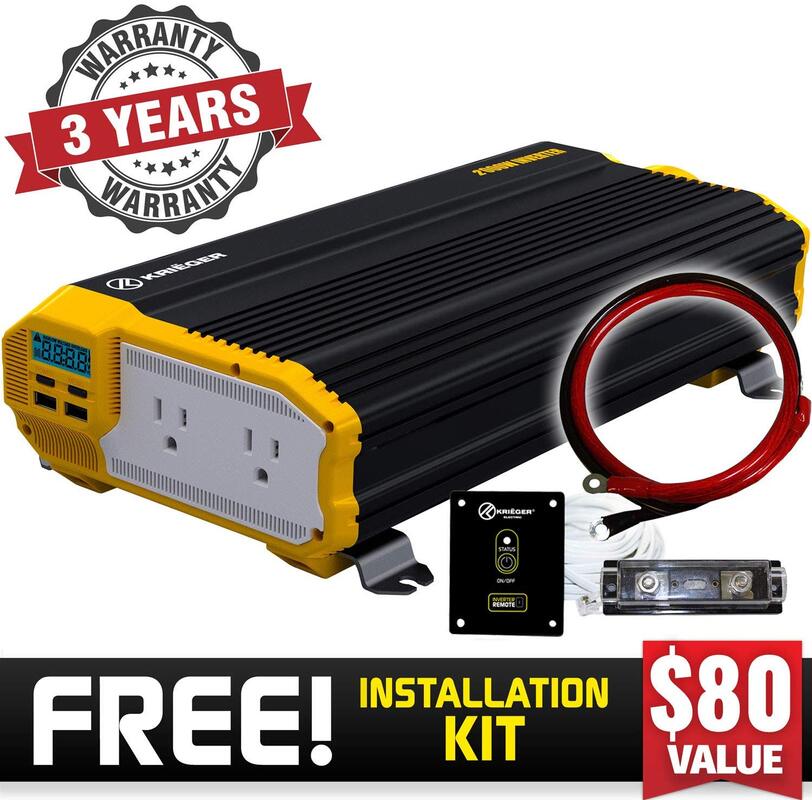
|
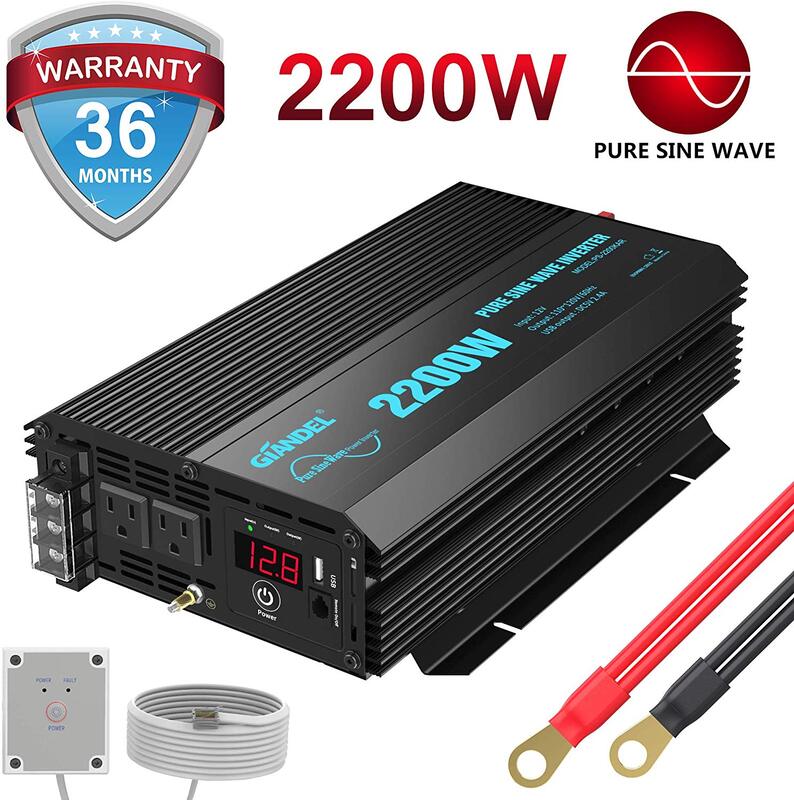
Pure Sine Wave Inverter
|
Wire and Adapters:
|
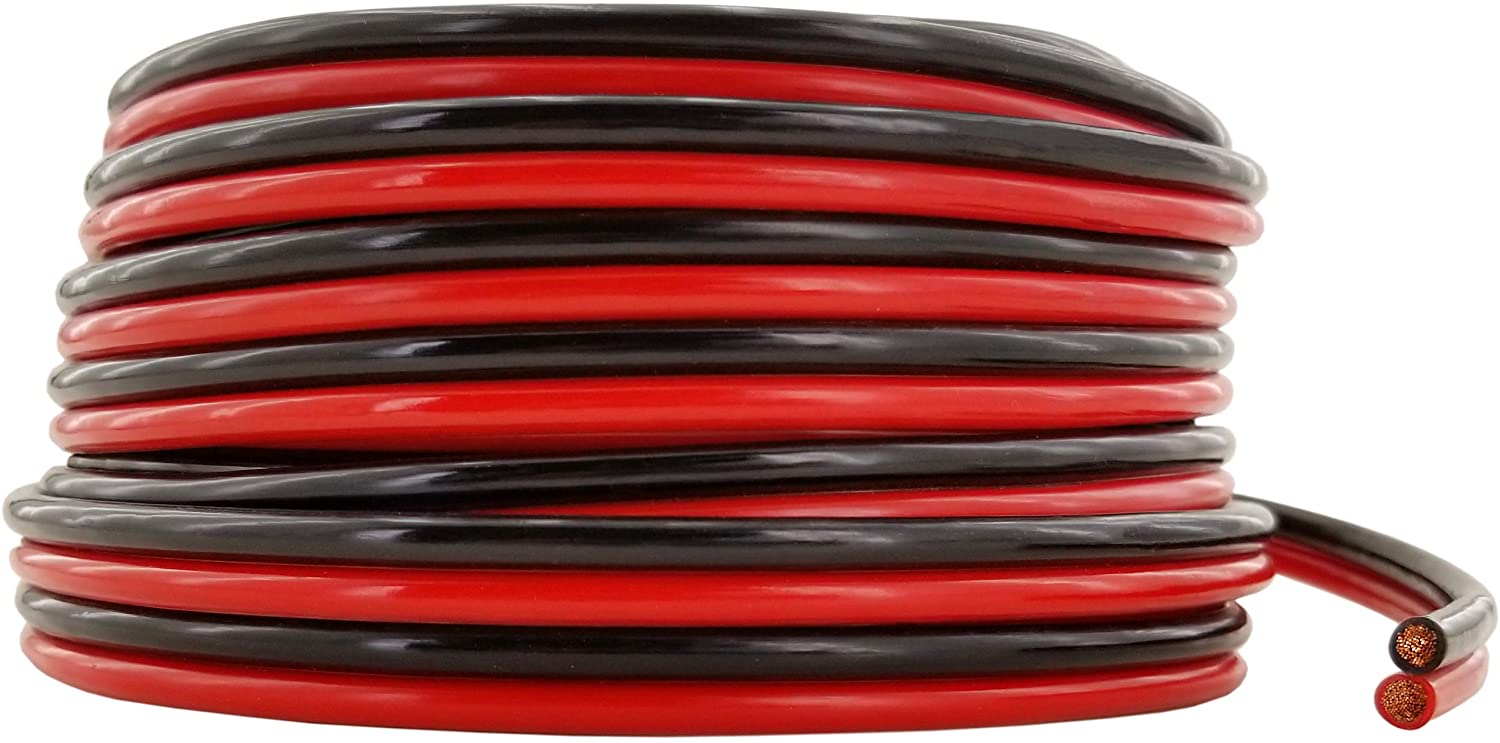
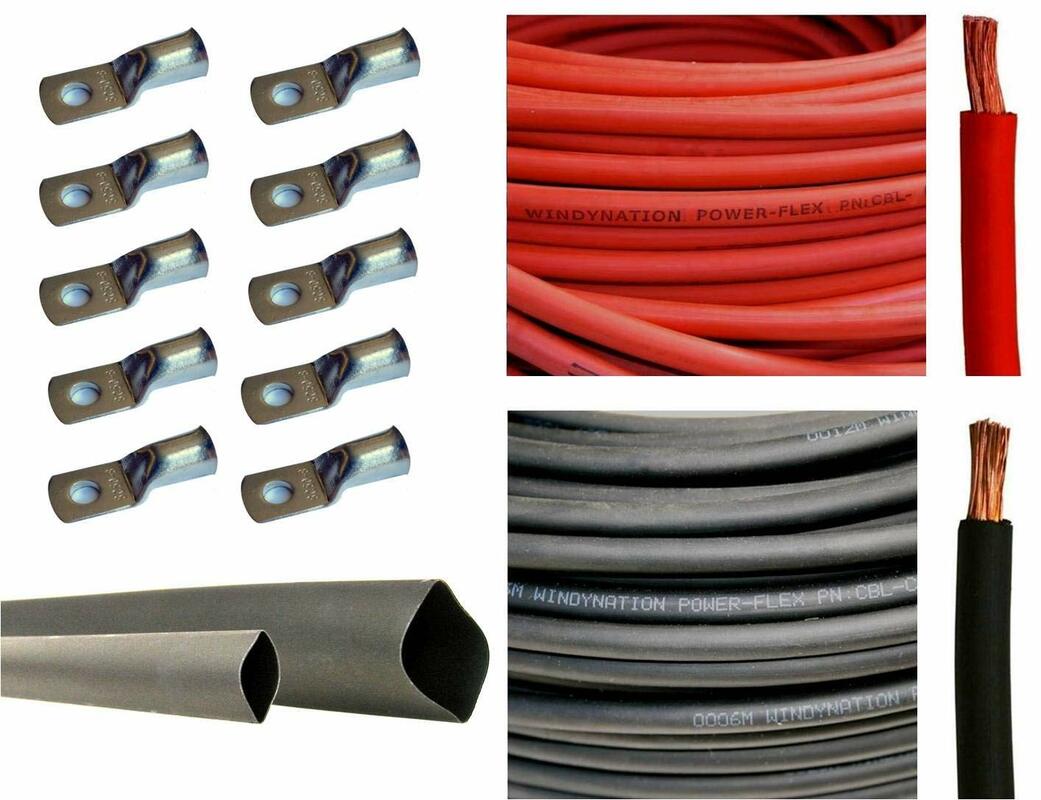
High-Quality Copper Wire for DC appliance hookup
(most wire on amazon is "copper clad aluminum", which is cheaper but lower in quality): 50 feet 10 gauge Blue/Black Click Here |
|
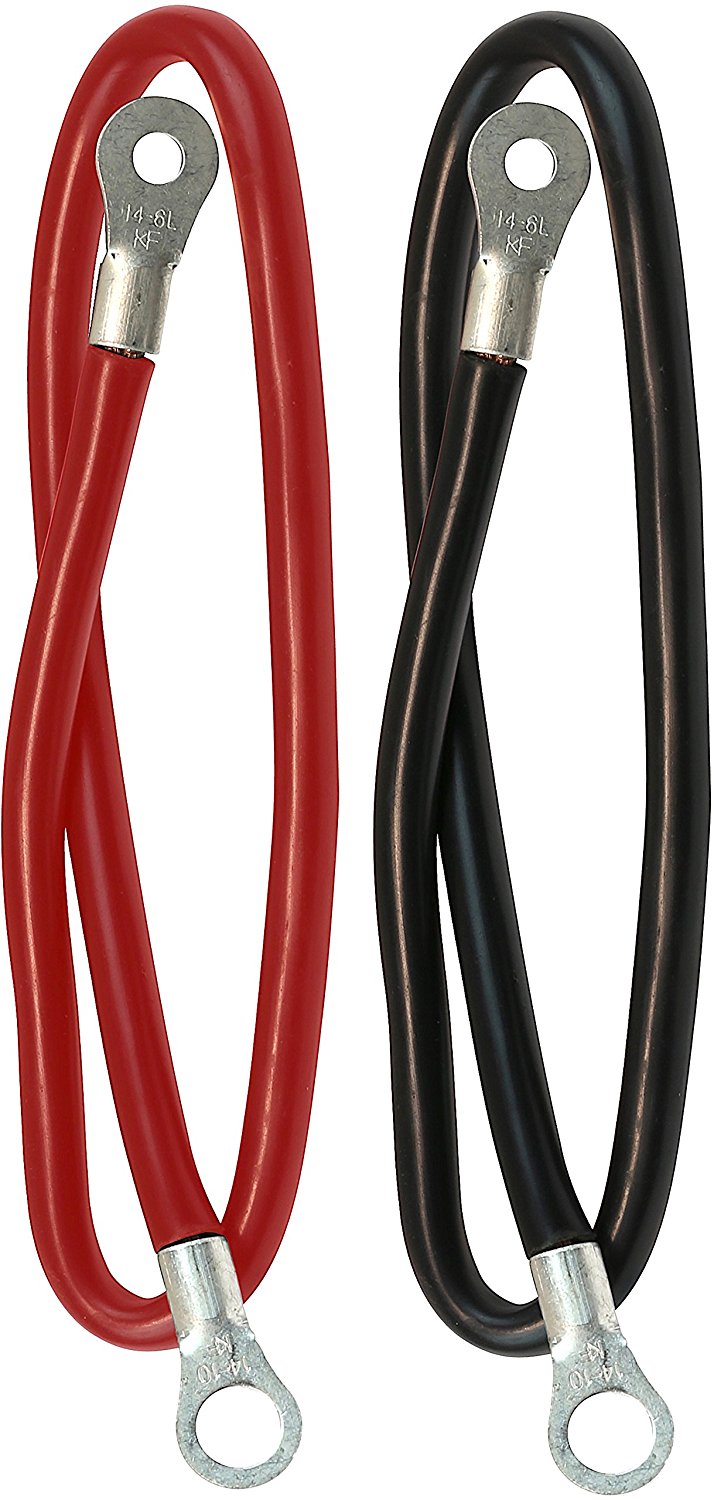
Battery to Battery Cables
Any size battery (be sure to select the right size for your battery bank) Click Here |
|
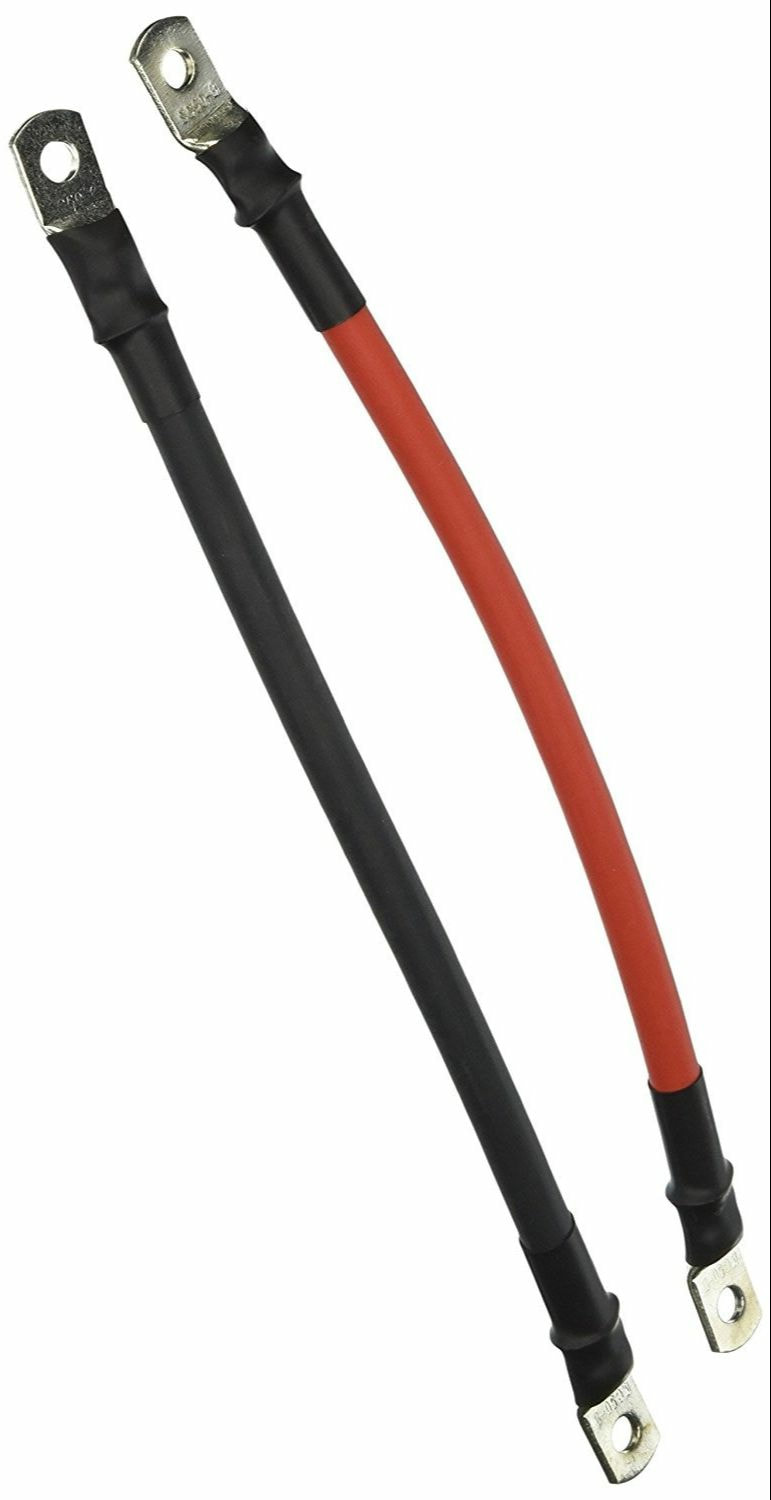
Pre-fabricated Battery to
Inverter Cables (if your inverter does not come with them) make sure that the holes on the connector will work with your battery/inverter 12 volt 500-1100 watt inverter Click Here 12 volt 1000-2000 watt inverter Click Here 12 volt 2000-4000 watt inverter Click Here |
|
Main Component Hook-up wire/connectors/heatshrink
Requires a Hammer-type Crimper and Assembly. Great for custom built systems where length of each wire matters. If you are a beginner, stick to pre-fabricated cables. Click on a link below and choose your wire gauge (default length is 10 feet of red, 10 feet of black): |
|
|
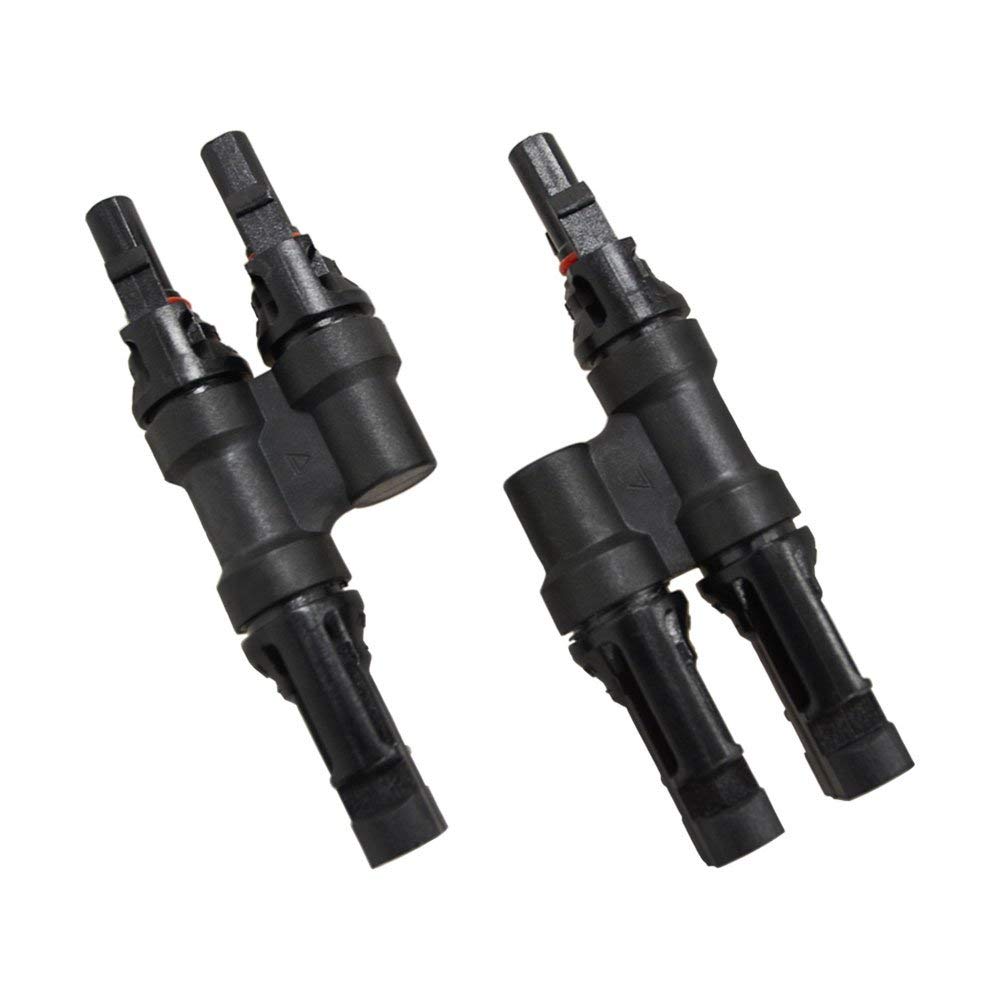
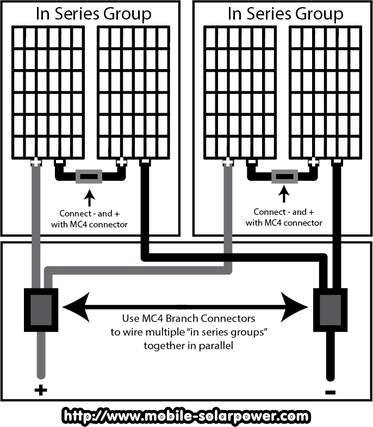
Branch Connector
Wiring multiple panels together requires a branch connector. Connect all of your panels together on the roof and combine them into two wires which will connect to the solar panel extension cable (Solar panel to charge controller cable above) 2 wire mc-4 branch connector (1x pair required for 400 watt system) Click Here |
|
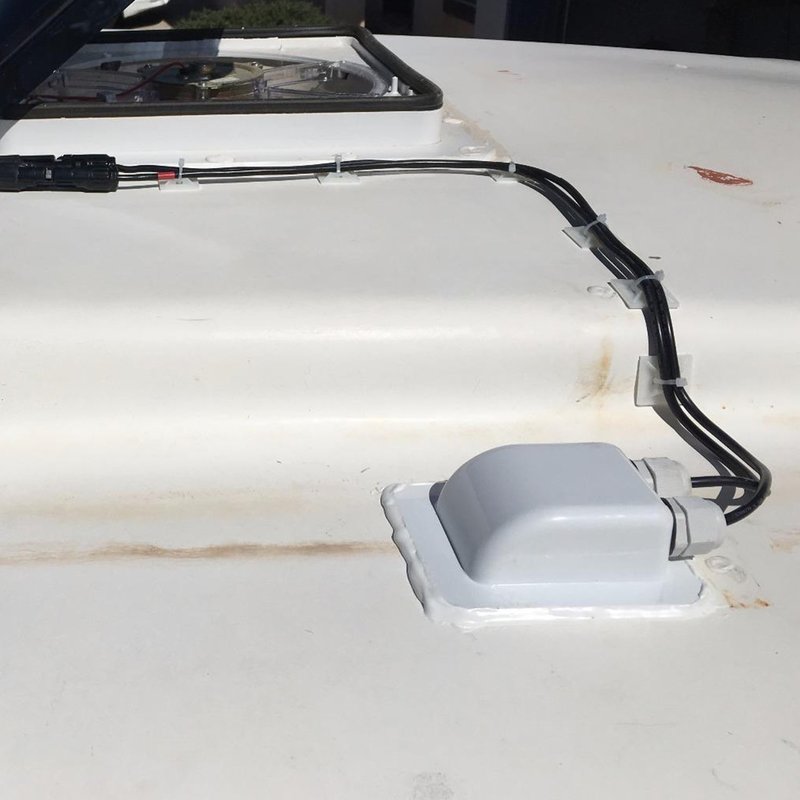
Solar Panel Cable Entry Gland
When your solar panel array wires enter your vehicle, you will need to drill two holes. Use this cover to prevent roof leaks from developing. This system requires x1 Click Here |
|
Required fuses, fuse blocks, bus bars and circuit breakers:
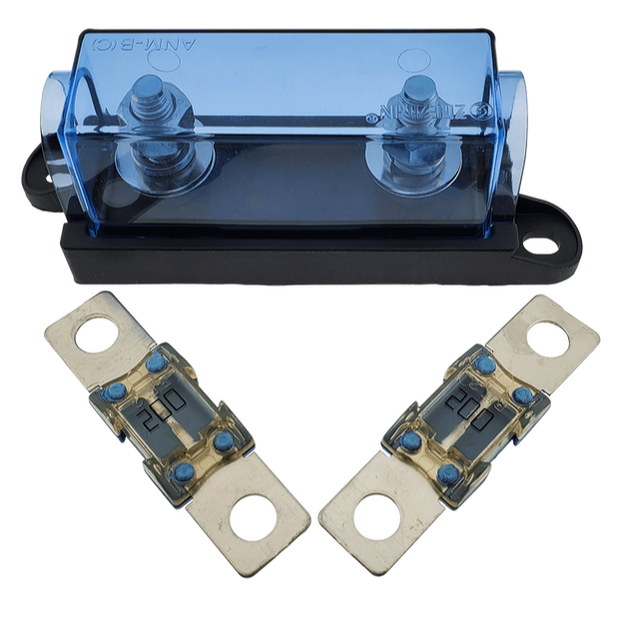
Battery Bank To Inverter/Fuse Block Main Fuse
|
MegaFuses work great and cost very little money, and are preferred over the typical ANL fuse you would find from most solar distributors. Unlike ANL, Megafuses can be used with 24V/48V systems and have a higher disconnect amperage. Stick to these fuses if you do not want to have problems with your 12V system.
How to size an MegaFuse for 12V inverters (or any appliance really):
100 Amp Fuse and Holder 150 Amp Fuse and Holder 175 Amp Fuse and Holder 200 Amp Fuse and Holder (recommended for 2,200W inverter) 250 Amp Fuse and Holder 300 Amp Fuse and Holder |
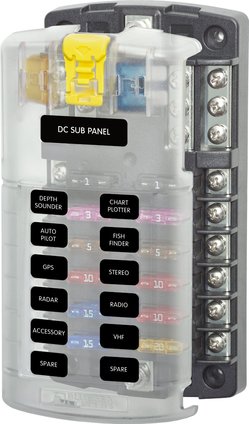
High Quality Fuse Block
Required Circuit breaker for
|
bus bar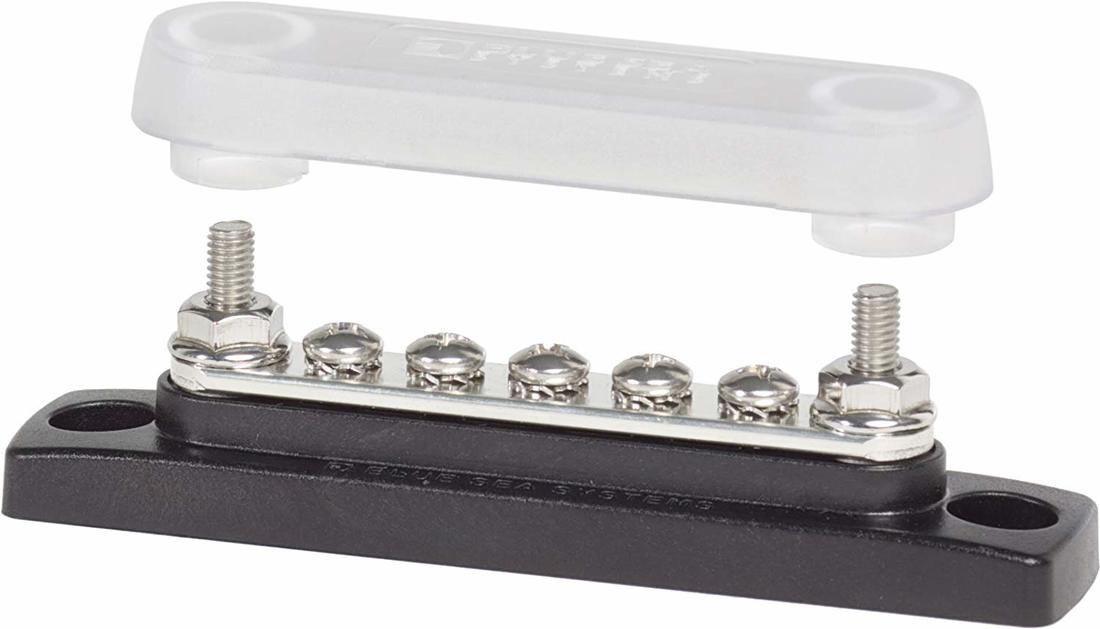
|

Solar Panel Mounts:
Every vehicle is different, so check out my book and this page (click here) to figure out how to mount your solar panels
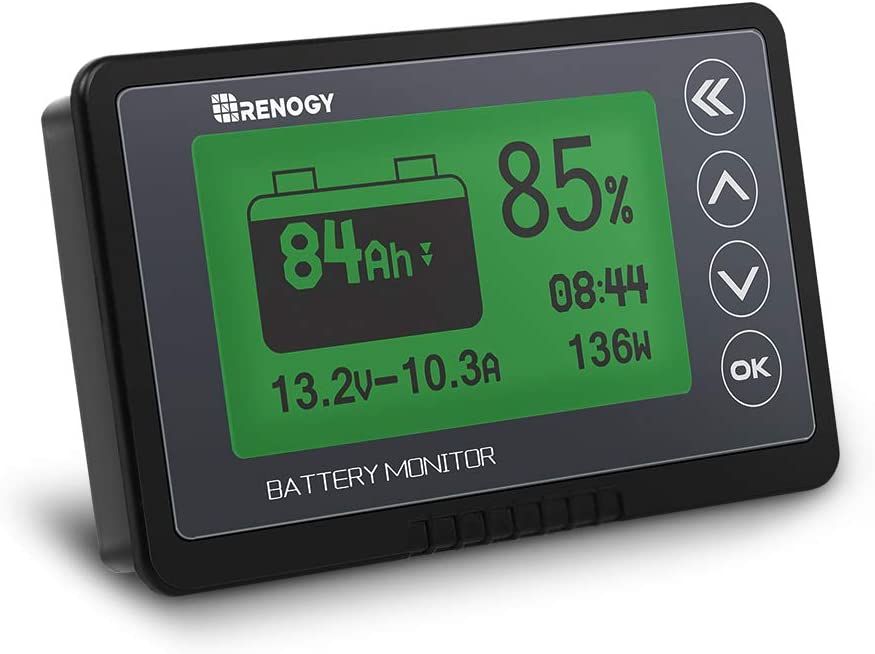
Battery Monitor:
|
This device will tell you how much power you have left before your batteries go to zero. Simply attaches at the main negative lead of your battery bank.
Click Here to purchase If you want a higher quality battery monitor with bluetooth connectivity and data logging, check out the Victron Smart Shunt instead. It does cost more, but it is a fantastic device that I use on all of my systems: Click Here |
Required Tools:
|
|
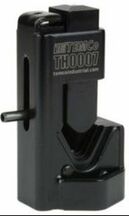
Hammer Type Crimper
Can crimp up to 4/0 gauge wire, and it is much cheaper than other large wire crimpers. If you plan to build only one system, this is the tool for you. Click Here |

|
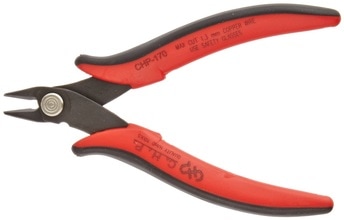
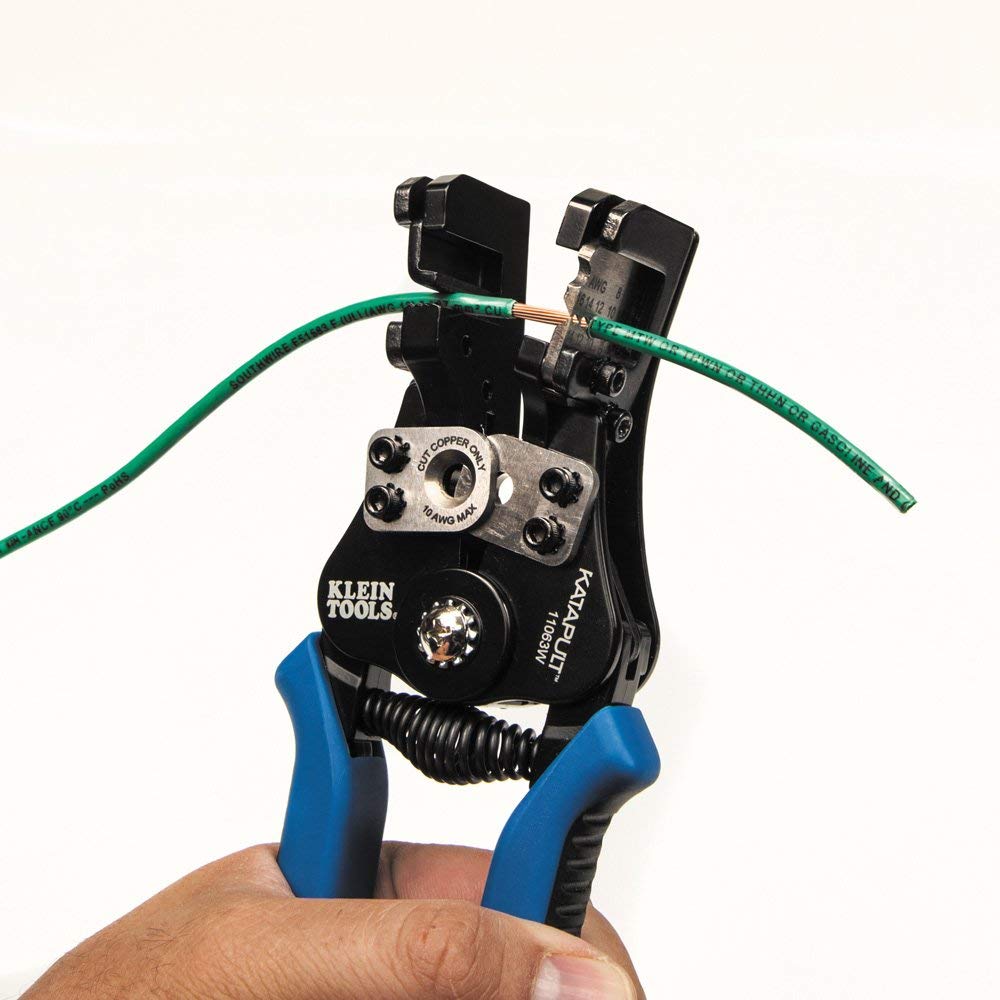
High quality manual force crimper
This crimper will crimp any standard/non-standard, insulated/non-insulated connector. Click Here |
|
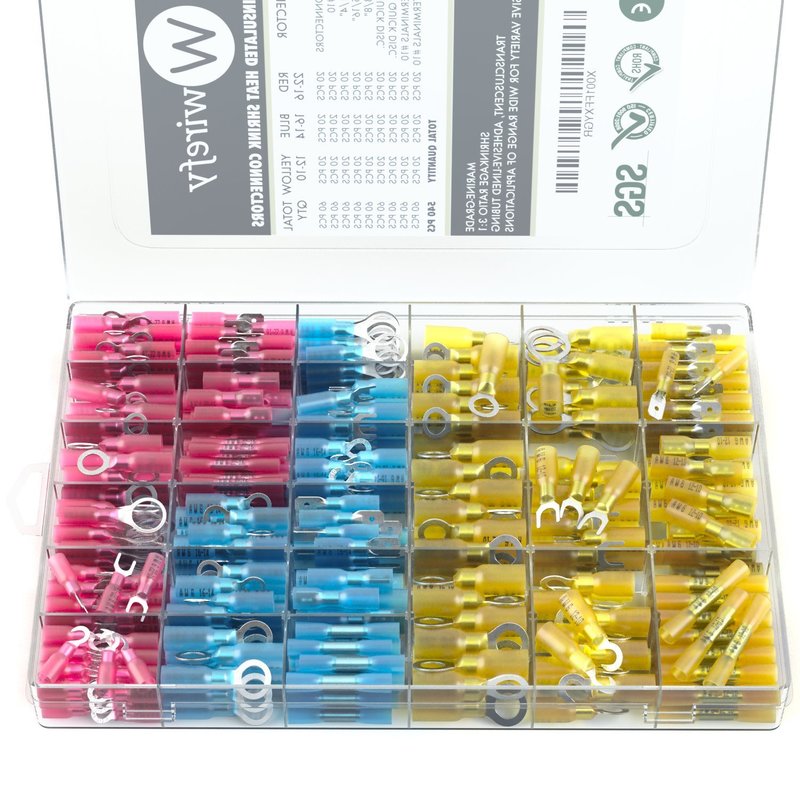
Standard Size Crimp Connector set
There are cheaper crimp connector sets available, but they are junk! Spend the extra money and buy a high quality set of connectors. The cheap chinese ones will fail and I have had it happen before. This is what I currently use: Click Here |

|
Other Accessories
|
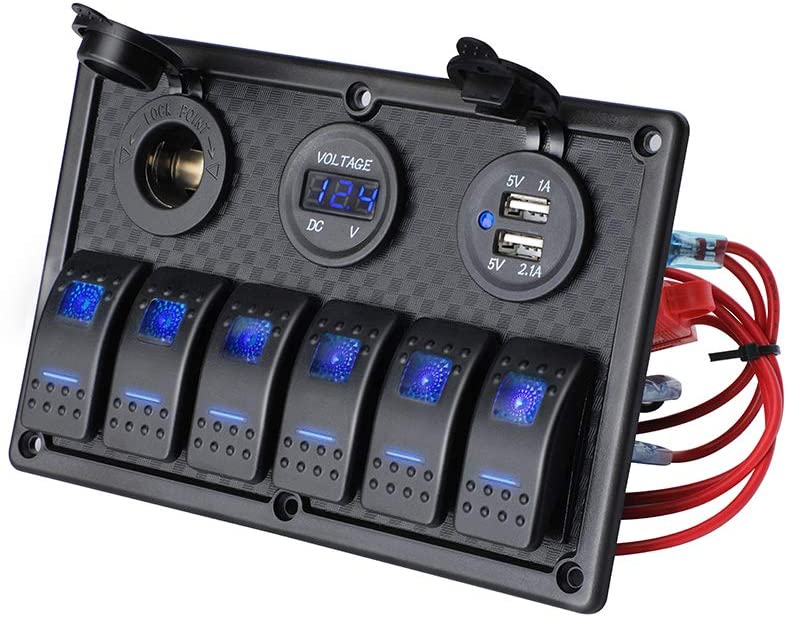
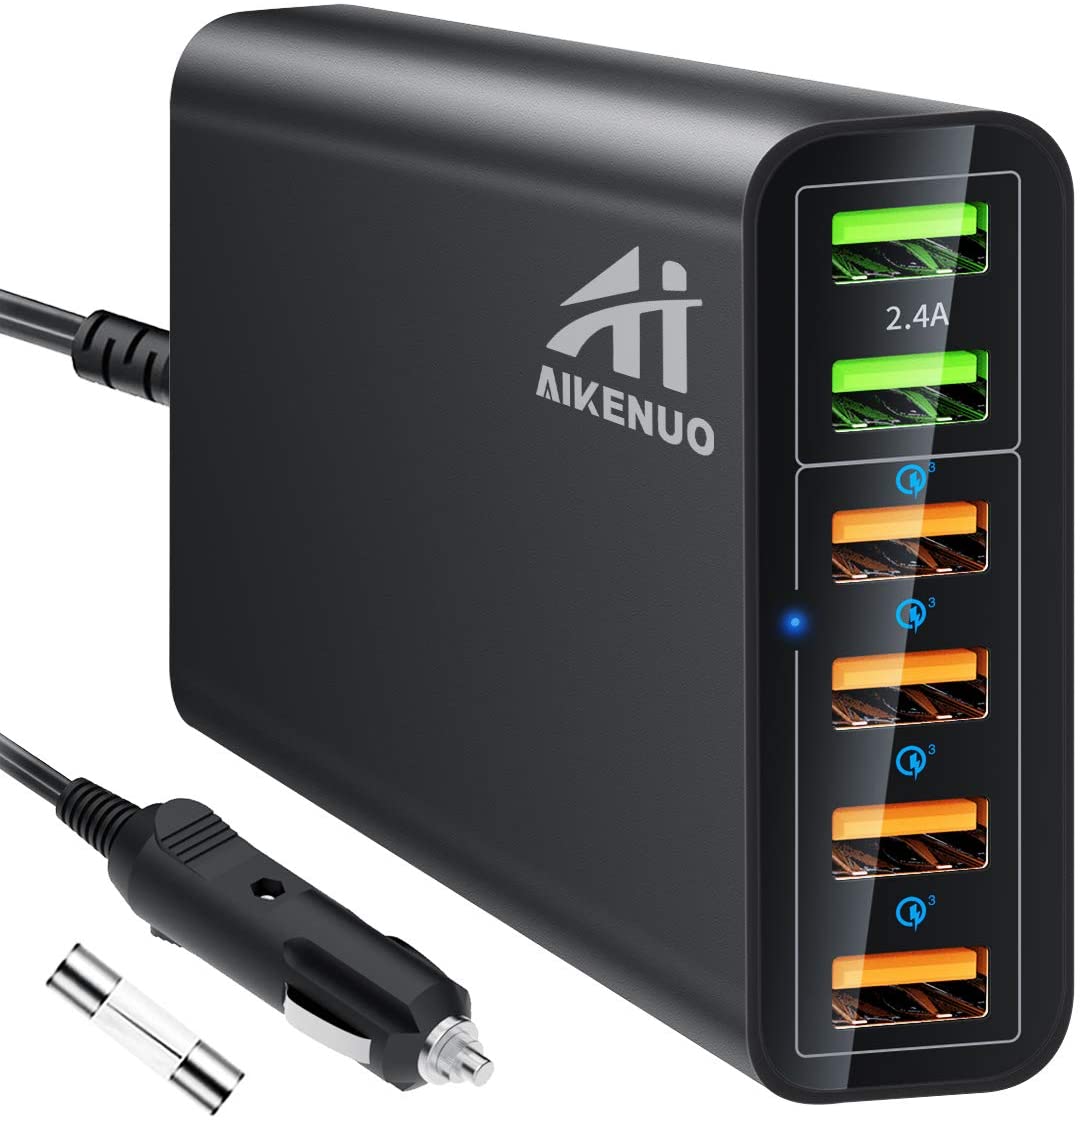
12 volt USB charge strip
Click here |
|
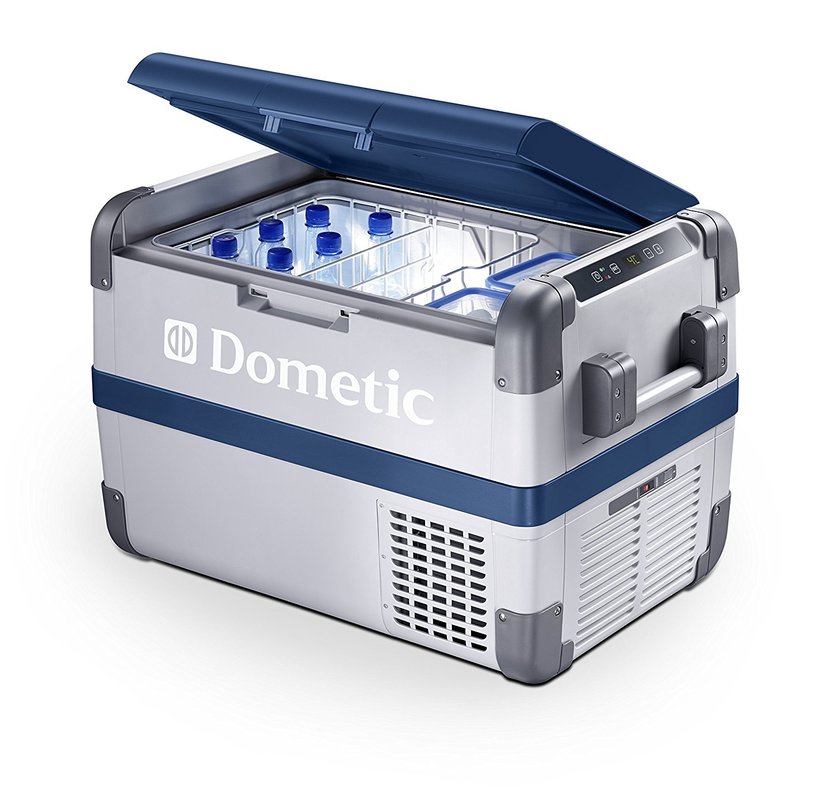
46 Liter Dometic Solar Power Fridge
Click Here |
|
|