
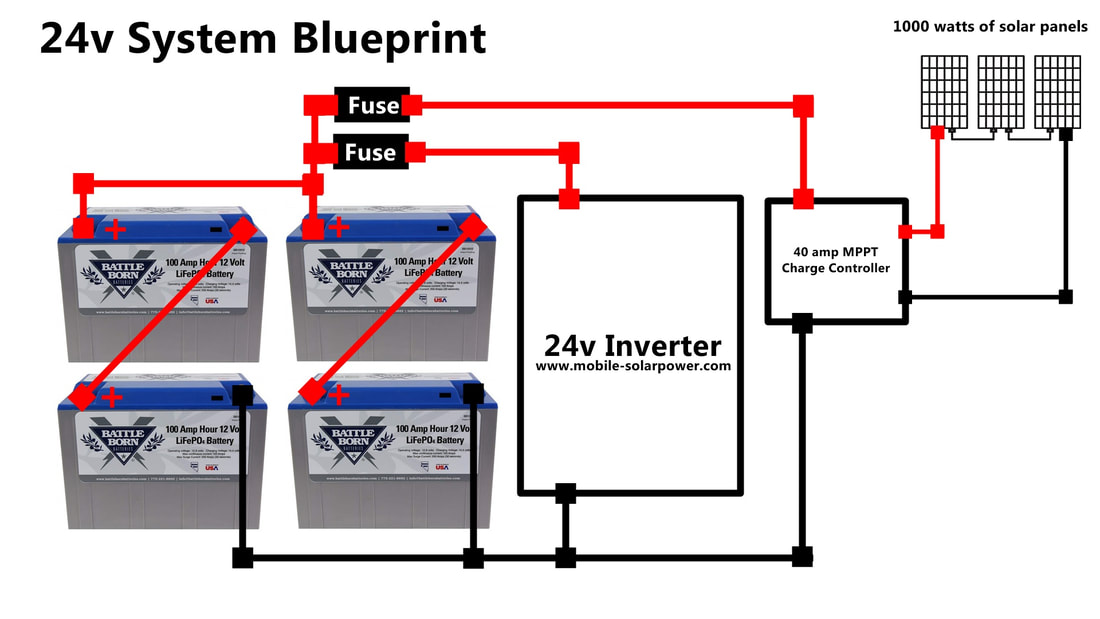
2000 watt, 24v Off-grid solar power system
Recommended Components (scroll to bottom of page to see what products I recommend):
- 400-2000 watts of solar panels
- 40 amp MPPT charge controller with over-current protection
- 2x or 4x 12v,100 ah LiFePO4 Batteries (wire these 4x batteries in series/parallel to create a large 24v battery bank)
- 1000-3000 watt, 24 volt inverter
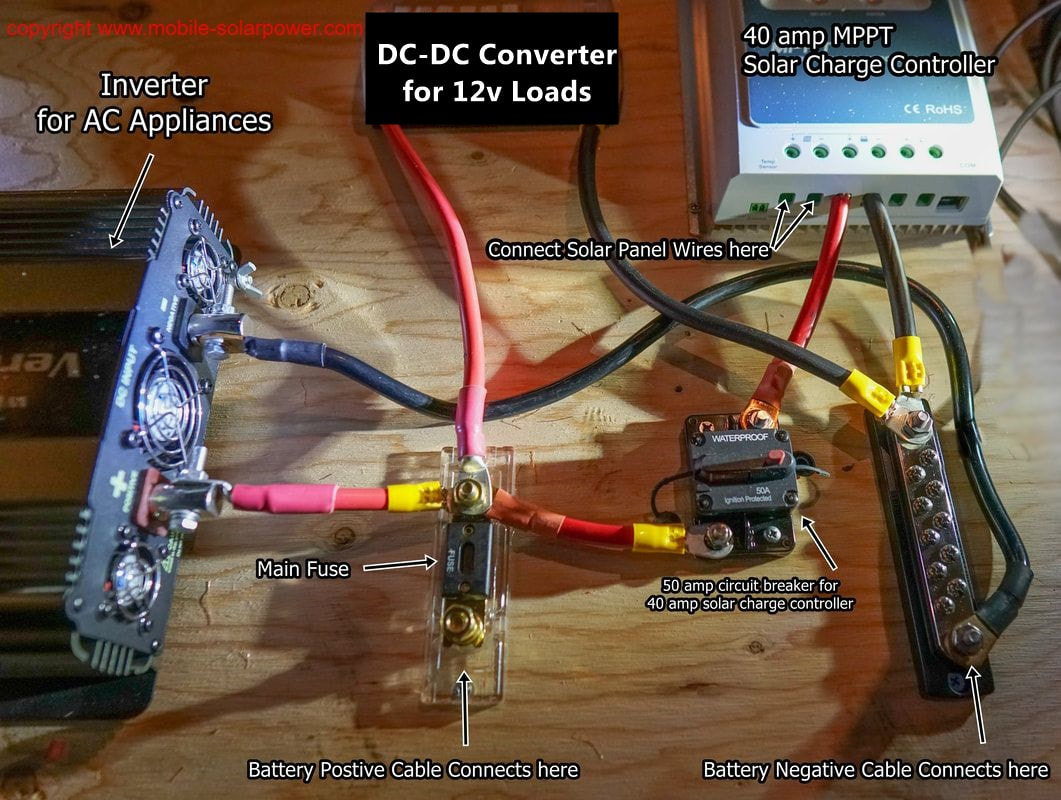
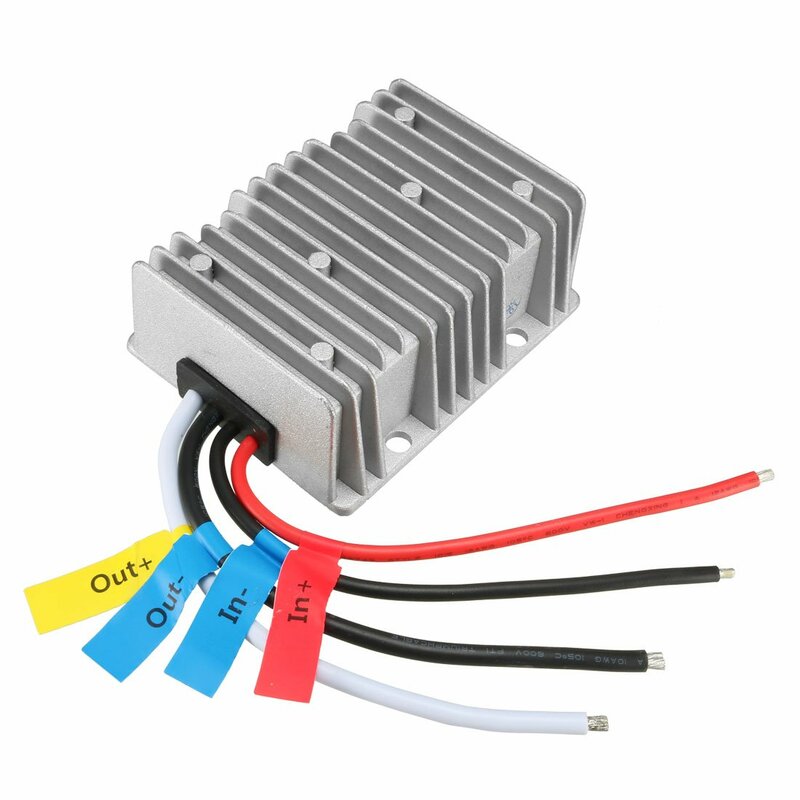
- 40amp DC-DC Converter for 12v appliances. 24v goes in, 12v goes out
- Battery Protect by victron energy, 100 amp
- 4 gauge copper wire and lugs/heatshrink
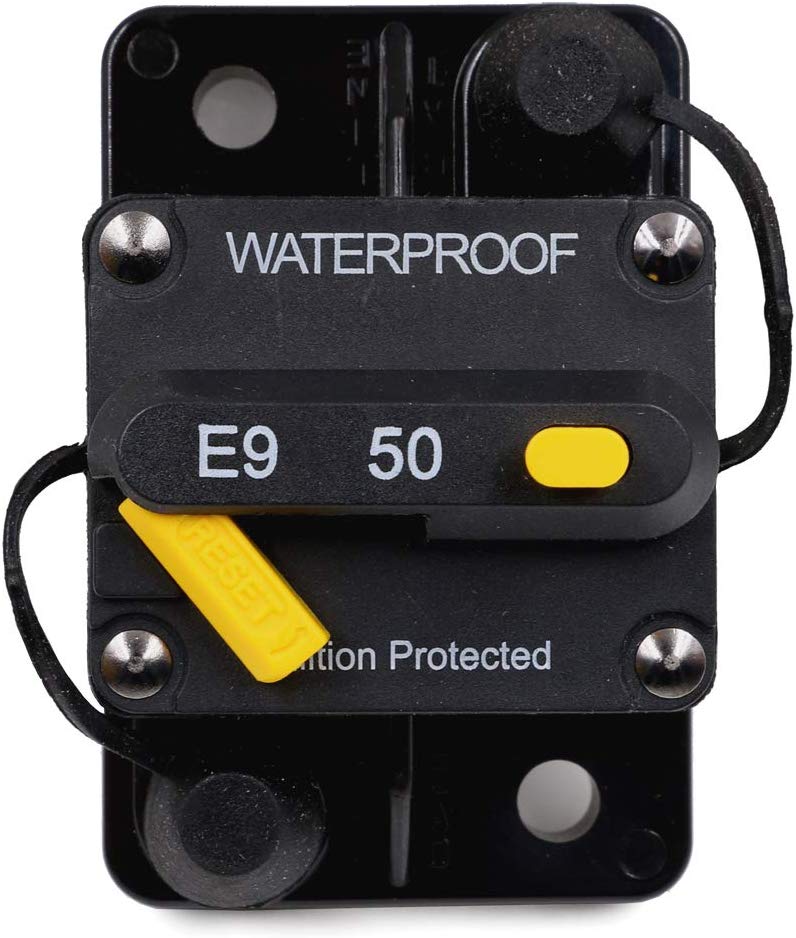
- 50 amp circuit breaker for the MPPT, 25 amp fuse for the converter
- Wooden board to mount the components
Due to a recent change by victron, the battery protect is not recommended for this system. Just connect everything to a bus bar or surface mount terminal.
If you are not familiar with 24 volt systems, check out my video: Click Here to watch my 12v vs. 24v Video
Pros of a 24 volt System:
In my opinion, the pros dramatically exceed the cons. If you are trying to convert your system to 24 volt, it may not be worth it. But if you are building it from the ground up, a 24 volt system is a great way to go!
- Lower Financial Cost Compared to 12v System. Save a lot of $$$
- Higher Efficiency of Components and Wires
- Higher Power Output from Smaller Components
- 24 volts is considered a very "safe" voltage to work with
- You need a higher voltage solar panel array. Not really a con because you should be series connecting your panels anyways. Open circuit voltage of solar panel array must be at least 40+ volts if you plan to charge a 24 volt battery with it. This means that if you are using 12 volt panels (open circuit of 17-20 volts), you will need to series connect your panels to create a larger voltage.
- Difficult to source 24 volt solar system components locally. 12v is easy to find at stores, 24v components require ordering online.
- Difficult to charge with a vehicle alternator. I do not suggest anyone charging a deep cycle battery with an alternator regardless, but some people still insist upon it. If you have a 24 volt system, you will need some special circuits that are extremely expensive to get it to work. Or buy and install a 24 volt alternator.
- If you have 12 volt appliances, you will need to run them with a 24v to 12v converter. Very easy to do!
In my opinion, the pros dramatically exceed the cons. If you are trying to convert your system to 24 volt, it may not be worth it. But if you are building it from the ground up, a 24 volt system is a great way to go!
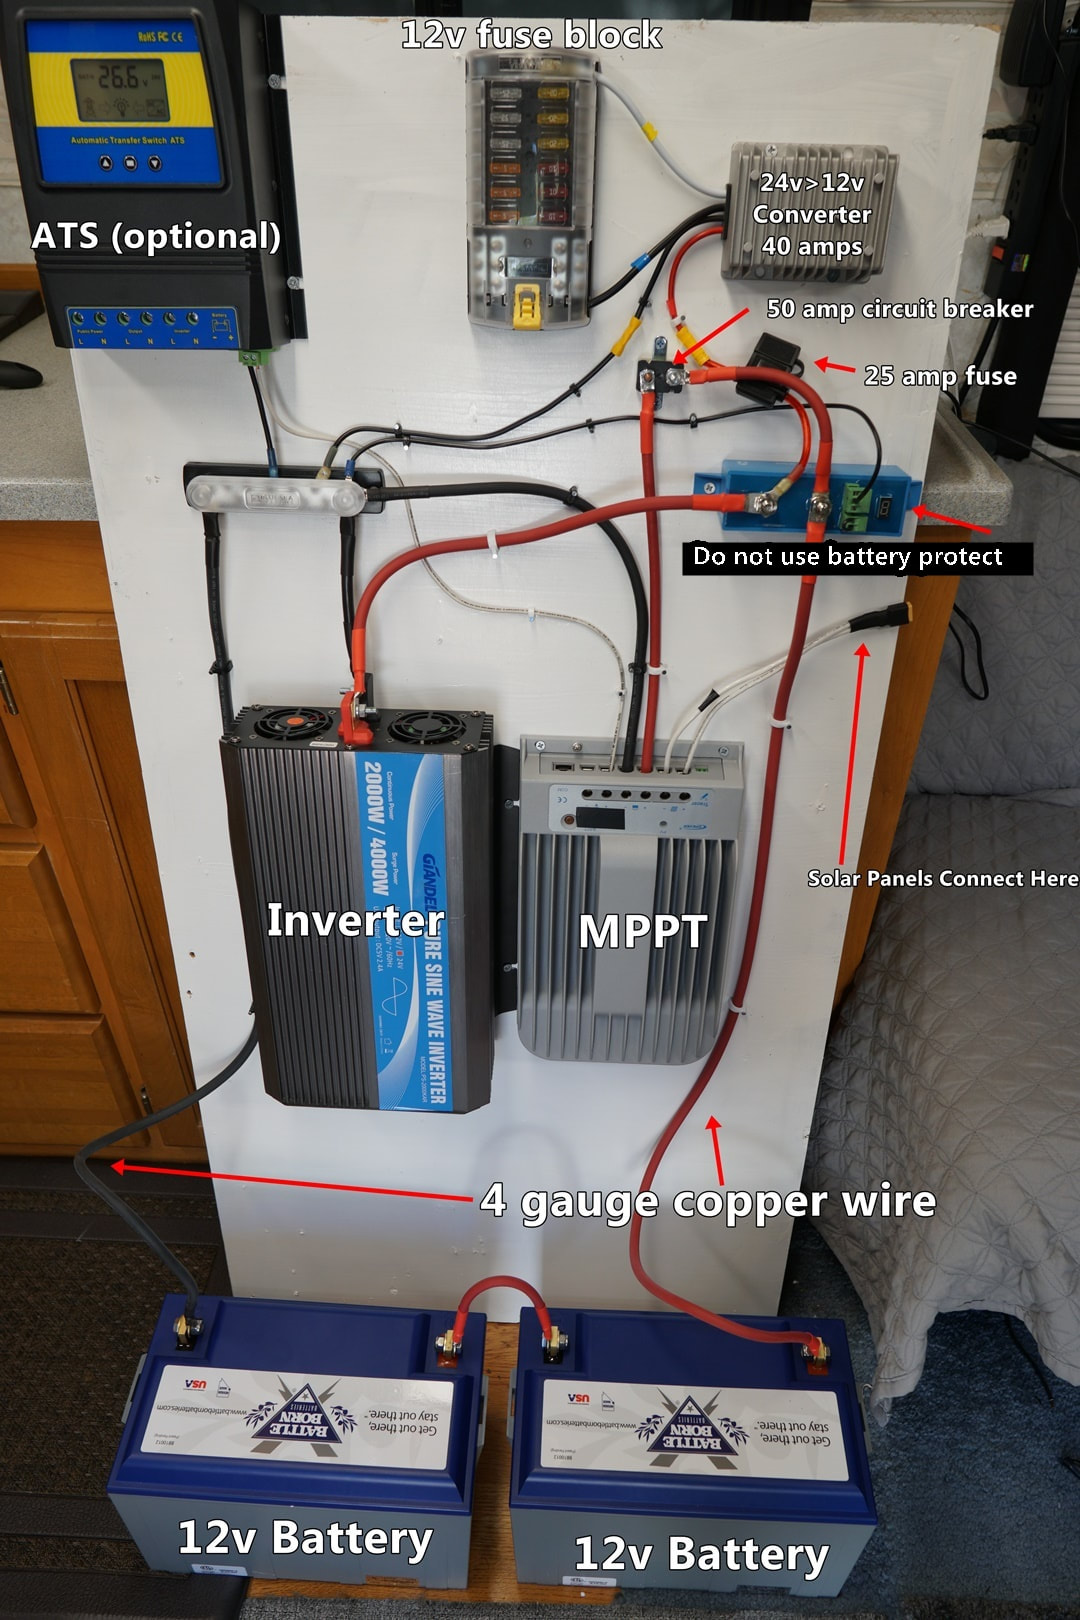
Step 1: Mount components to a wooden board like this:
This picture should give you a rough idea of how to mount and connect your components. Each system is different though, so be sure to use my book to calculate the fuse and wire gauge size for your components. This picture does not cover other remote wires/shunts/temperature compensation wires etc, so please be sure to use my book to understand how this all works!
Step 2: Connect to 24v Battery Bank
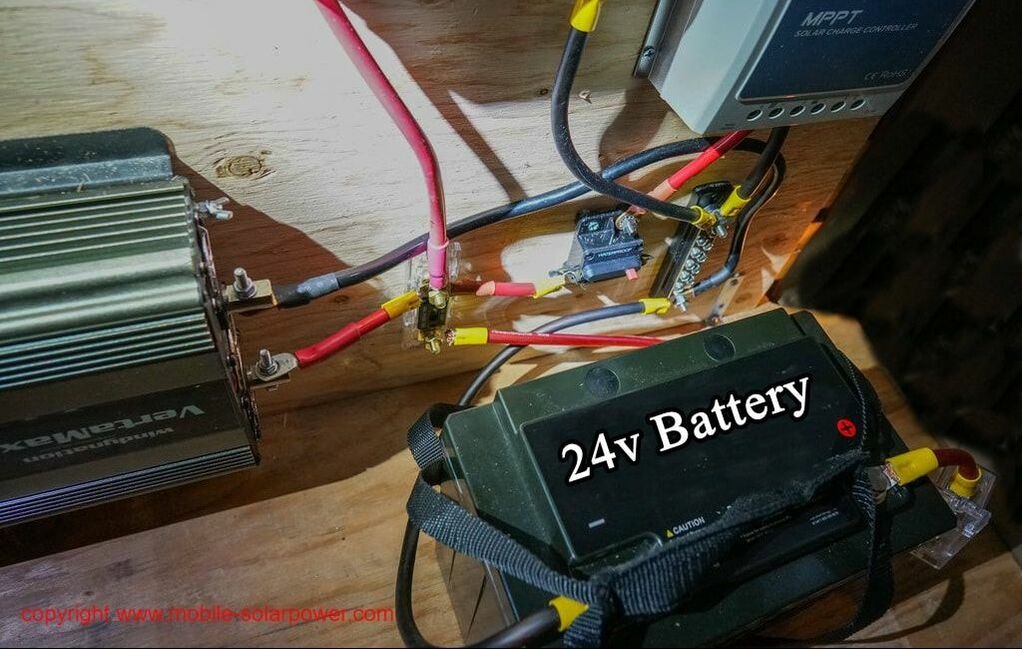
If everything is installed correctly, the solar charge controller should now turn on, and you should be able to run the inverter. You may see a small spark when you connect the inverter to a battery, and this is completely normal.
Step 3: Mount Solar Panels to the roof and Connect them to Solar Charge Controller
If you follow the previous steps correctly, the solar charge controller should now be charging your battery! (if there is sunshine present)
For more information on how to do this, please check out my book :)
For more information on how to do this, please check out my book :)
Components I recommend for this system:
(I make a commission for purchases made through the links below)
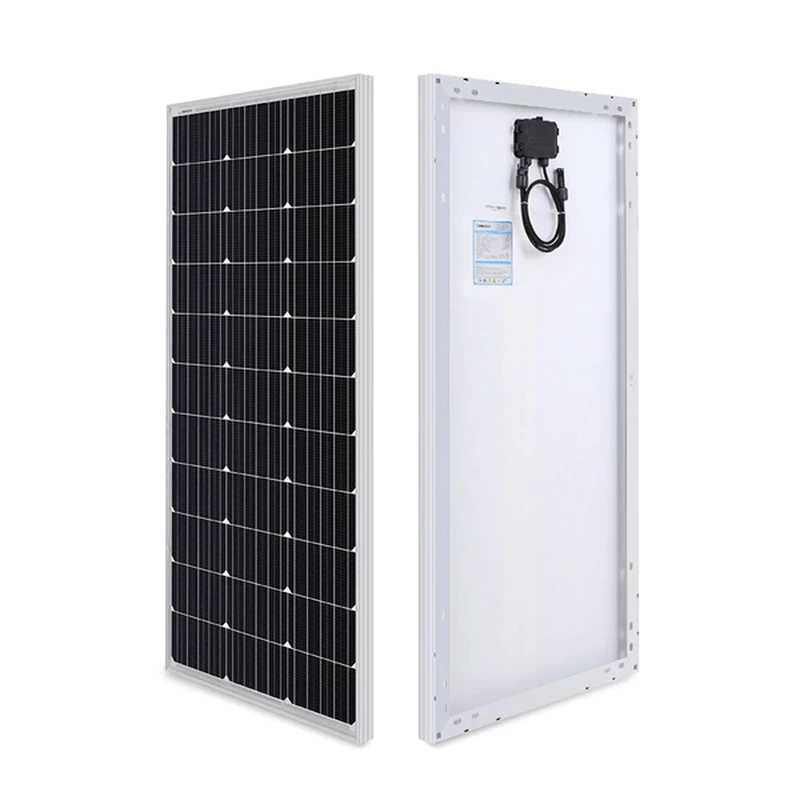
Buy 400-2000 watts of Either Glass or Flexible solar panels
Glass Solar Panels
|
Flexible Solar Panels
CIGS Flex panels are the only type of flex panel that I recommend. Everything else on the market is junk, and will have reduced output after 6-12 months.
Other flex panels on the market cannot flex that much, and you will cause permanent damage if you flex it even once. They are fragile and like to fail often. But CIGS are the only exception. They are flexible, durable and last much longer than any other flex panel on the market. They also handle shading really nicely, and can even produce electricity after being shot with a gun. Pros:
These CIGS solar panels used to cost $1000 for 100W only a few years ago, but manufacturing tech has reduced the price down to $250 for a 80W panel. Which is something I never thought I would see. These are still more expensive than glass solar panels, but they are worth it if you want a flex panel. Click Here to purchase |
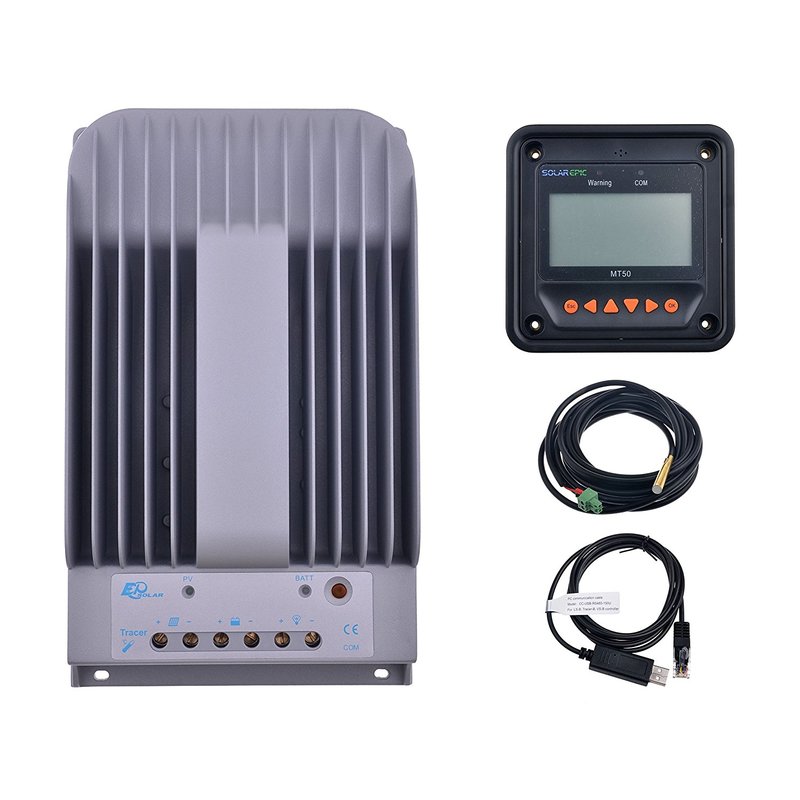
Buy my favorite 40 amp mppt solar charge controller:
|
Max. Solar Input Power:
You can hook up a maximum of 2080 watts of solar power to this charge controller (only when the controller is used with a 24v battery). The max charge rate is limited to 40 amps at 24v. The benefit of having 2000 watts attached to this 40 amp controller is that there is more power production during sunrise and sunset times. If you wish to harness the entire 2000 watts of solar power, use a 60 or 80 amp charge controller: (Click here to see other charge controllers) Be sure to read the instruction manual. Lots of really fun features in this controller! 40 Amp MPPT Charge Controller kit: Click Here for a cheap price |
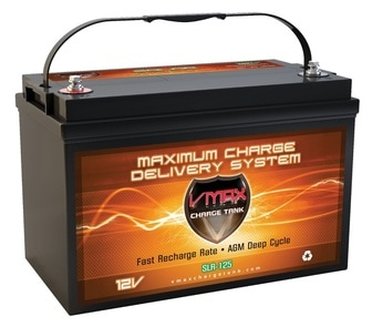
Choose a battery:
|
12 volt Sealed Lead Acid
Buy 4 or 6 of these:
155 amp hour AGM Sealed Lead Acid Battery Click Here for a cheap price
|
or
|
12 volt Lithium Iron Phosphate
(recommended) 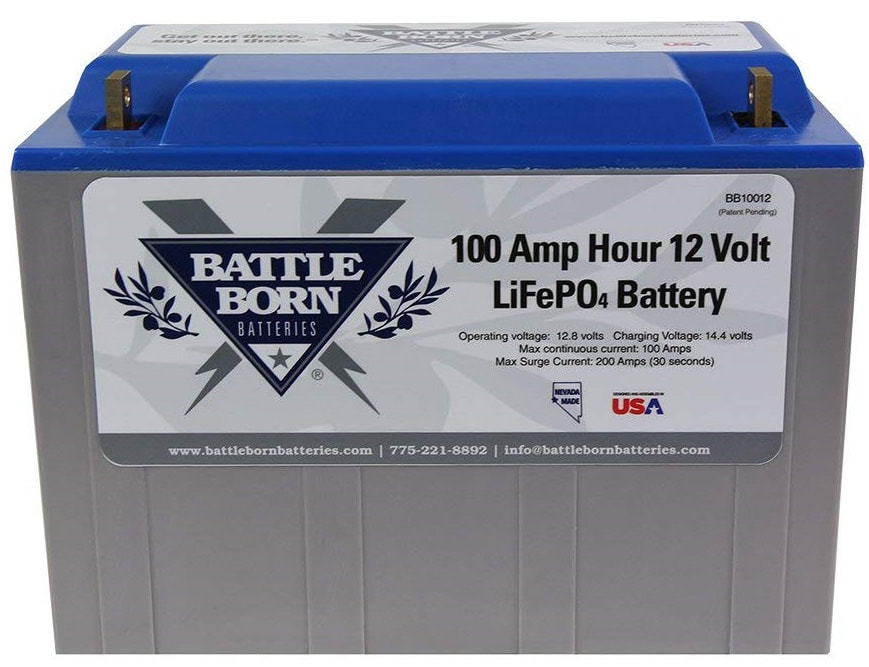
Buy 2 or 4 or 6 of these (whatever you can afford):
Click Here to buy it directly from Battle Born
Click here for a cheaper lithium battery option |
24v, 2000 watt inverter:

Wire and Adapters:
|
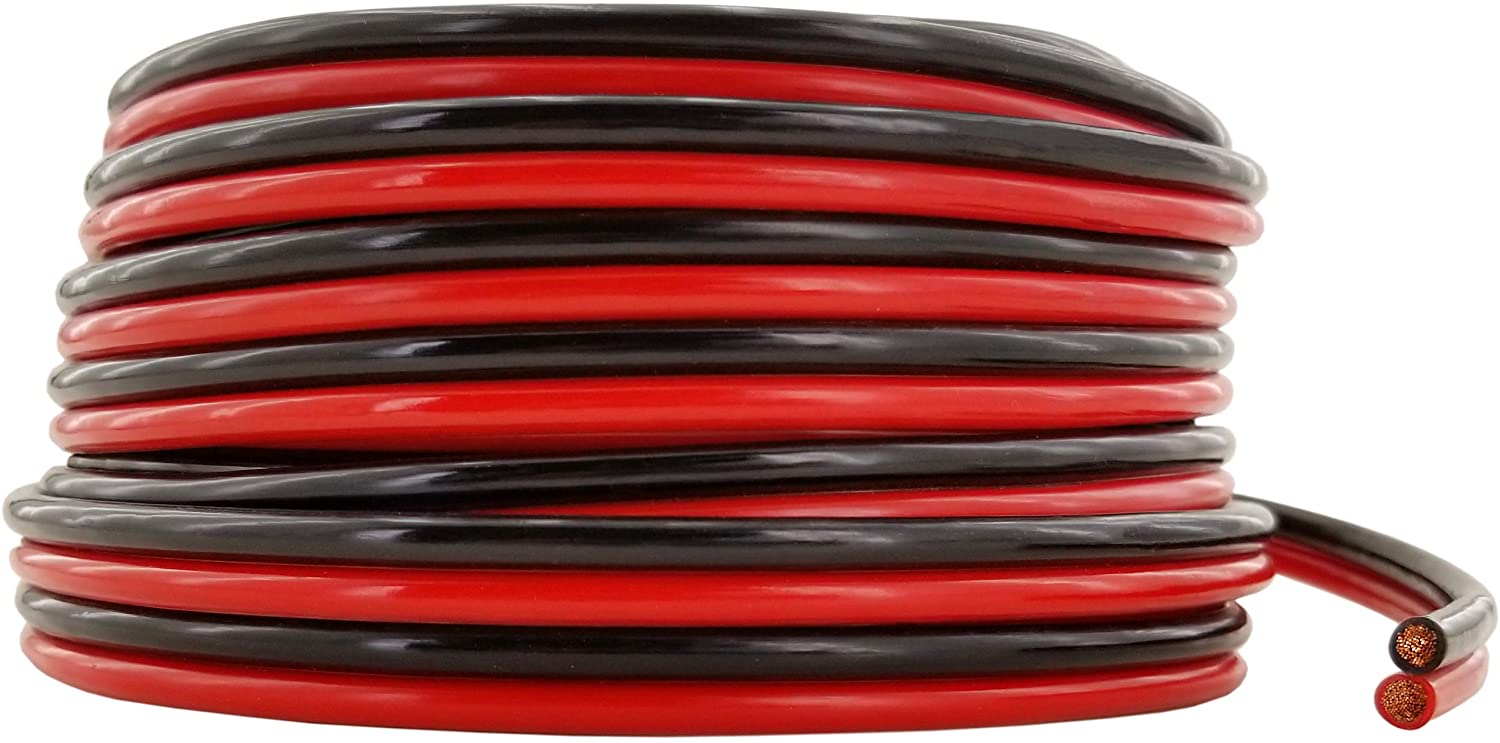
High-Quality Copper Wire for DC appliance hookup
(most wire on amazon is "copper clad aluminum", which is cheaper but lower in quality): 50 feet 10 gauge Blue/Black Click Here |
|
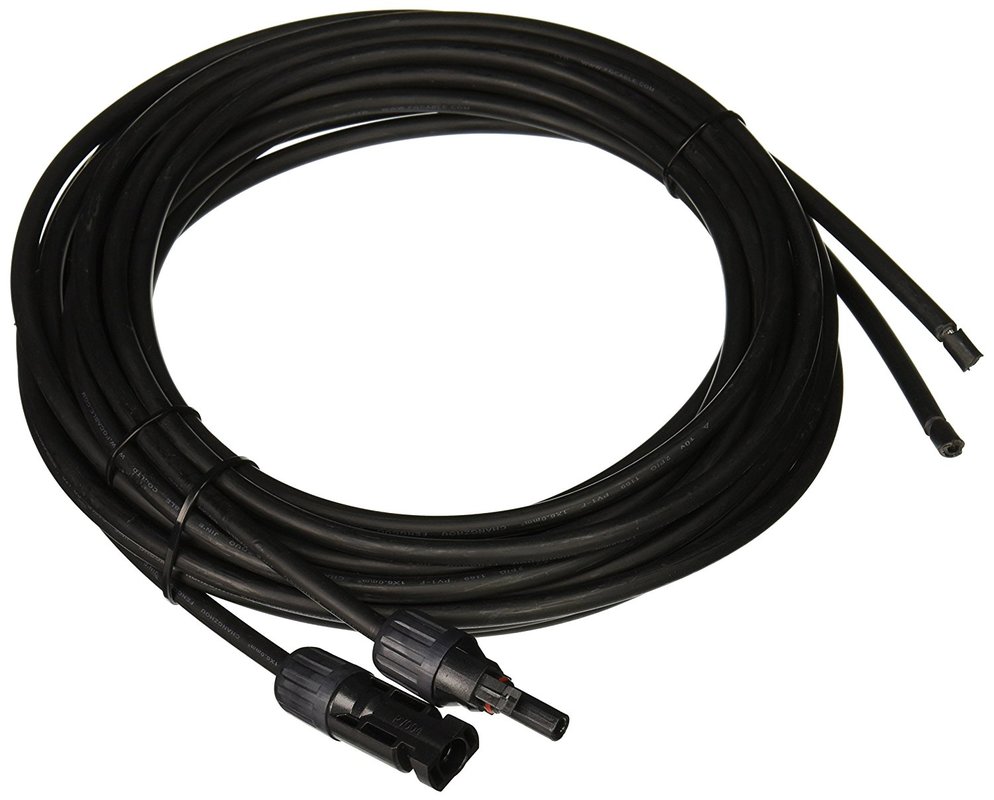
Solar Panel Array to Solar Charge Controller Cable (this cable goes through your roof):
Click Here |
|
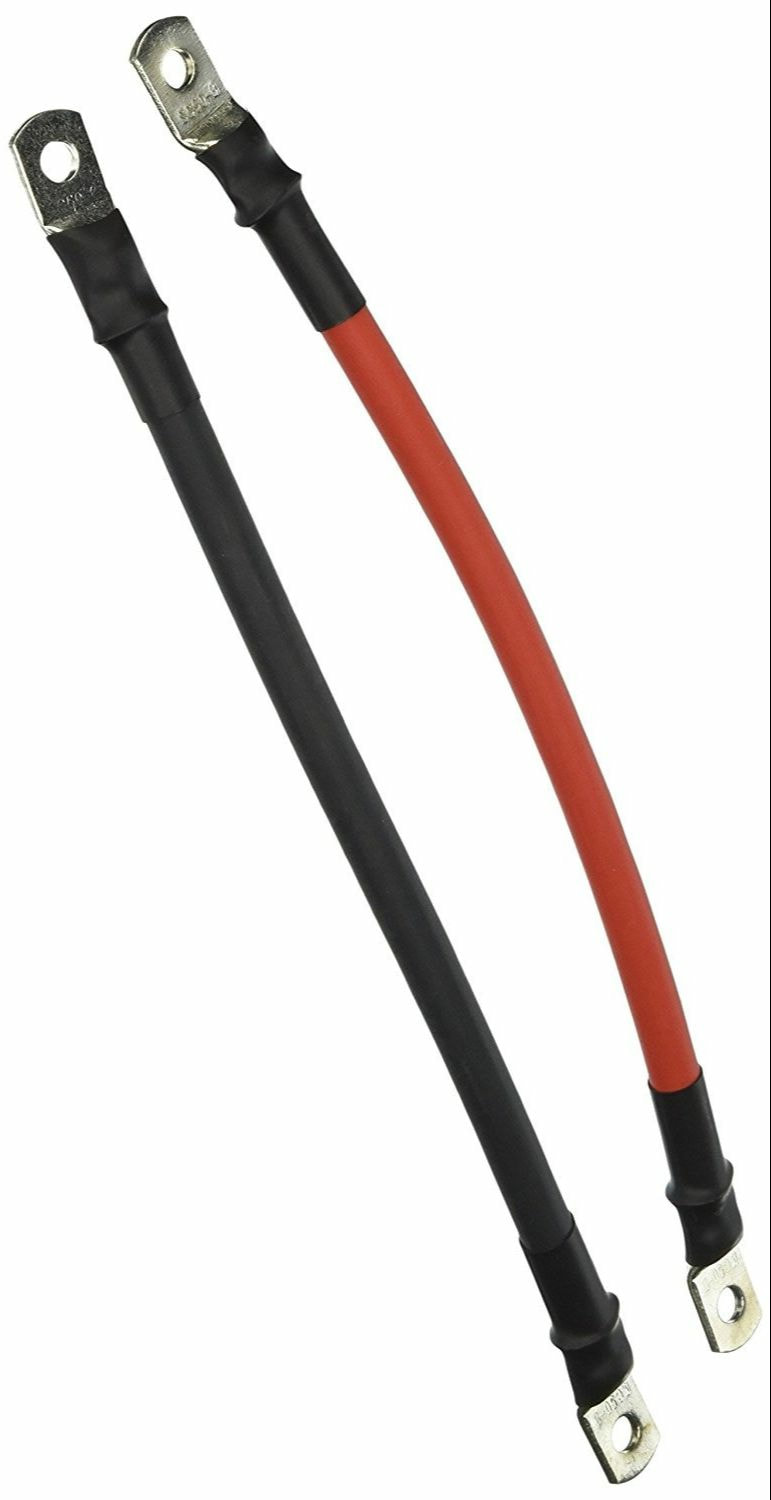
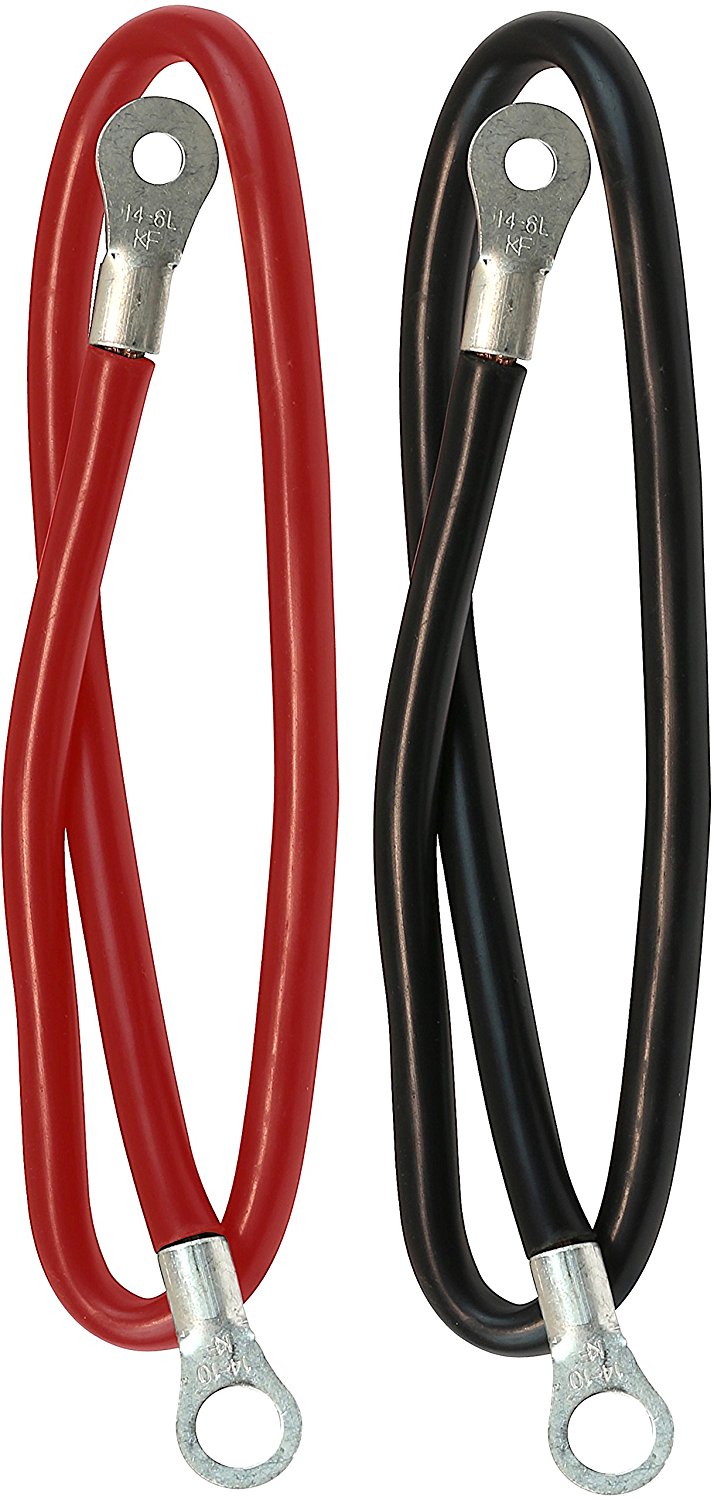
Battery to Battery Cables
Any size battery (be sure to select the right size for your battery bank) Click Here |
|
Pre-fabricated Battery to
Inverter Cables (if your inverter does not come with them) make sure that the holes on the connector will work with your battery/inverter 12 volt 500-1100 watt inverter 0r 24 volt 1000-2200 watt inverter Click Here 12 volt 1000-2000 watt inverter or 24 volt 2000-4000 watt inverter Click Here 12 volt 2000-4000 watt inverter or 24 volt 4000-8000 watt inverter Click Here |
|
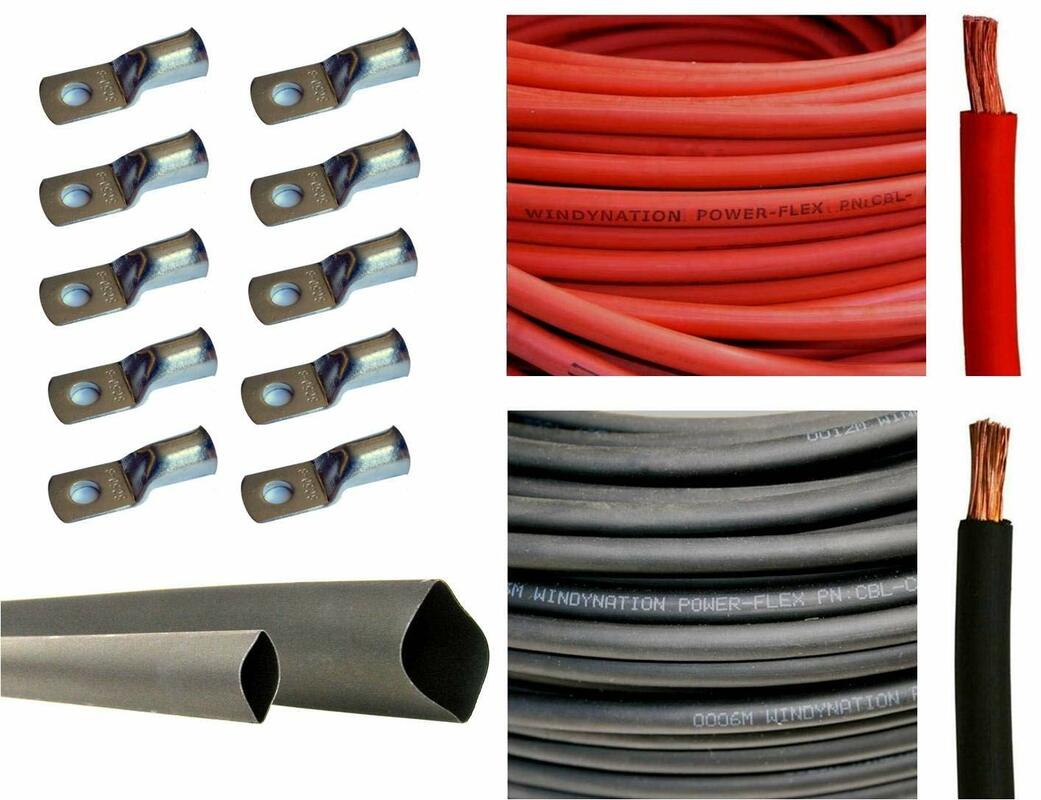
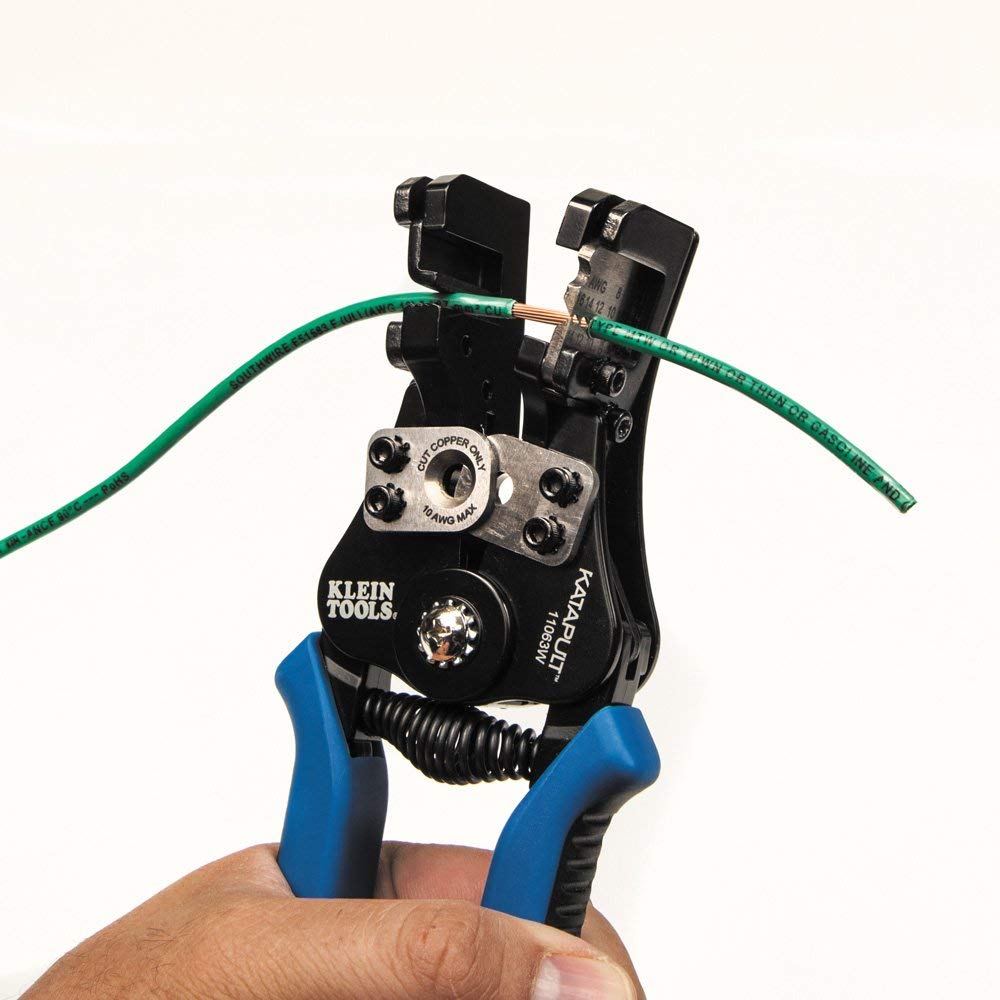
Main Component Hook-up wire/connectors/heatshrink
Requires a Hammer-type Crimper and Assembly. Great for custom built systems where length of each wire matters. If you are a beginner, stick to pre-fabricated cables. Click on a link below and choose your length (default length is 10 feet of red, 10 feet of black): |
|
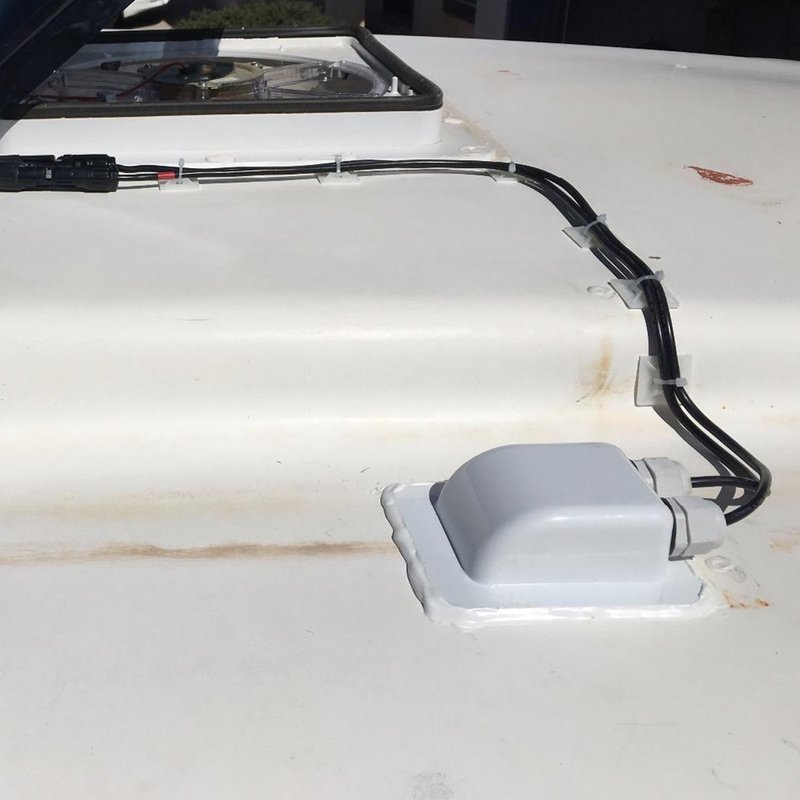
Solar Panel Cable Entry Gland
When your solar panel array wires enter your vehicle, you will need to drill two holes. Use this cover to prevent roof leaks from developing. This system requires x1 Click Here |
|
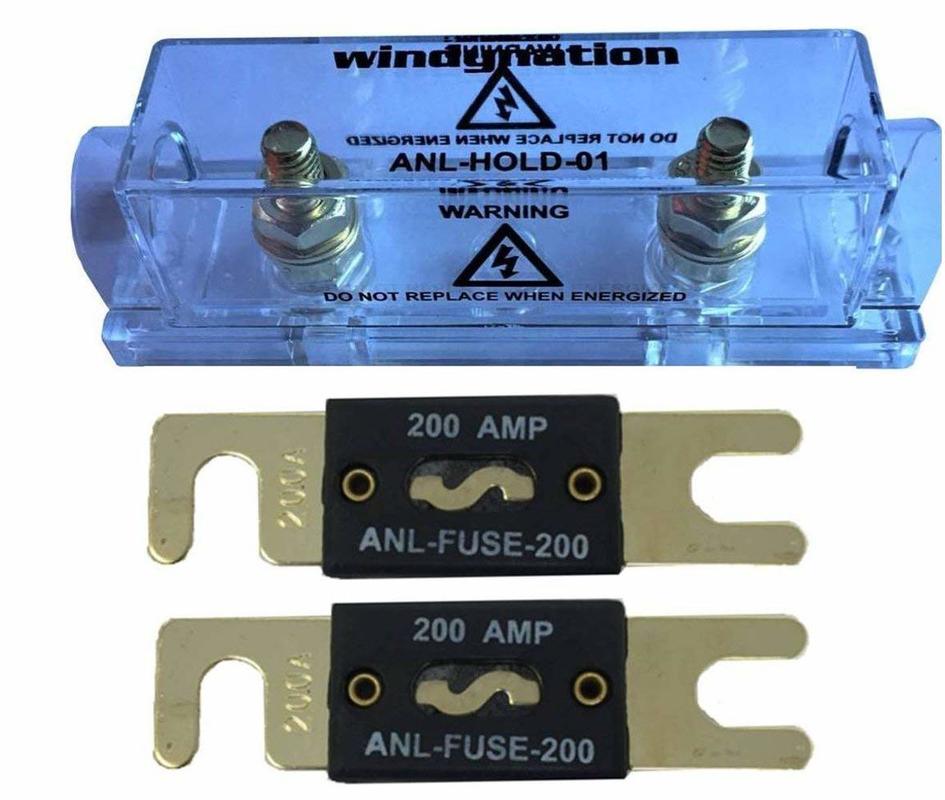
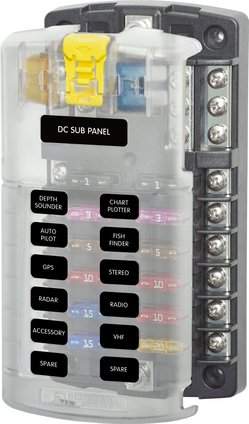
Required fuses, fuse blocks, bus bars and Circuit breakers:
Battery Bank To Inverter/Fuse Block Main Fuse |
Fuse Block |
Required Circuit breaker for
|
bus bar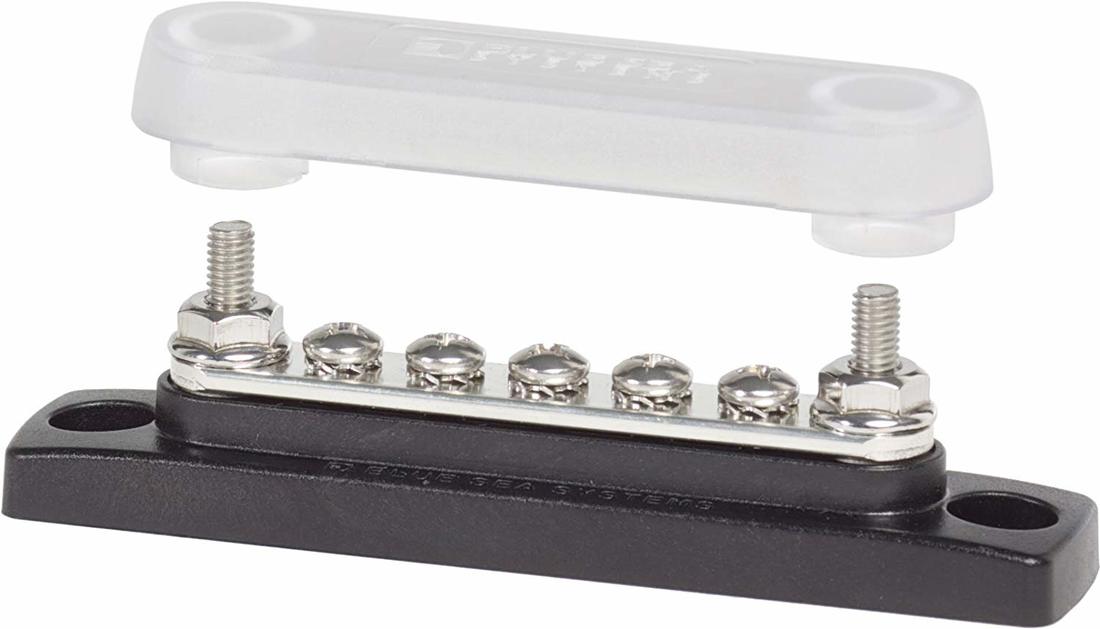
|
Solar Panel Mounts:
Every vehicle is different, so check out my book and this page (click here) to figure out how to mount your solar panels
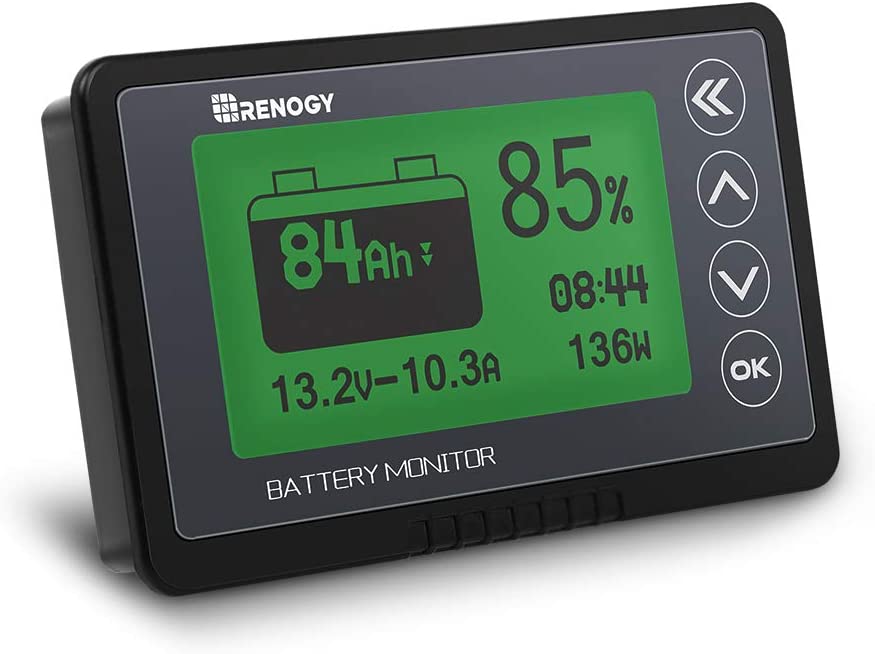
Battery Monitor:
|
This device will tell you how much power you have left before your batteries go to zero. Simply attaches at the main negative lead of your battery bank.
Click Here to purchase If you want a higher quality battery monitor with bluetooth connectivity and data logging, check out the Victron Smart Shunt instead. It does cost more, but it is a fantastic device that I use on all of my systems: Click Here |
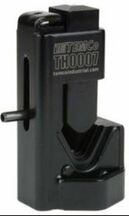
Required Tools:
|
|
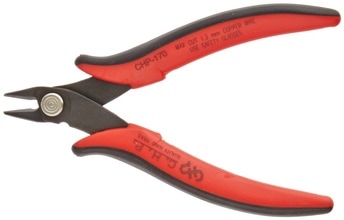
Hammer Type Crimper
Can crimp up to 4/0 gauge wire, and it is much cheaper than other large wire crimpers. If you plan to build only one system, this is the tool for you. Click Here |
|

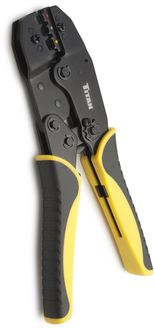
|
Standard Size Crimp Connector set
There are cheaper crimp connector sets available, but they are junk! Spend the extra money and buy a high quality set of connectors. The cheap chinese ones will fail and I have had it happen before. This is what I currently use: Click Here |

|
Other Accessories

|
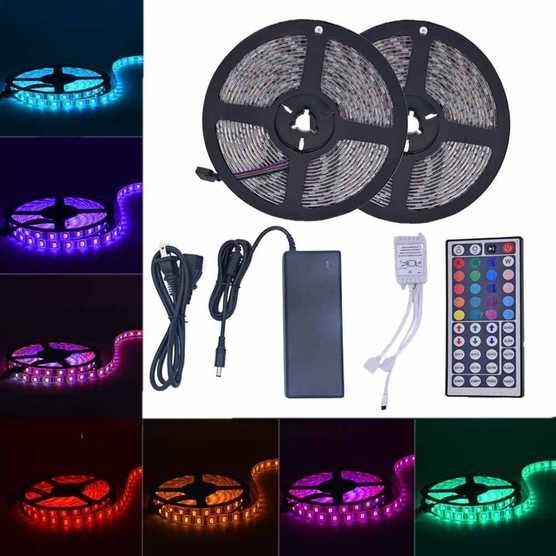
12 volt USB charge strip
Click here |

|
46 Liter Dometic Solar Power Fridge
Click Here |
|

|
|
|
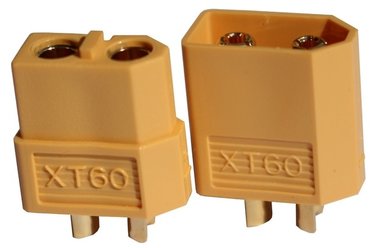
When connecting fans or lights or pretty much anything, use these quick connectors that are rated to 60 amps! I have used them for years for my rc airplanes and helicopters, but they are insanely useful for living in a rv.
Click Here |
|