
400 Watt Solar Package w/ Alternator Charging
This setup works well if you:
- Spend a lot of time inside your vehicle, moving or stationary
- Plan to use a large van or RV
- Plan to run most appliances, such as a computer, microwave, fridge and more
- Need to charge your system with an alternator
- 400 watts of solar panels
- 50 amp DC to DC charger with MPPT
- 300 amp hour lead acid deep cycle battery bank (or 200 amp hour lithium battery)
- 1100-2000 watt inverter
- $400 for Solar Panels
- $300 for DC/DC charger with MPPT
- $700 for Lead Acid Batteries or $1,400 for Lithium Batteries
- $200-$300 for Inverter
- $160 for Branch Connectors/Cable Entry Gland/Wire/Crimp Connectors/Fuses
- $50-$150 for Tools (Cheap tools are available, but you are better off buying high quality tools)
- Complete System with Lead Acid Batteries: $1,860.00
- Complete System with Lithium Batteries: $2,100.00
(Lithium is still cheaper option because it will last 4-8 times longer than the lead acid system)
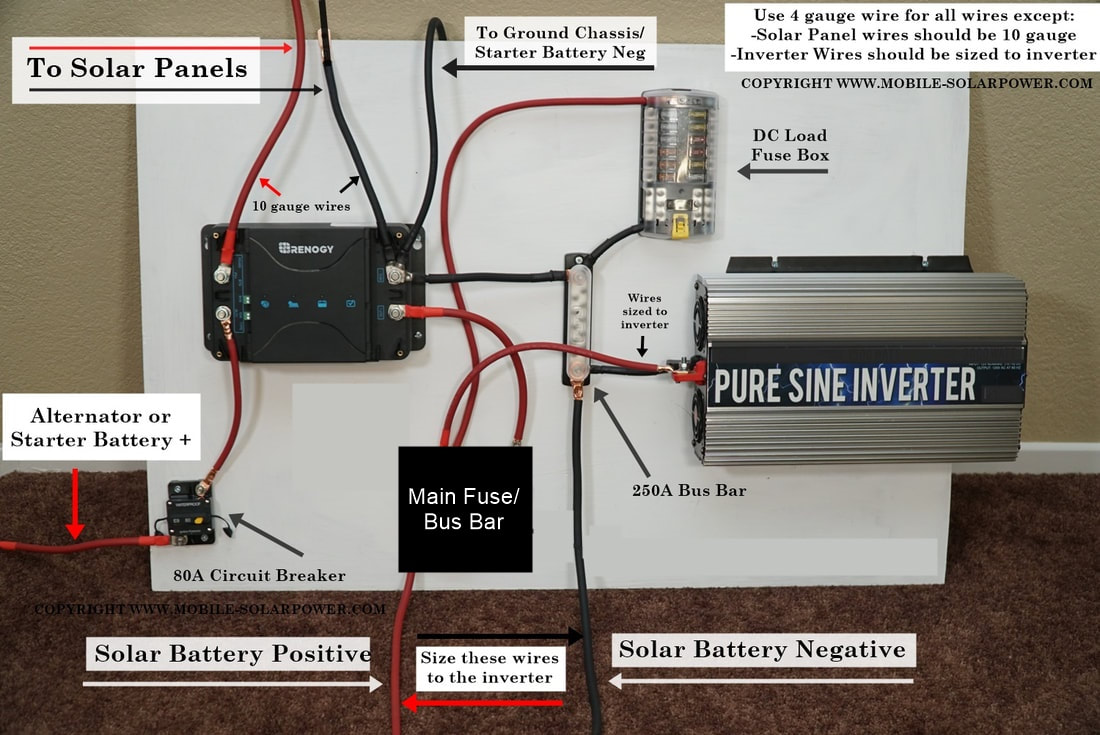
400 watt Solar System Blueprint
Warning: Please read my book for full installation instructions and safety considerations!!
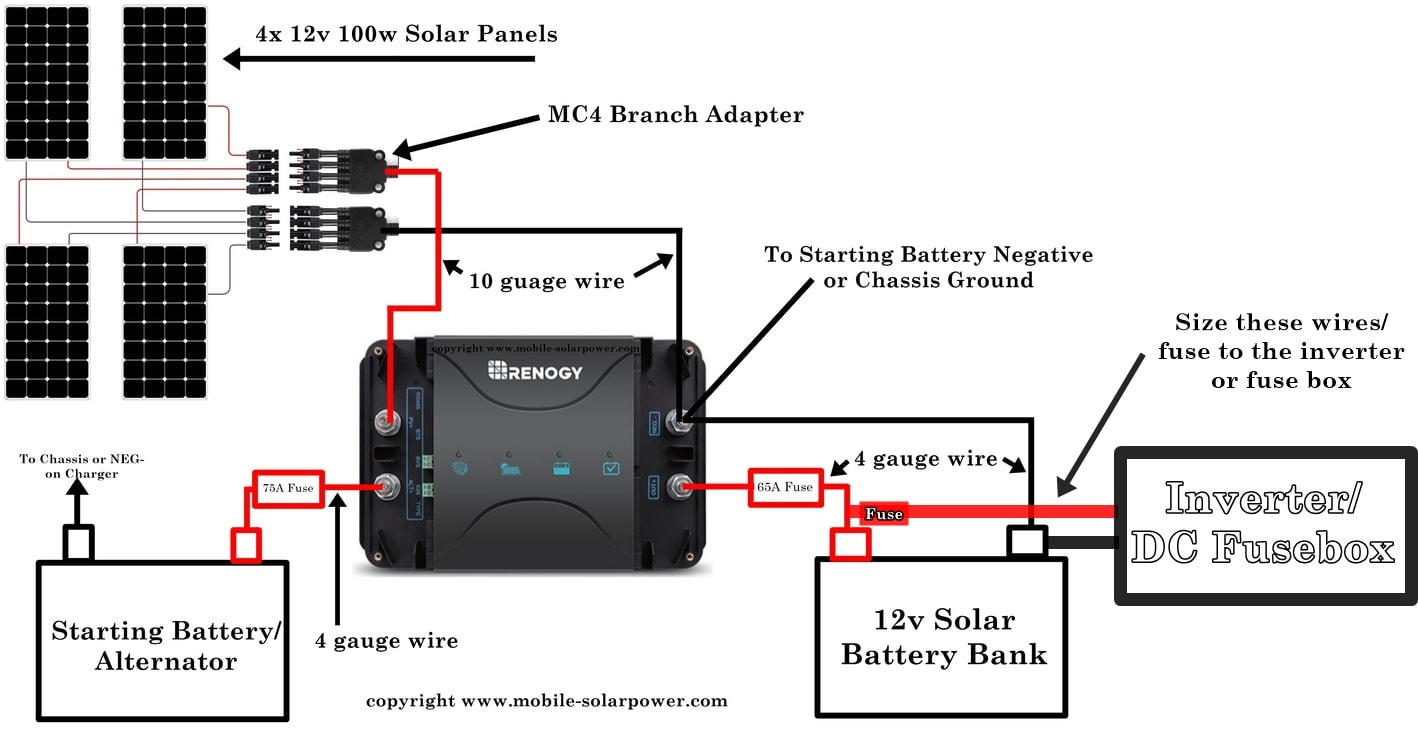
Real world blueprint:
What Components I recommend for this system:
(I Make A Commission For Purchases Made Through The Links Below)
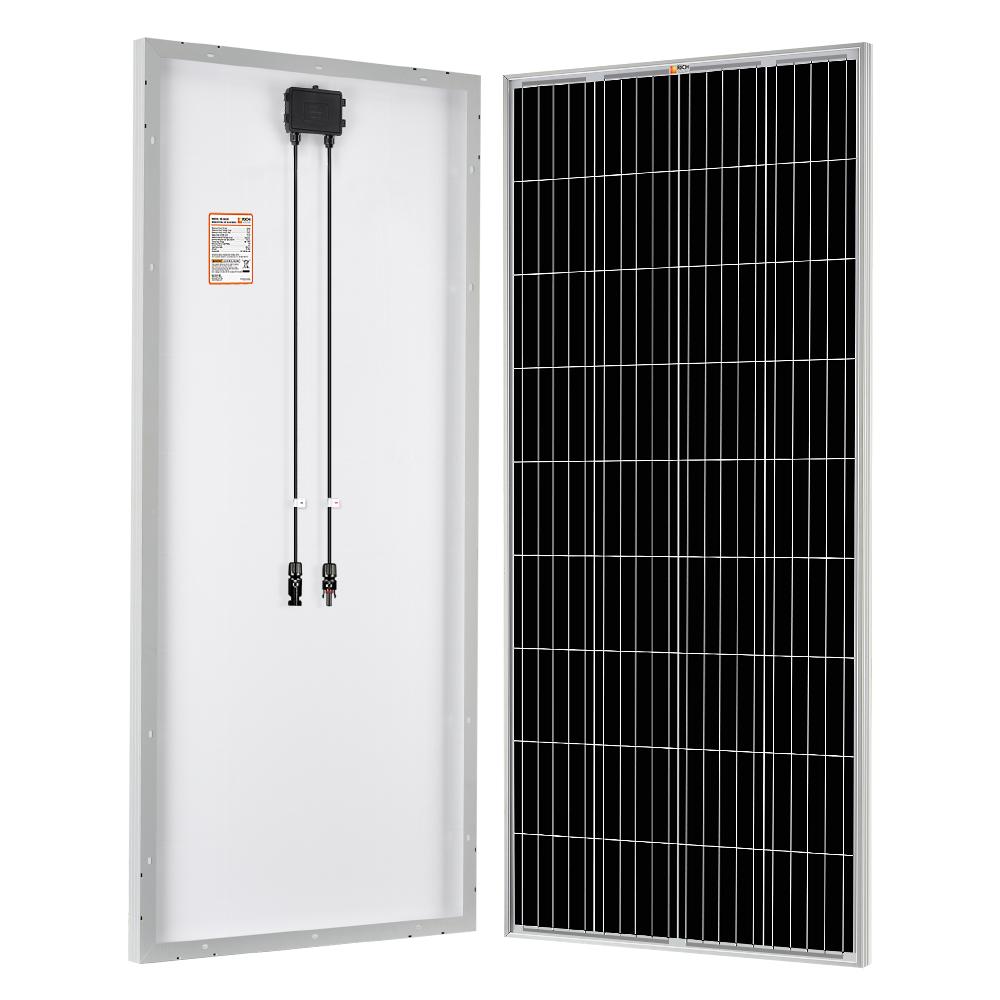
Buy 400 watts of Either Glass or Flexible solar panels
Glass Solar Panels
|
Flexible Solar Panels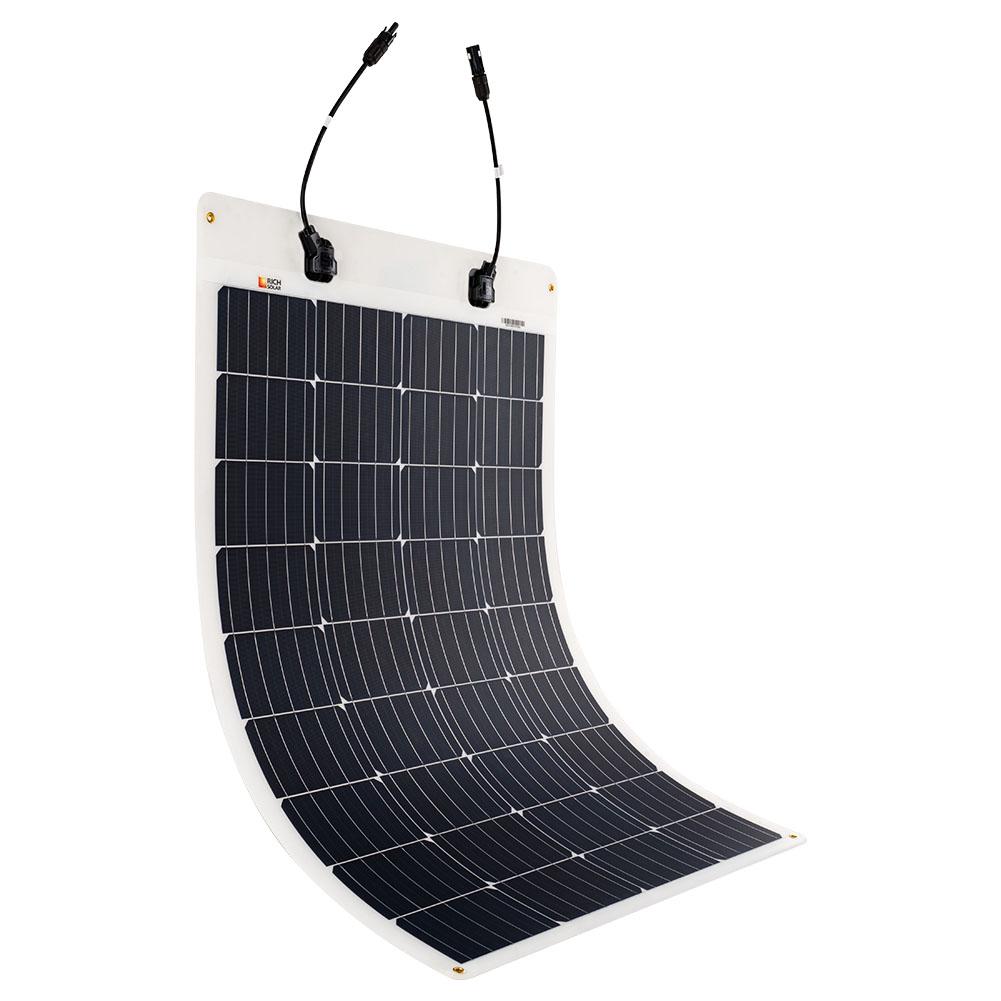
Pros:
Click here to purchase |
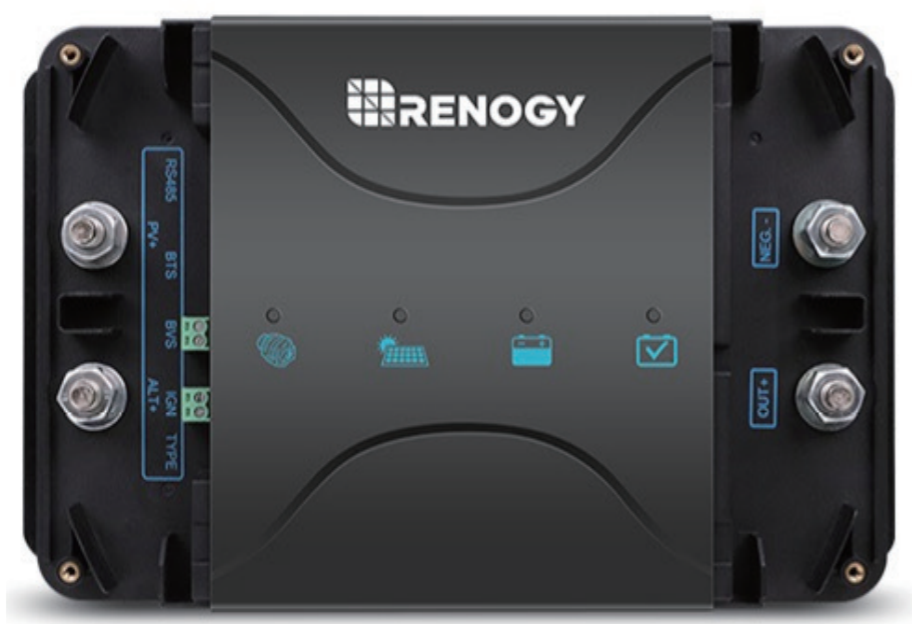
Renogy DC DC Battery Charger w/ MPPT
|
This thing is awesome! It controls charging from your alternator and solar panels. Dead simple to install, and easy to program (just use a paper clip to press the "type" button and you are set. Takes five seconds!)
This charger can handle 600 watts of solar power no problem, but stick with 400 watts so that the mc4 wires and adapters current limitations are not exceeded. If you are using a lead acid battery with this charger, be sure to plug in the temperature sensor and attach it to the solar battery. Click here to buy from renogy |
Purchase This Battery:

|
Buy 1 or more of these:
The Li Time 12V 230Ah Plus Battery. Best bang for the buck lithium battery around!
230Ah Li Time Battery Click Here to Purchase If you need a cheaper battery, click here for more options |
Choose an inverter:
Modified Sine Wave Inverter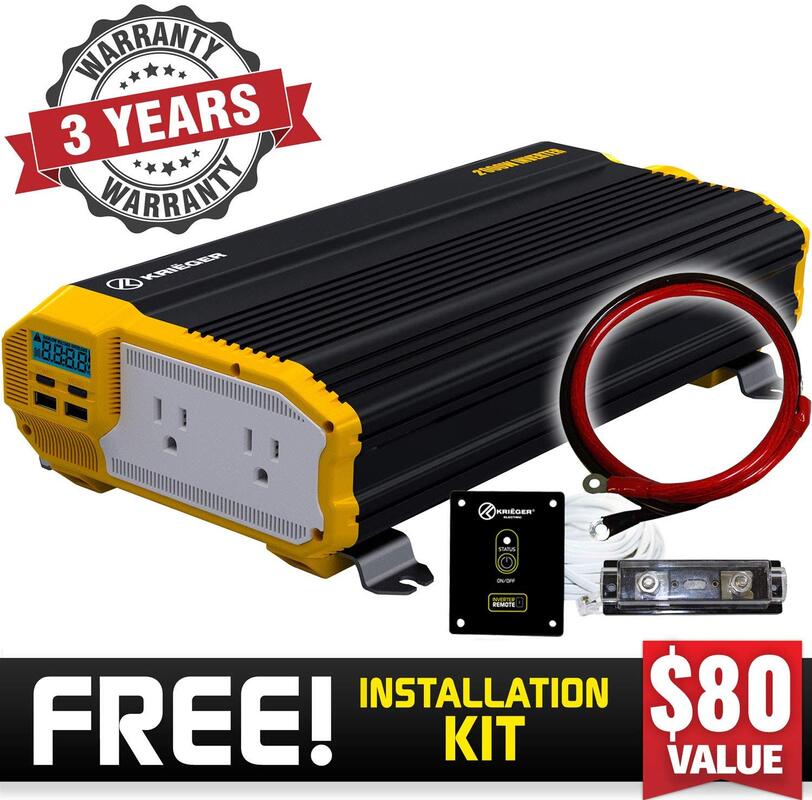
|
Pure Sine Wave Inverter
|

Wire and Adapters:
|
High-Quality Copper Wire for DC appliance hookup
(most wire on amazon is "copper clad aluminum", which is cheaper but lower in quality): 50 feet 10 gauge Blue/Black Click Here |
|
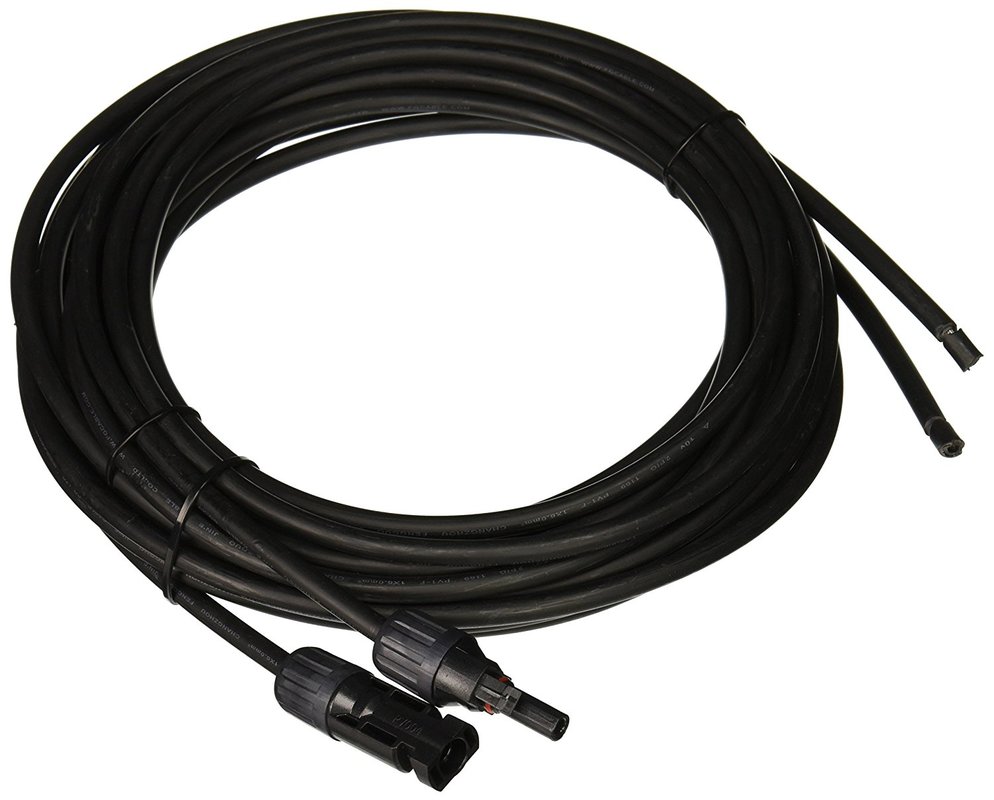
Solar Panel Array to Solar Charge Controller Cable (this cable goes through your roof):
Click Here |

|
Battery to Battery Cables
Any size battery (be sure to select the right size for your battery bank) Click Here |

|
Pre-fabricated Battery to
Inverter Cables (if your inverter does not come with them) make sure that the holes on the connector will work with your battery/inverter 12 volt 1000-2000 watt inverter |
|
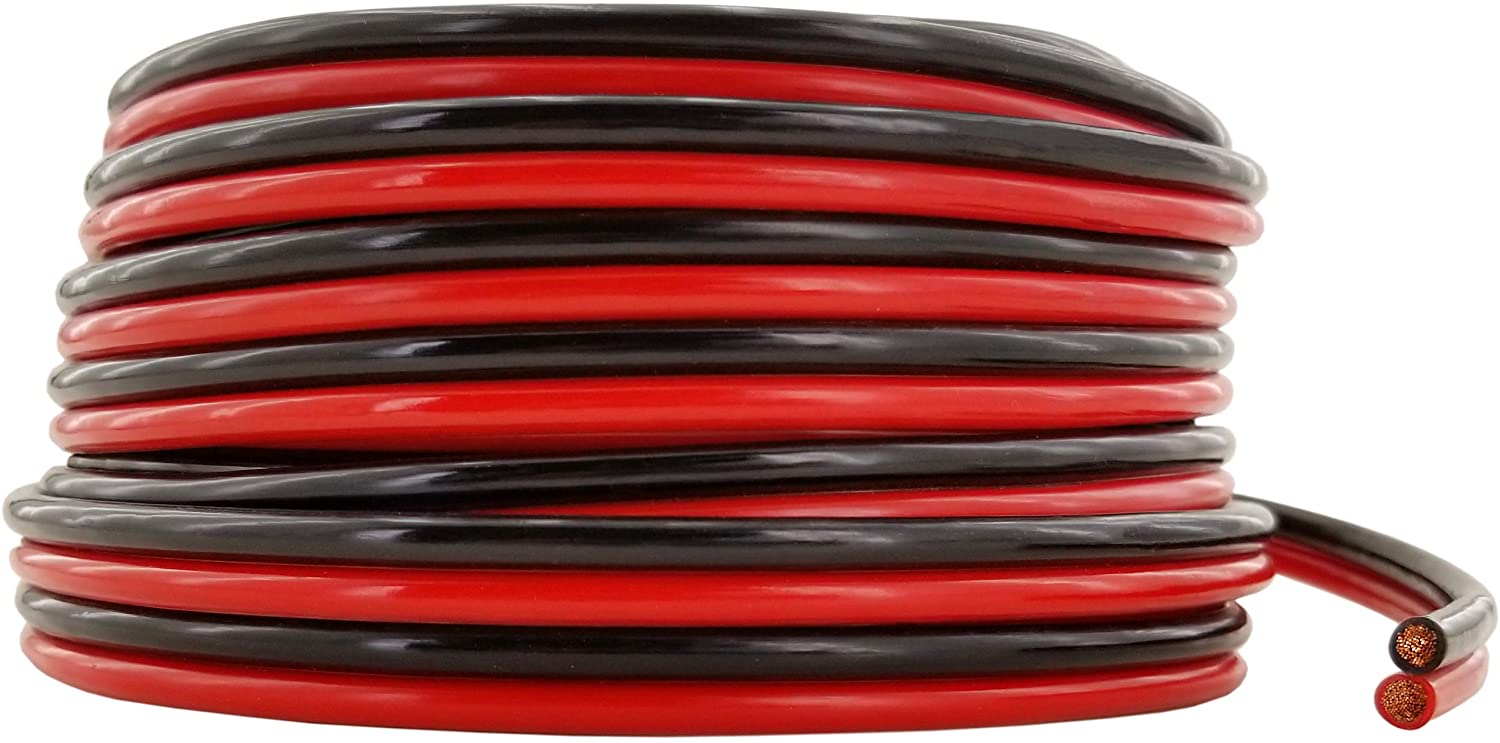
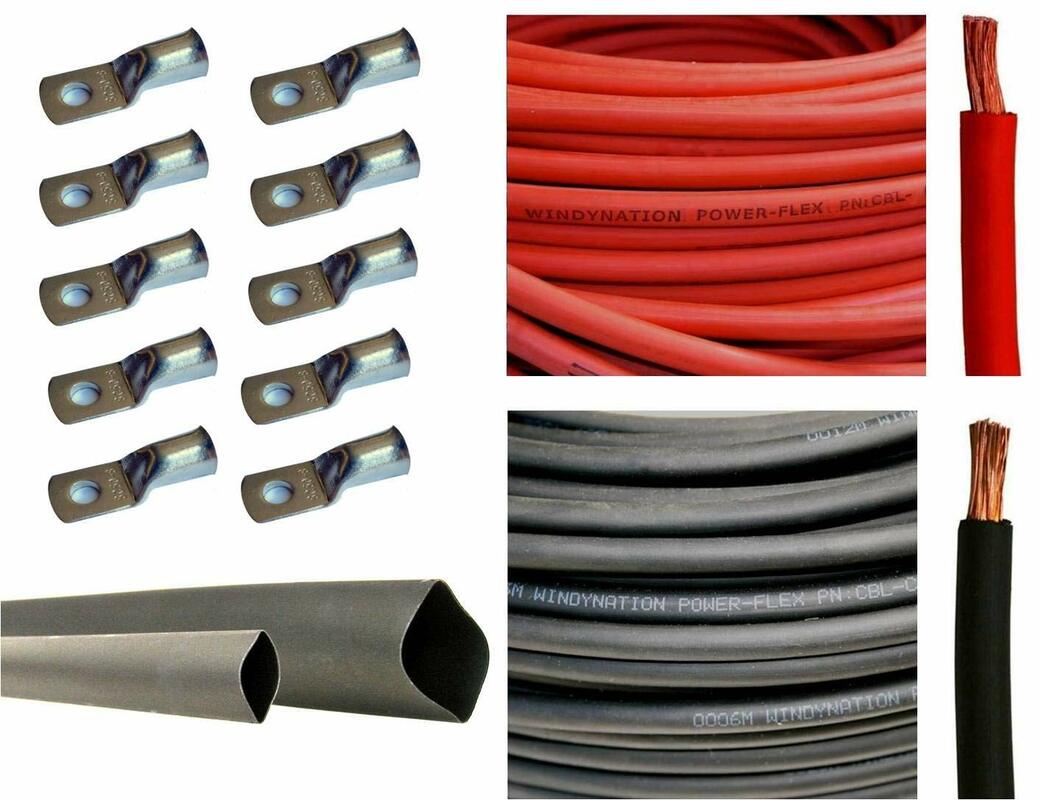
Main Component Hook-up wire/connectors/heatshrink
Requires a Hammer-type Crimper and Assembly. Great for custom built systems where length of each wire matters. If you are a beginner, stick to pre-fabricated cables. Click on a link below and choose your length (default length is 10 feet of red, 10 feet of black): |
|
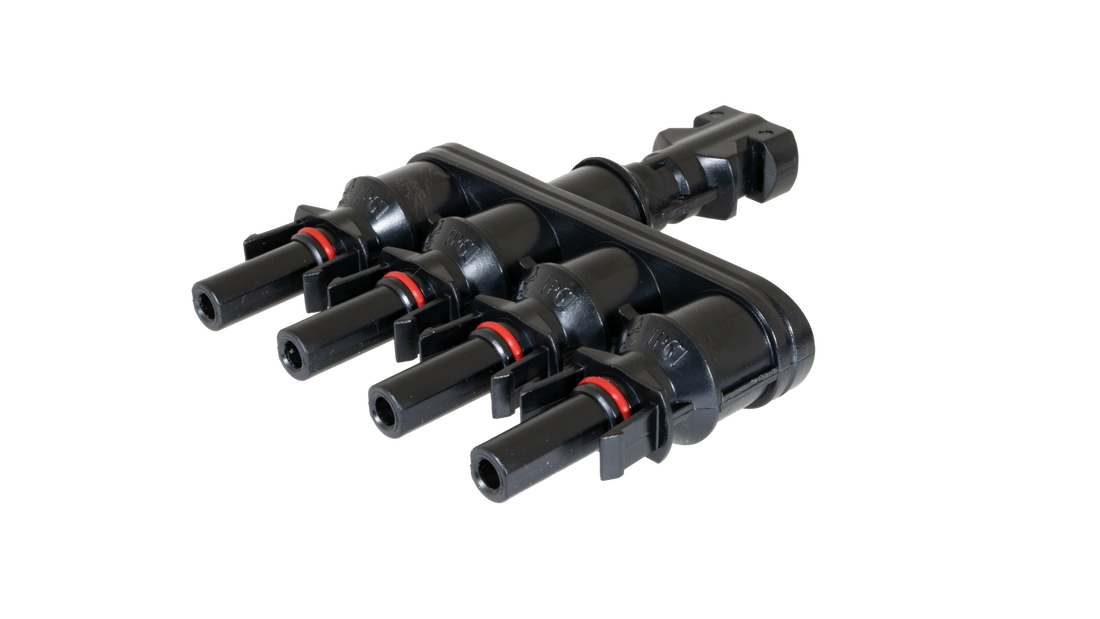
Branch Connector
Wiring multiple panels together requires a branch connector. Connect all of your panels together on the roof and combine them into two wires which will connect to the solar panel extension cable (Solar panel to charge controller cable above) Important Installation Note: This branch adapter can handle 30 amps. MC4 cannot. So the solar panel to branch adapter are good to go. But the connection between the branch adapter and solar charge controller should not have a mc4. Use a 8 or 10 gauge wire to connect them instead. mc-4 branch connector (1x pair required for 400 watt system) Click Here |
|
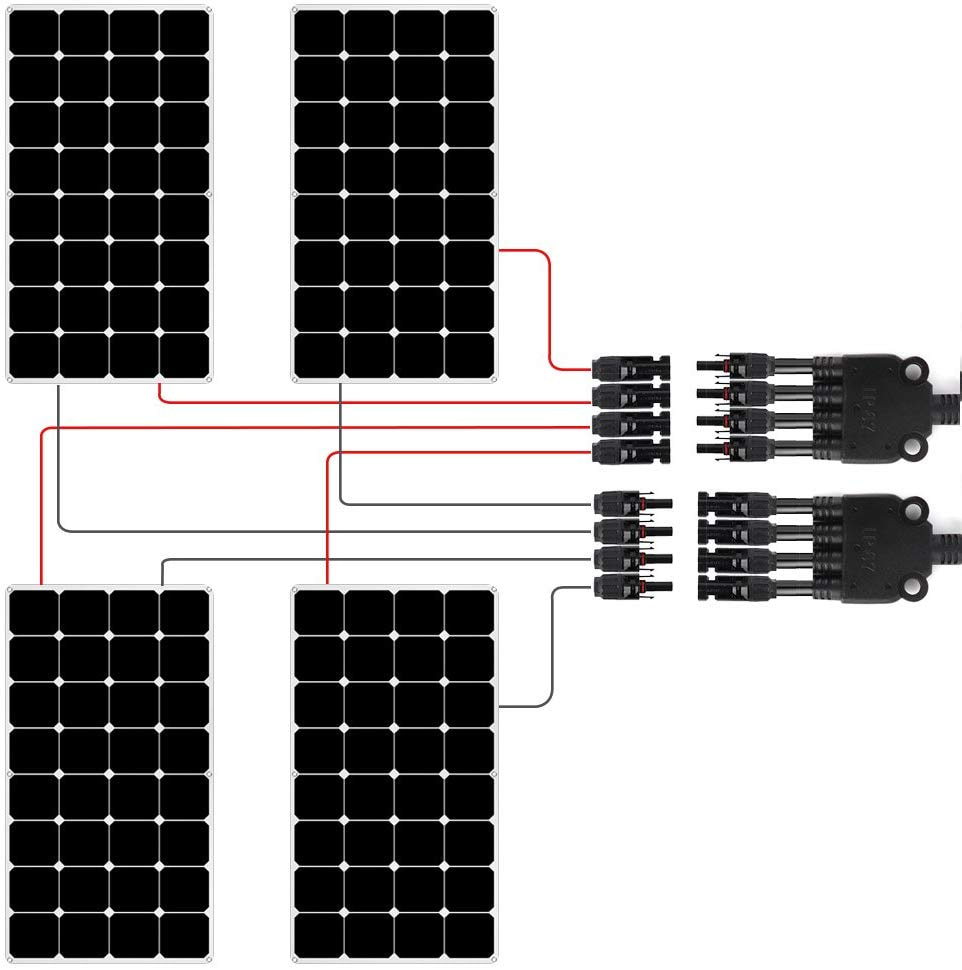
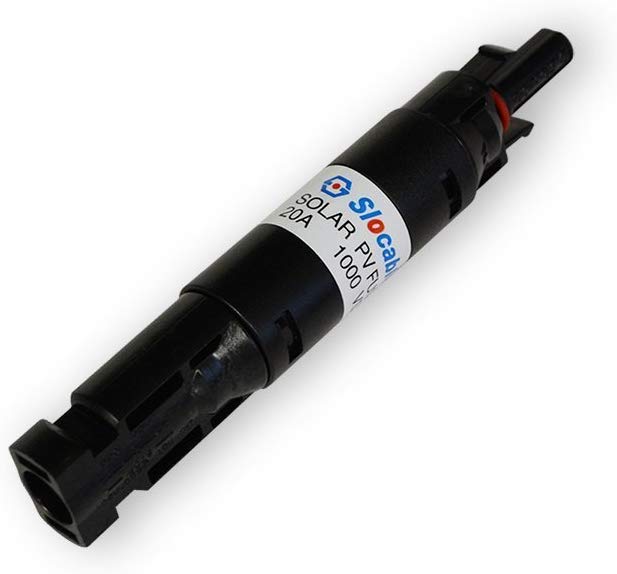
Because this blueprint unfortunately requires parallel connection of the solar panels (which I dislike, but the charge controller voltage is quite limited), then you need to add an inline mc4 fuse to your individual solar panels. This is not the case in series strings. But because this blueprint requires so many solar panels in parallel, adding a inline mc4 fuse is very smart to do.
Click Here to buy 4x 15A inline MC-4 fuses To install, add it to the mc4 connections of each individual solar panel. Takes seconds, and can prevent problems in the future. |
|
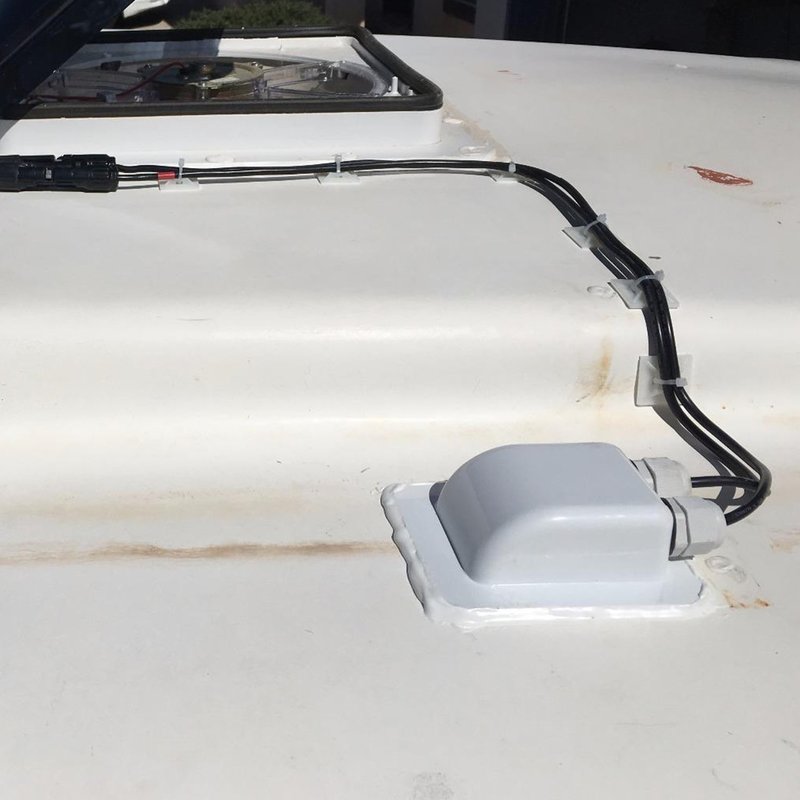
Solar Panel Cable Entry Gland
When your solar panel array wires enter your vehicle, you will need to drill two holes. Use this cover to prevent roof leaks from developing. This system requires x1 Click Here |
|
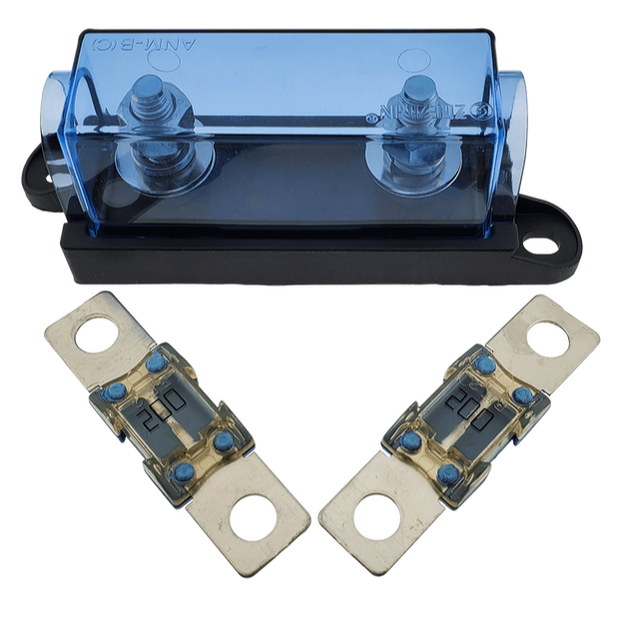
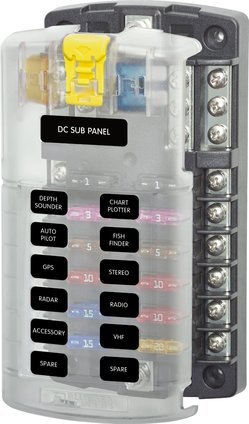
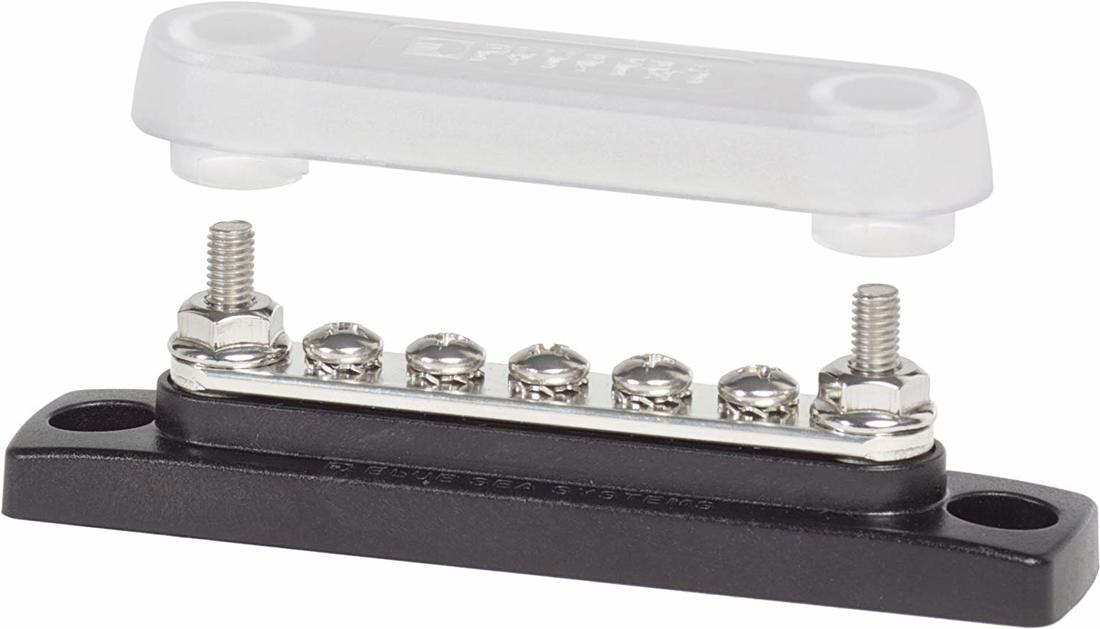
Required fuses, fuse blocks, bus bars and Circuit breakers:
Battery Bank To Inverter/Fuse Block Main Fuse
|
Fuse Block |
Required Circuit breaker for
|

|
For this system, you will need a circuit breaker for the DC DC charger at the input and output:
Input: 75-80A Circuit breaker click here Output: 65-70A Circuit breaker click here |
bus bar
Solar Panel Mounts:
Every vehicle is different, so check out my book and this page (click here) to figure out how to mount your solar panels
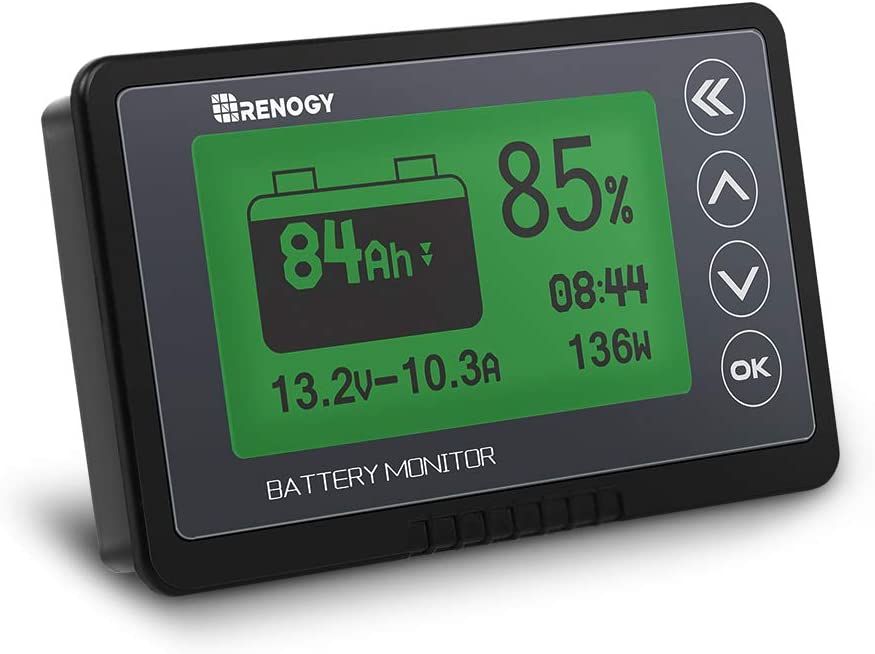
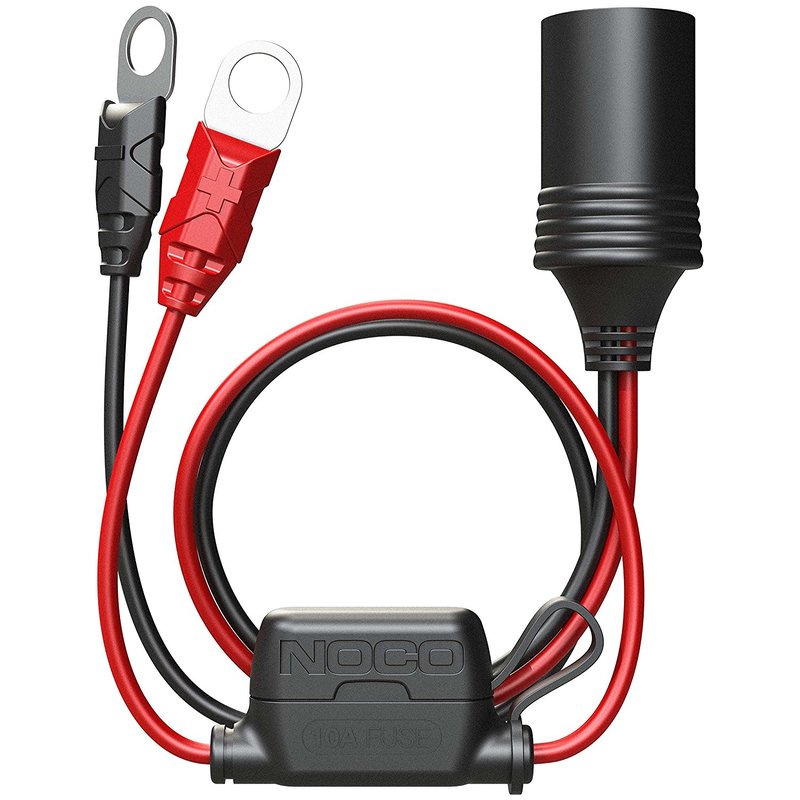
Battery Monitor:
|
This device will tell you how much power you have left before your batteries go to zero. Simply attaches at the main negative lead of your battery bank.
Click Here to purchase If you want a higher quality battery monitor with bluetooth connectivity and data logging, check out the Victron Smart Shunt instead. It does cost more, but it is a fantastic device that I use on all of my systems: Click Here |
Required Tools:
|
|
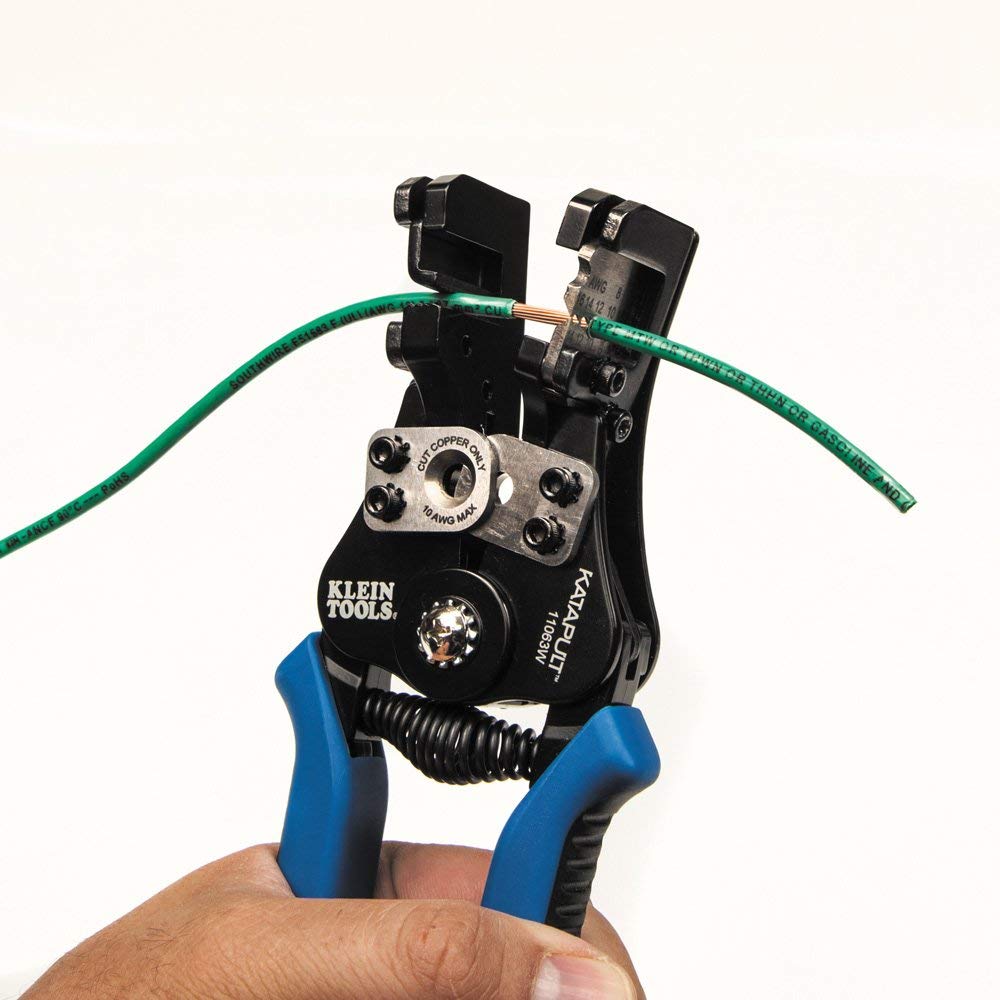
Hammer Type Crimper
Can crimp up to 4/0 gauge wire, and it is much cheaper than other large wire crimpers. If you plan to build only one system, this is the tool for you. Click Here |

|
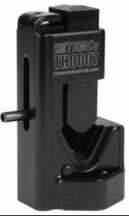
High quality manual force crimper
This crimper will crimp any standard/non-standard, insulated/non-insulated connector. Click Here |
|
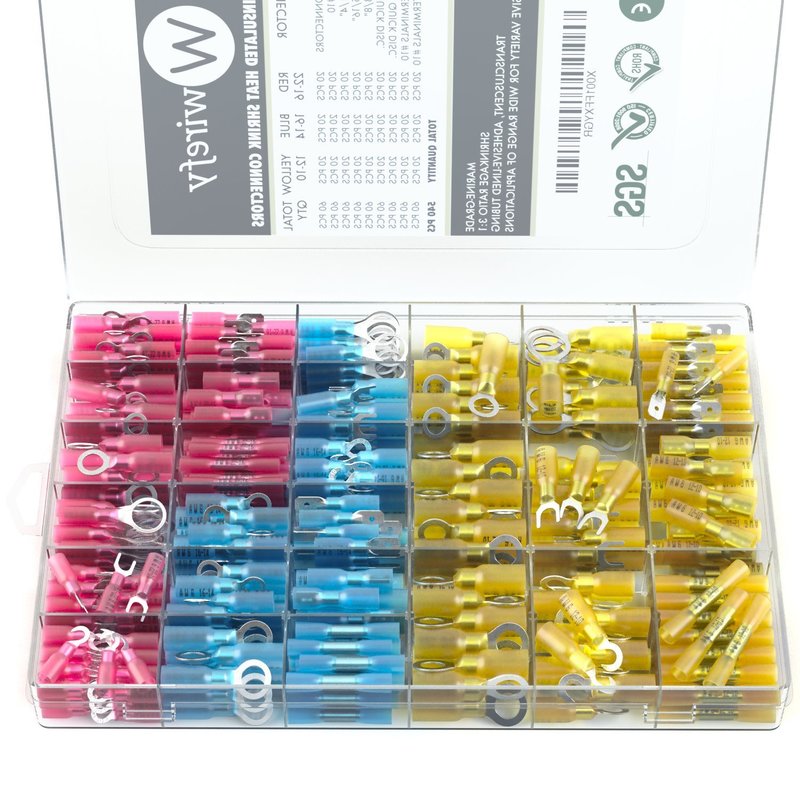
Standard Size Crimp Connector set
There are cheaper crimp connector sets available, but they are junk! Spend the extra money and buy a high quality set of connectors. The cheap chinese ones will fail and I have had it happen before. This is what I currently use: Click Here |

|
Other Accessories
|
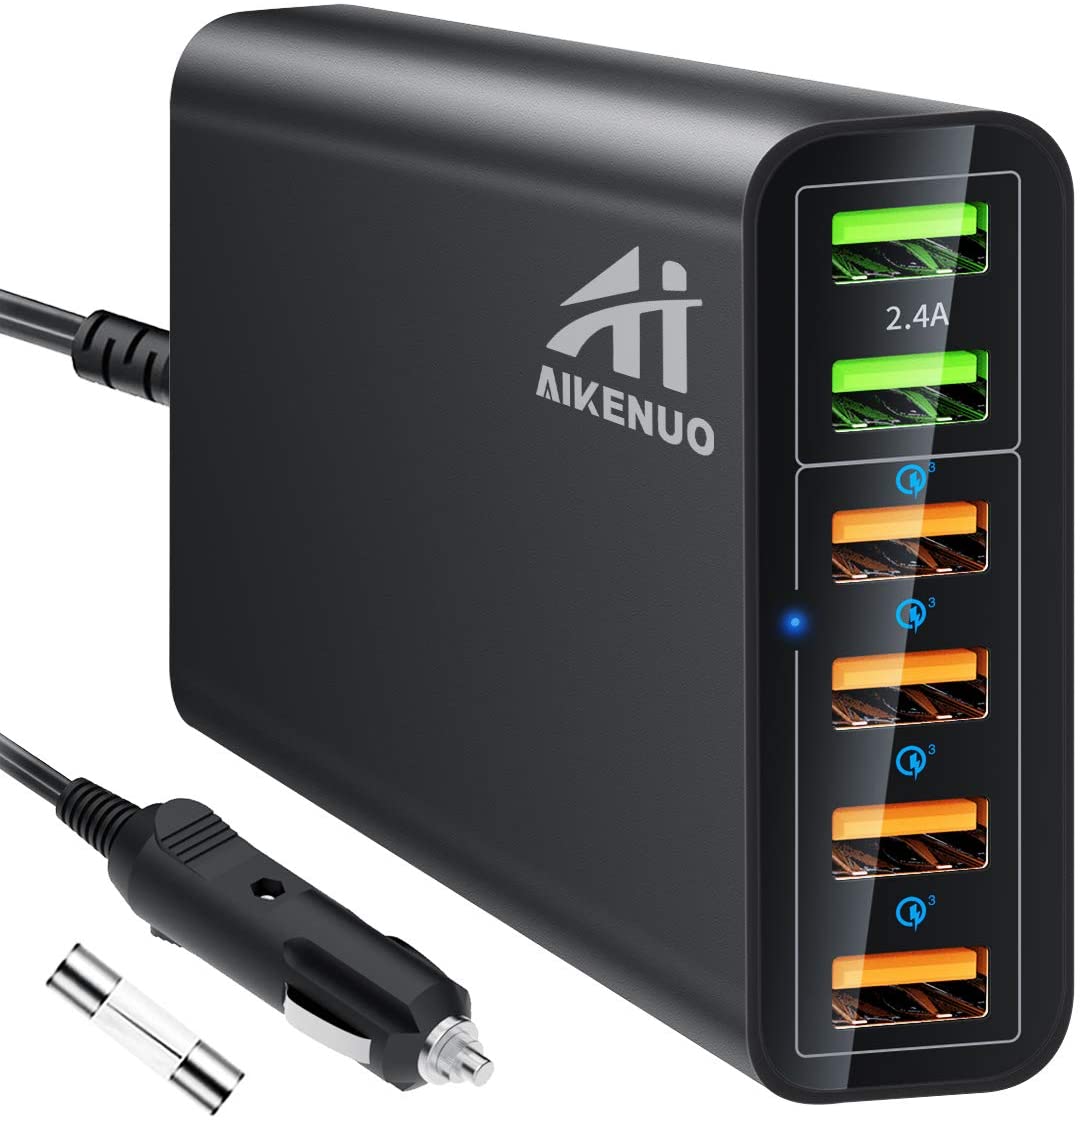
12 volt USB charge strip
Click here |

|
Dometic Solar Power Fridge
Click Here |
|
|
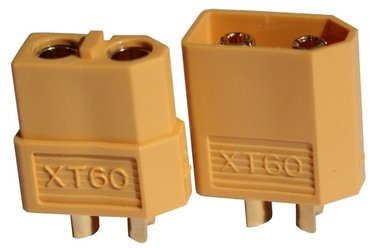
When connecting fans or lights or pretty much anything, use these quick connectors that are rated to 60 amps! I have used them for years for my rc airplanes and helicopters, but they are insanely useful for living in a rv.
Click Here |

|