
Solar Charge Controllers
Over the years I have had numerous manufacturers send me boxes of various charge controllers and I have found them to be complete junk, over-priced or missing key features. This is a scary problem because if a solar charge controller fails, your vehicle can be burned to ashes. Due to faulty quality control issues, cheap materials and bad designs, many solar charge controllers are a danger to use.
Key features that you need to look out for:
Solar Charge Controllers are cool, but you can save a ton of cash by using an "all-in-one" solar system box. It usually has a massive solar charge controller and this option is much cheaper than any of the controllers below. Check them out by clicking here
Key features that you need to look out for:
- It is a true MPPT Controller which will deliver 99% efficiency
- Can be used for over-paneling (which means you can add more panels than what it is rated for). This feature is very hard to find, but present in all of the controllers that I recommend
- Temperature Compensation- This increases the life of your batteries
- Manual charge profiles (charge any type of battery): Only for advanced users. This will allow you to fine tune your charge profile to a specific battery
- Large and strong input terminal that can accommodate large wire gauges (very hard to find)
- Great reviews on amazon
Solar Charge Controllers are cool, but you can save a ton of cash by using an "all-in-one" solar system box. It usually has a massive solar charge controller and this option is much cheaper than any of the controllers below. Check them out by clicking here
Solar Charge controller options
(I Make A Commission For Purchases Made Through The Links Below)
All of these charge controllers have great reviews and will do a great job, but they have some key differences:
|
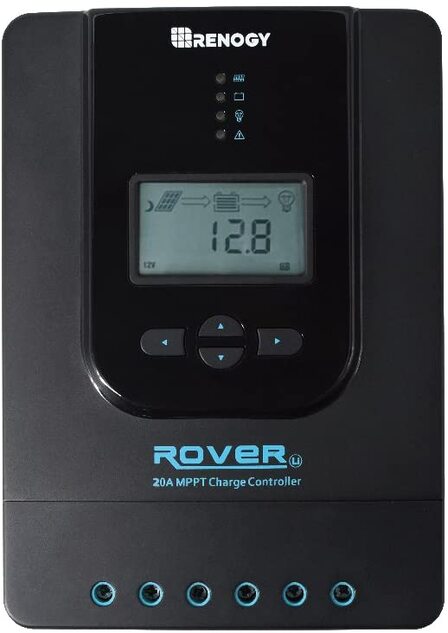
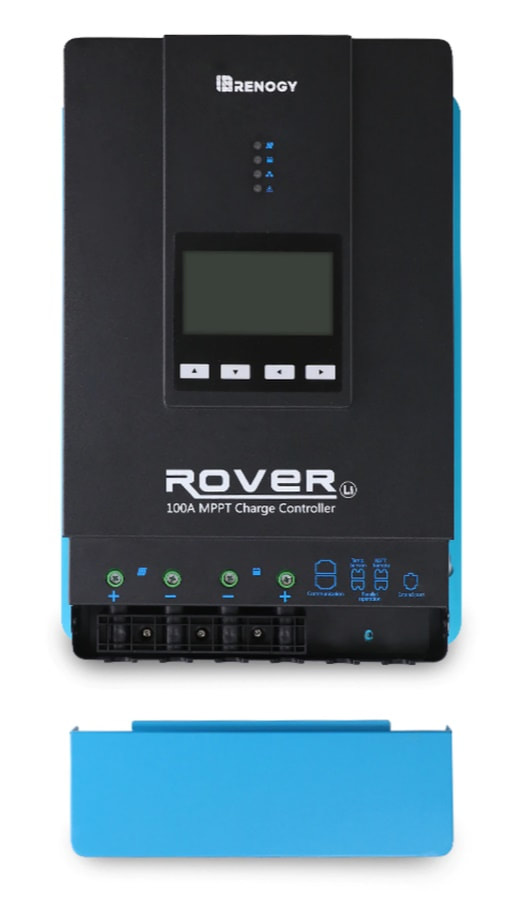
Renogy Rover Series MPPT
Best Value, easy to program and lithium specific 
Best controller for the price
|
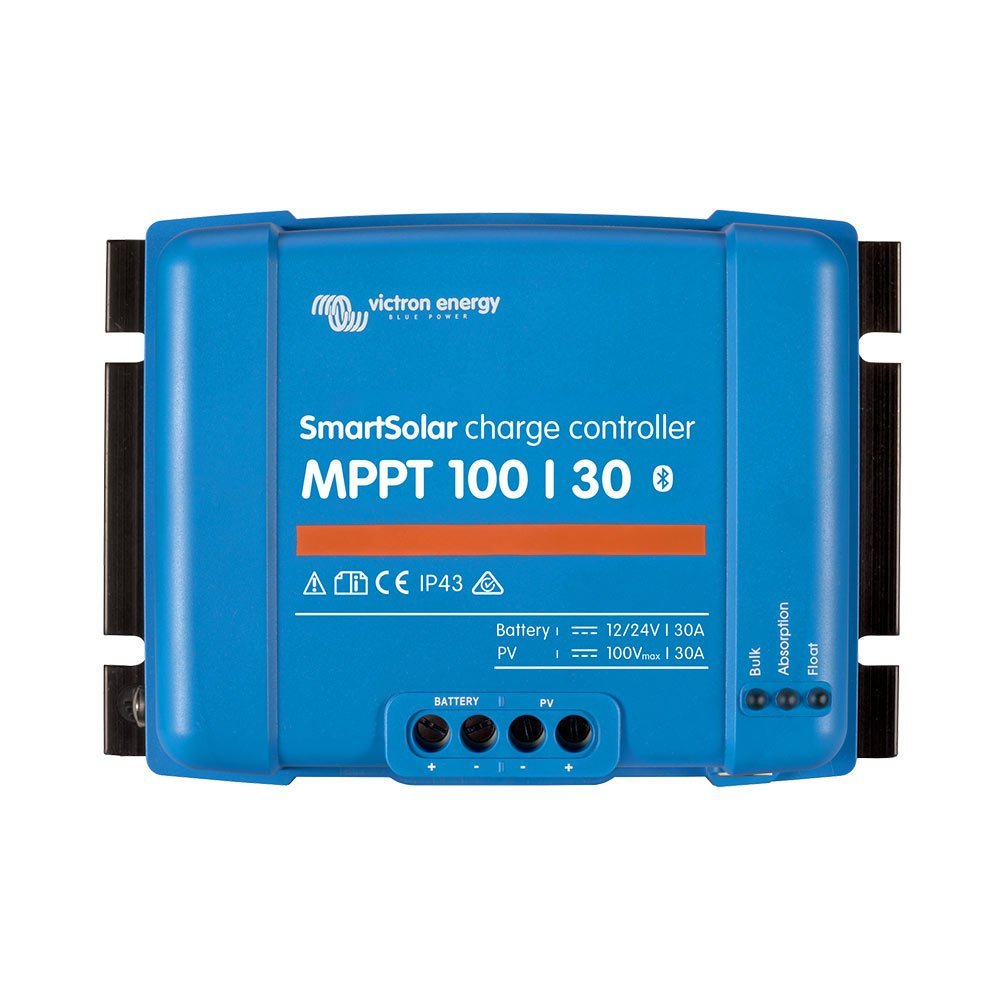
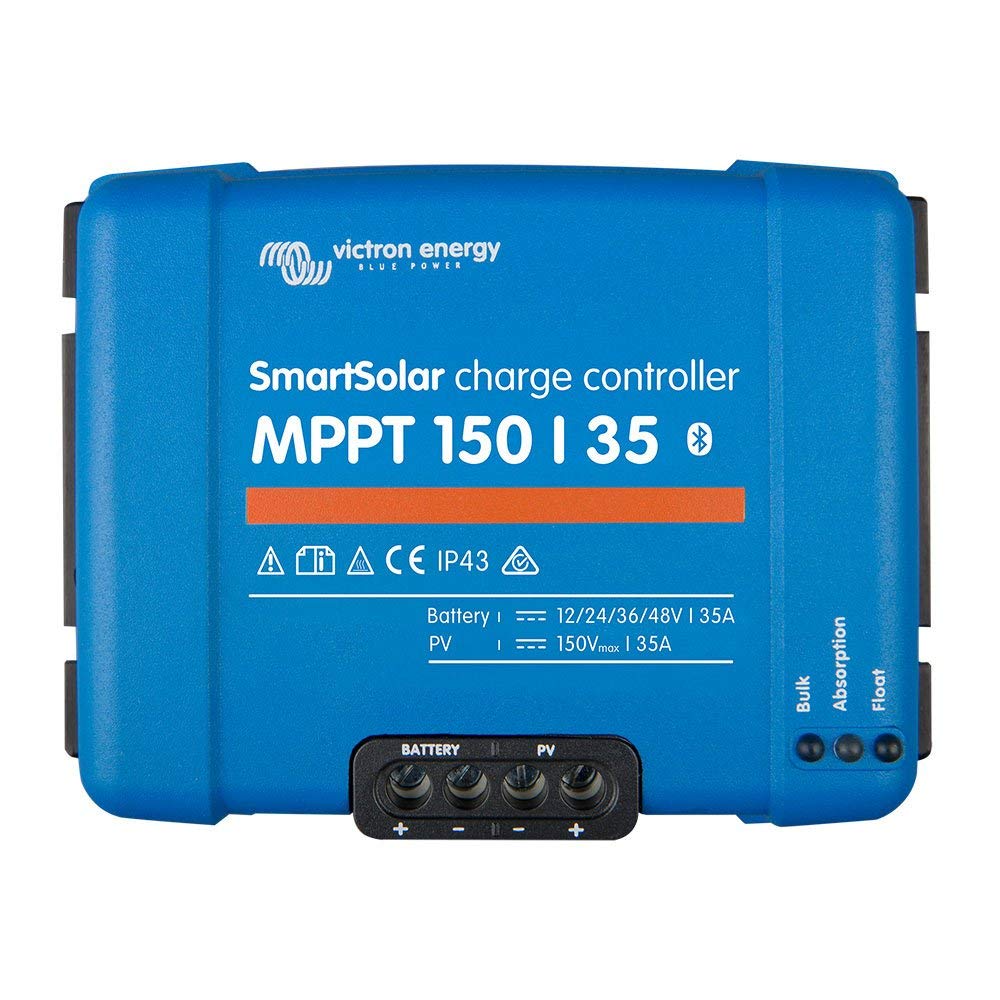
Victron MPPT
Best of the best Easy to use, expensive, highest quality 
If you are using a Lithium Battery or Custom Charge Profiles, get this controller.
|
Epever Tracer-BN Series MPPT
Great quality and lasts for years, but hard to program. 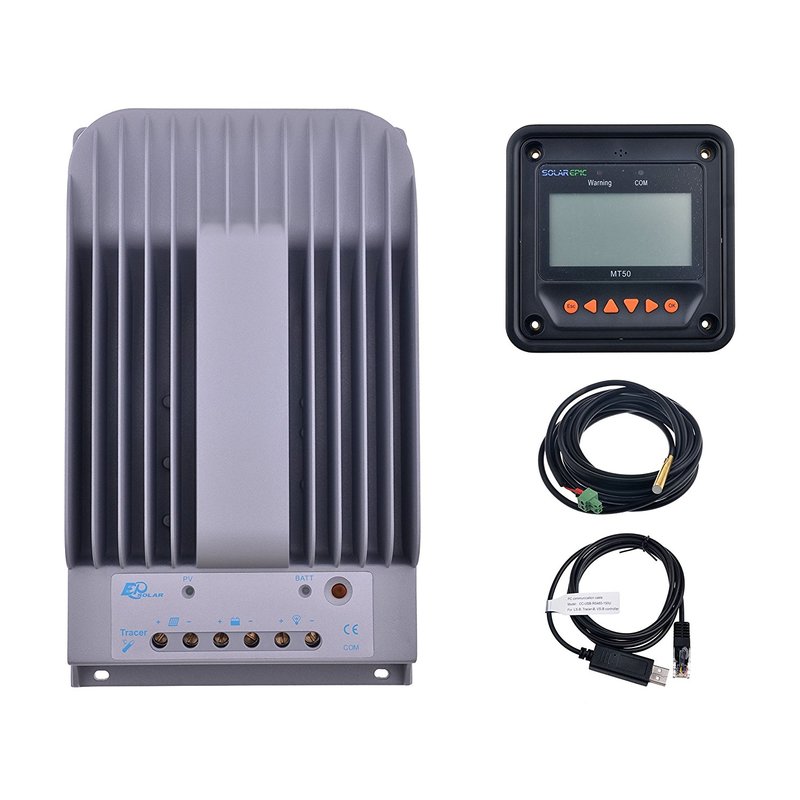
If you are using standard SLA/FLA/Drop-in Lithium Battery, get this controller
|
Best Value Controller: Renogy Rover Series
|
20 Amp MPPT Charge Controller kit:
Max. Solar Input Power: 260W (12V battery) 520W (24V battery) Click Here for a cheap price 30 Amp MPPT Charge Controller kit: Max. Solar Input Power: 390W (12V battery) 780W (24V battery) Click Here for a cheap price 40 Amp MPPT Charge Controller kit: Max. Solar Input Power: 520W (12V battery) 1040W (24V battery) Click Here for a cheap price 100 Amp MPPT Charge Controller kit: Max. Solar Input Power: 1300W (12V battery) 3900W (24V battery) 5200W (48V battery) Click Here for a cheap price |
If you want the best quality controller with bluetooth monitoring, easy charge profile editing, and you are ready to drop some money, buy this:
|
100 volt max input, 12/24 volt Battery Bank Compatible Solar Charge Controllers: 15 Amp controller Max Solar Array: up to 220 watts with a 12 volt battery, 440 watts at 24 volts click here to purchase 20 Amp controller Max Solar Array: up to 290 watts at 12 volts, 580 watts at 24 volts click here to purchase 30 Amp controller Max Solar Array: up to 440 watts at 12 volts, 880 watts at 24 volts click here to purchase 50 Amp controller Max Solar Array: up to 700 watts at 12 volts, 1400 watts at 24 volts click here to purchase |
If you want the best of the best, and you have a large solar power array
that will produce under 150 volts, use this:
that will produce under 150 volts, use this:
|
150 volt max input, 12/24/36/48 volt Battery Bank Compatible Solar Charge Controllers: 45 Amp controller Max Solar Array: up to 650 watts at 12 volts, 1300 watts at 24 volts, 2600 watts at 48 volts click here to purchase 60 Amp controller Max Solar Array: up to 860 watts at 12 volts, 1720 watts at 24 volts, 3440 watts at 48 volts click here to purchase 70 Amp controller Max Solar Array: up to 1000 watts at 12 volts, 2000 watts at 24 volts, 4000 watts at 48 volts click here to purchase |
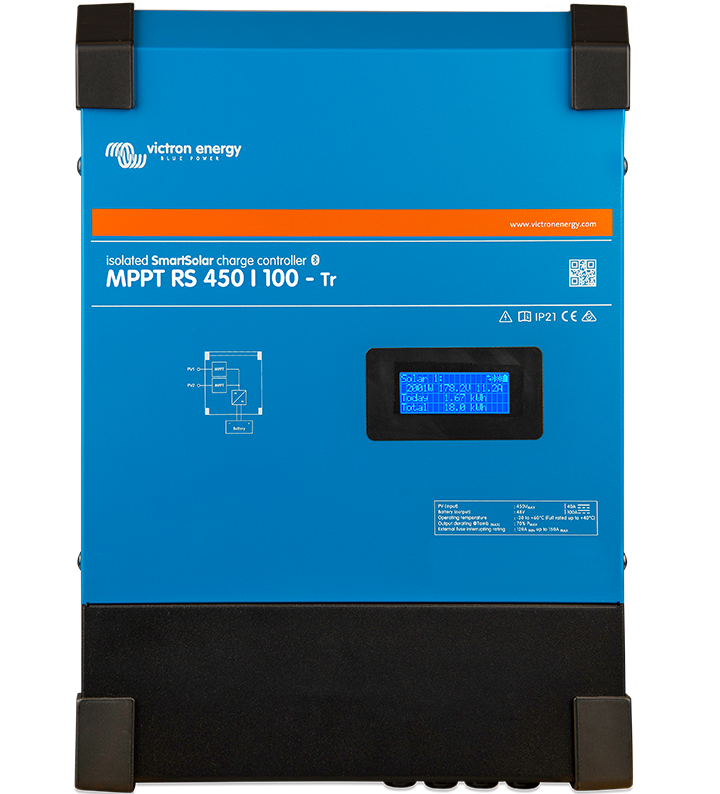
If you are building a massive system, check out Victron's new RS line up. They can handle up to 450V!
|
This is the best of the best when it comes to solar charge controllers. Multiple trackers (great if you have multiple arrays), can handle over paneling and you can program everything how you see fit. You cannot buy a better stand alone solar charge controller.
100 Amp Controller Max Array Size: 14,000W! Max Output of 5,760W Click Here to Purchase 200 Amp Controller Max Array Size: 28,000W! Max Output of 11,520W Click Here to Purchase |
Reliable solar charge controller that is hard to program

|
If you use a AGM Sealed Lead Acid or Recommended Drop-in Lithium, you do not need to program anything. You plug this controller into your system, and you are done.
This controller can do it all, but it is difficult to program custom charge profiles. If you read the manual and give it an hour or so, you can make this controller work with any chemistry out there. If you are using normal batteries, you do not need to worry about this at all. 40 Amp MPPT Charge Controller Kit: Max. Solar Input Power: 100 volts open circuit (solar panel array voltage) 520W (12V battery) 1040W (24V battery) Click Here for a cheap price |
If you wish to use this controller to charge exotic/strange voltage lithium battery banks (such as a tesla/nissan leaf battery), you can change the charge controller parameters manually with the mt-50:
- Go to the main menu and select "4. Control Para.". In this menu, use the arrow keys to navigate around and see the current charge profile parameters.
- If you want to change a parameter, hold down the "ok" button. If it asks for a password input, leave it blank and hold down "ok". You will see the number flash, and you can use the arrows to change the parameter.
- When you are done editing the parameter, press "ok" and it will ask you to save the settings. Press "ok" again. You need to repeat this process everytime you change parameters on a screen (so you can only edit two parameters at a time).
- When you are done editing, use the navigation arrows to ensure that all changes have been saved.
- Connect your system to solar power and watch the charge voltage. If it charges up to the charge limit voltage that you programmed, you are good to go.