The Minimalist on a budget Solar Package
This setup works well if you:
- Plan to install in a minivan/car/off-road truck/cargo van with limited roof space
- Want a lightweight setup that is aerodynamic
- Plan to run a laptop, USB charger, and some LED lights (but do not plan to run any large motors/microwaves or large appliances)
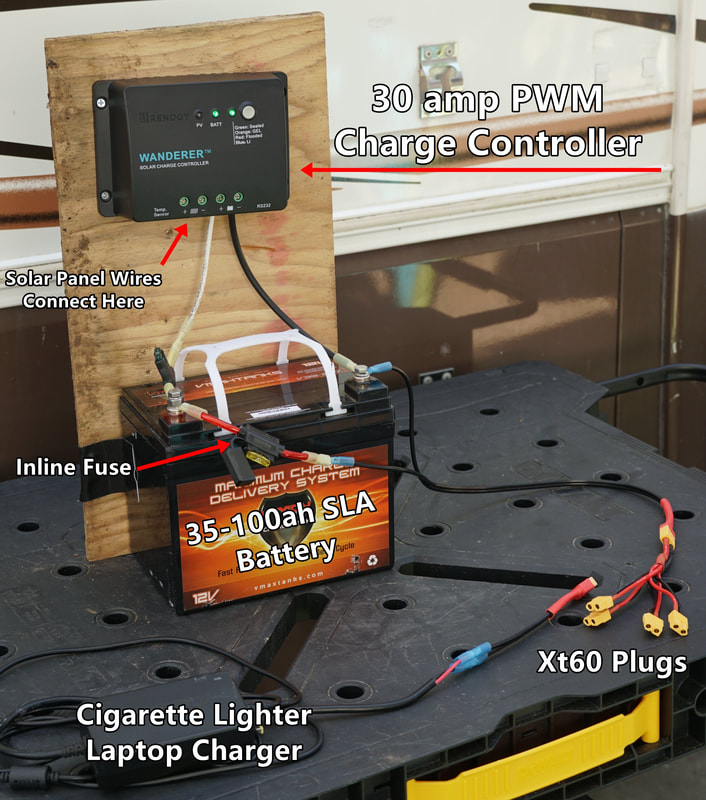
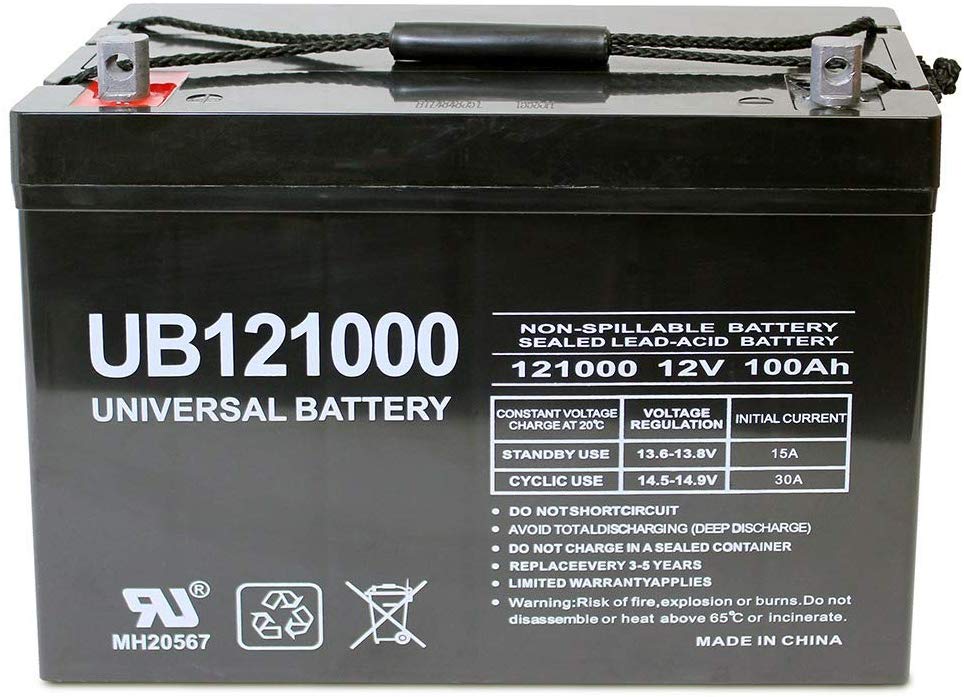
- 35-100 amp hour SLA deep cycle battery
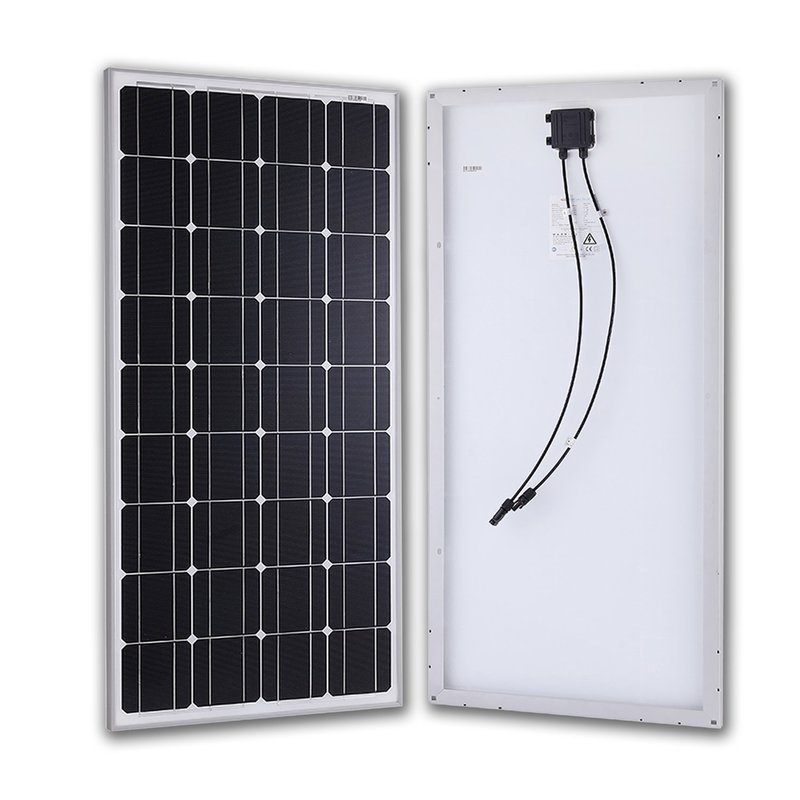
- 100-200 watt solar panel
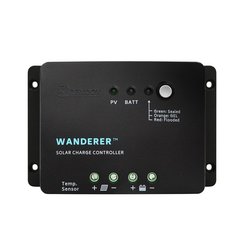
- 30 amp PWM controller
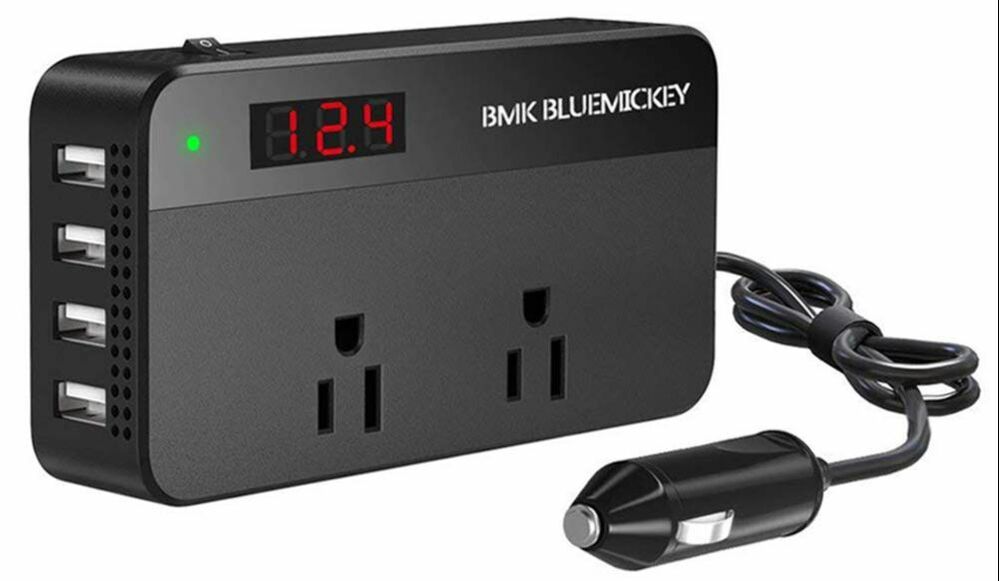
- 200-1000 watt inverter
- $80-$200 for Solar Panels
- $35 for Solar Charge Controller
- $70-$269 for Cheap Lead Acid Batteries
- $20-$84 for Inverter
- $40 for Branch Connectors/Cable Entry Gland/Wire/Crimp Connectors/Fuses
- $50-$150 for Tools (Cheap tools are available, but you are better off buying high quality tools)
- Complete System with Cheapest Components: $295
- Complete System with Higher Quality Parts: $748
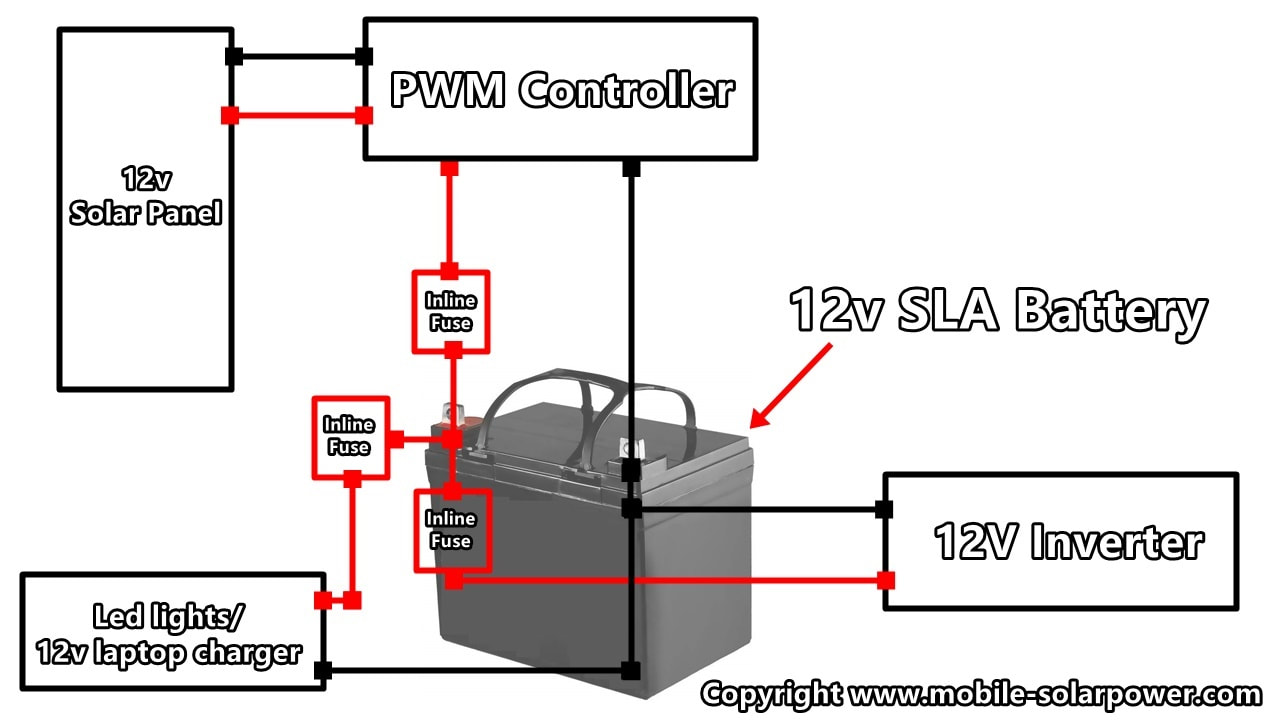
System Schematic:
Components that I recommend
(I Make A Commission For Purchases Made Through The Links Below)
Choose a 12v SLA Battery:
|
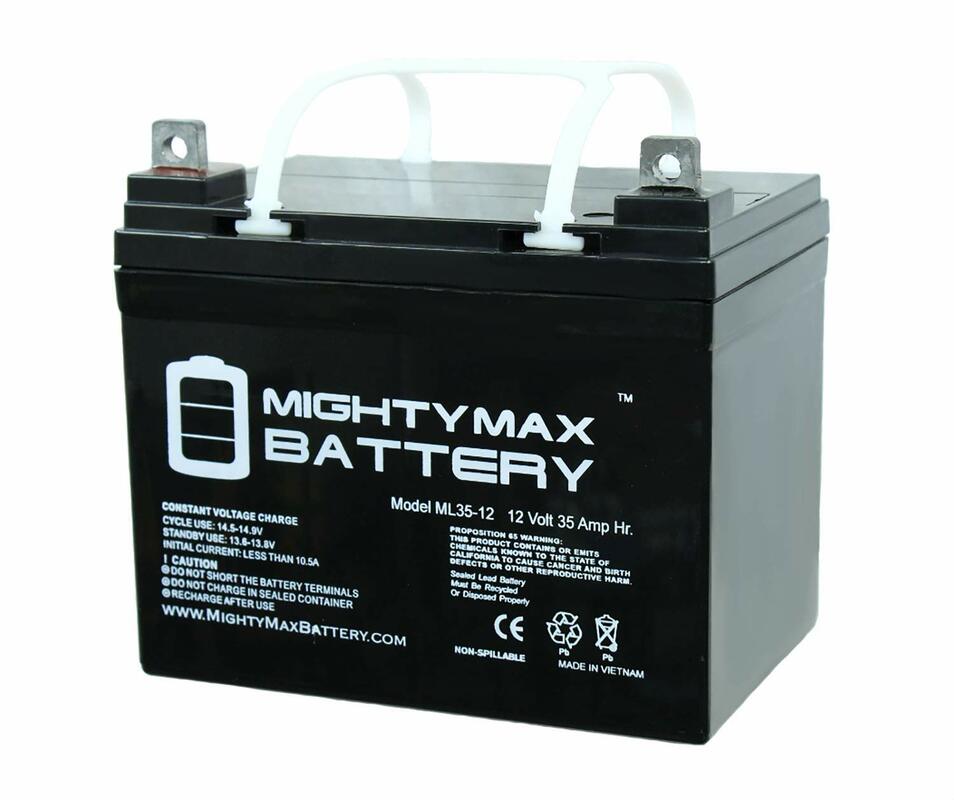
Small and super cheap battery great for charging laptops and running LED lights
35 amp hour sealed lead acid Click Here to buy now |
Buy 100- 200 watts of Glass Solar Panels:
|
Pros:
Cons:
Weight: 16.5 pounds Click here to buy a high quality 100 watt glass solar panel |
Choose a Solar Charge Controller:
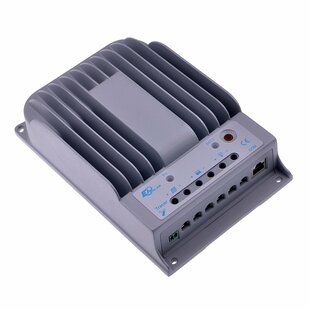
If you are on a budget, a cheap PWM controller will work... but I highly recommend buying an MPPT charge controller. The increased efficiency of an MPPT charge controller makes it worth the money. The MPPT will take care of your batteries better in the long run (it has temperature compensation and other battery maintenance features). The MPPT controller below will also let you know how much power your solar panels is producing (if you buy the MT-50 with it). There are more reasons that I could list, but buying a MPPT is a no-brainer. Spend the extra money and buy it (unless you absolutely cannot afford to do so).
PWM Controller
|
It will charge your batteries and it is cheap, but I do not recommend using it unless you are on an extremely tight budget.
30 amp PWM charge controller (70% efficiency) Click Here |
MPPT Charge Controller (recommended if you can afford it)
|
Max. Solar Input Power:
260 watts of solar panels This charger has over-current protection which means that the figures above can be doubled! 20 amp MPPT charge controller (98% efficiency) Click Here Recommended MPPT Accessories: Temperature Compensation Module (click here) MT-50 Control Display and Interface (click here) |
Choose an inverter:
Small Budget Friendly Inverter and USB charger:
|
200 watts max can charge any laptop or small ac appliance. Also included is 4 usb chargers! Very useful little device.
Click Here for a cheap price |
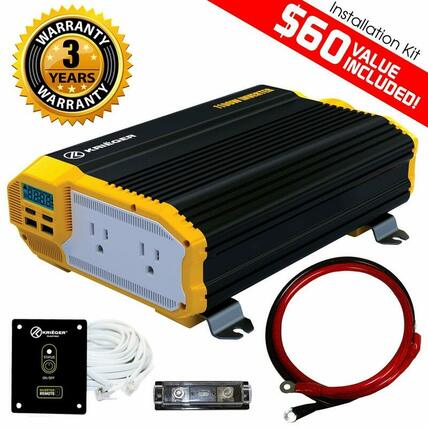
Big 1000w inverter:
|
Full kit has everything! No need to spend extra on inverter cables/fuse. Hook this up to your battery and you are set.
Click here for a cheap price You can also buy a harbor freight 750 watt inverter. It works great and its only 40 bucks! Click Here |
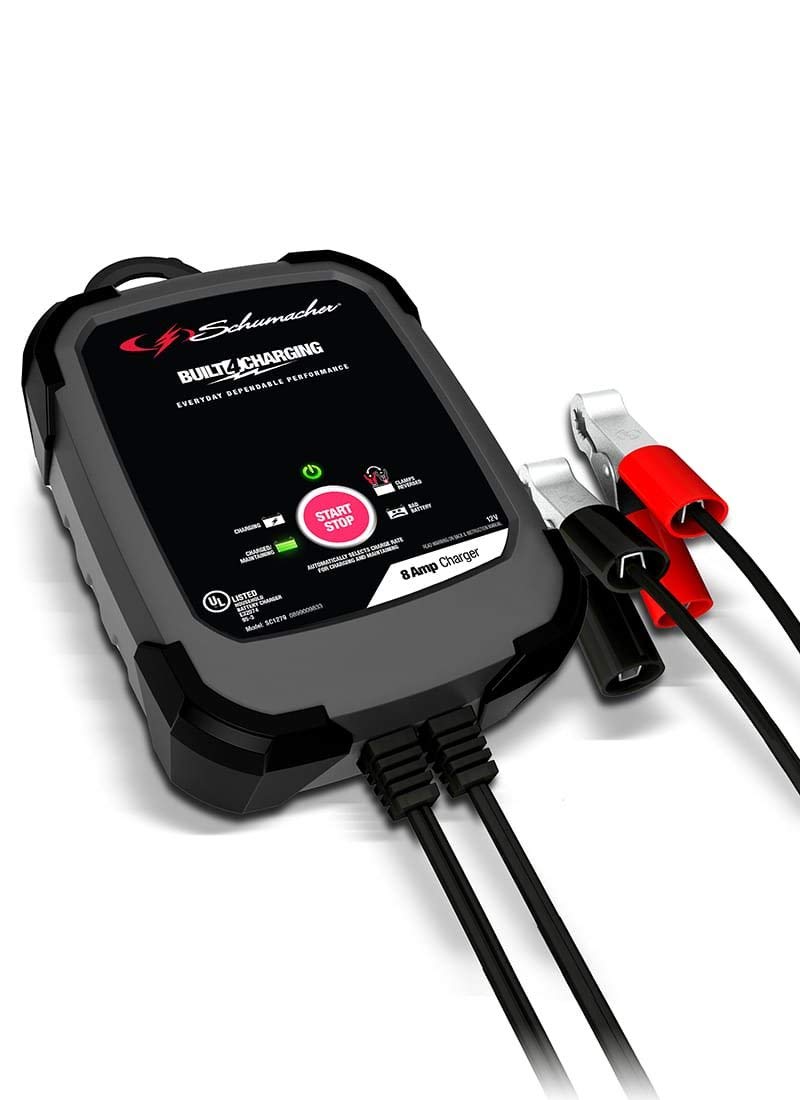
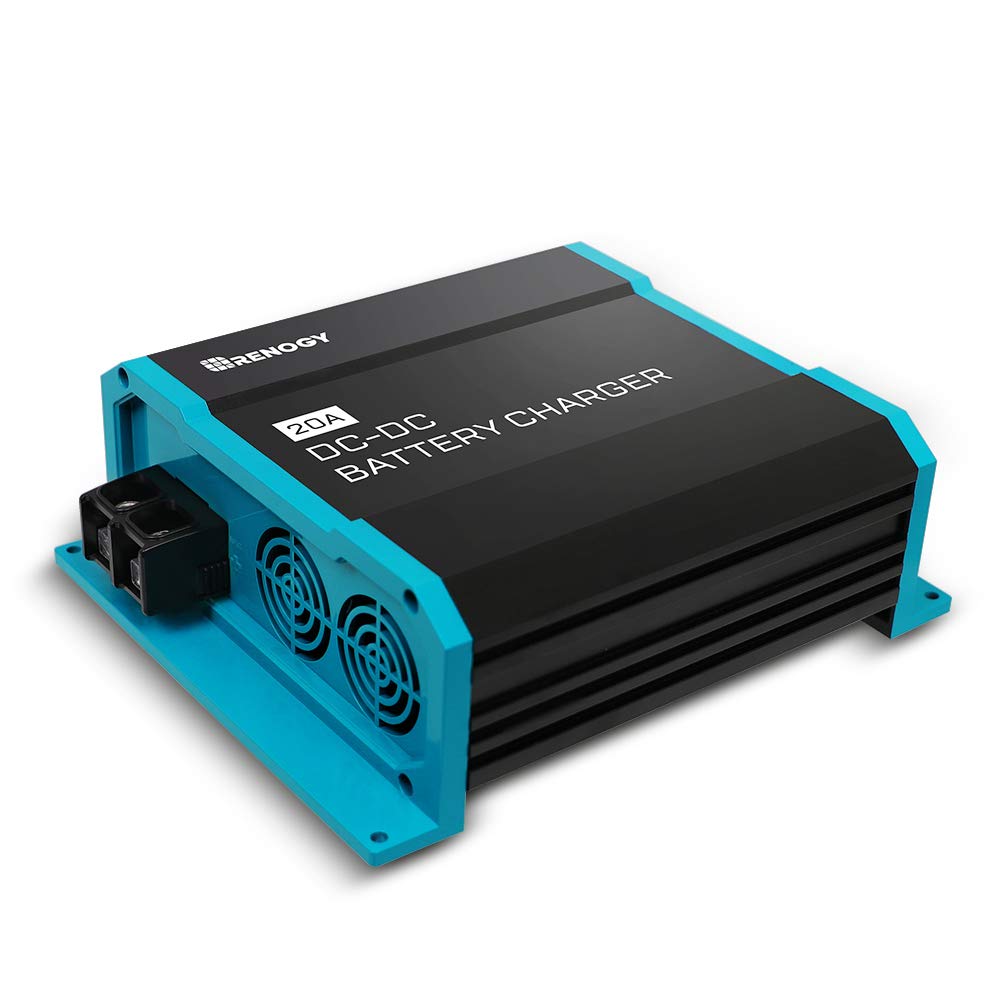
Other Charging Methods
Wiring products:
|
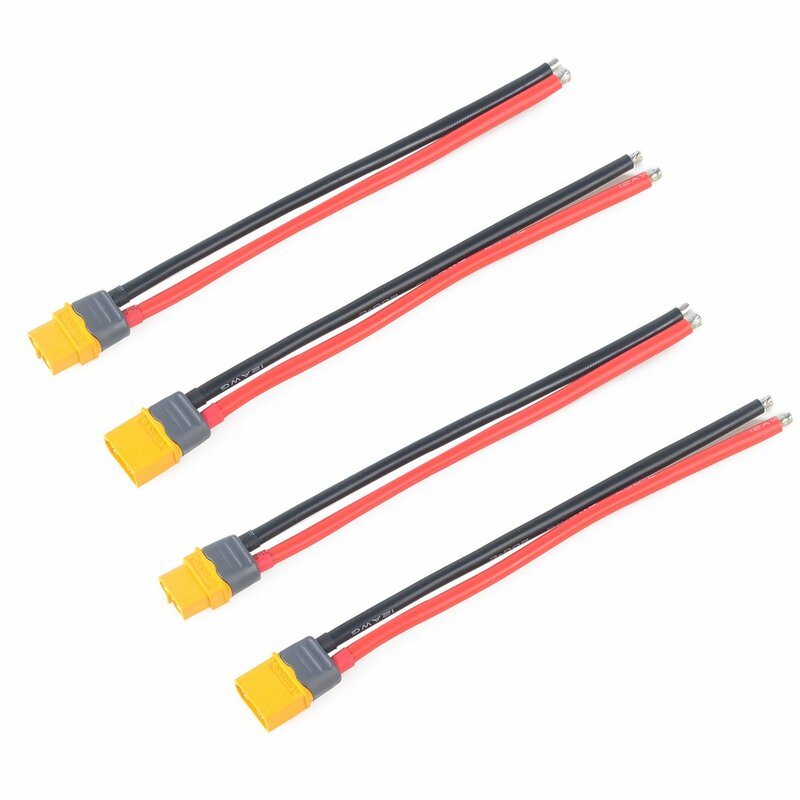
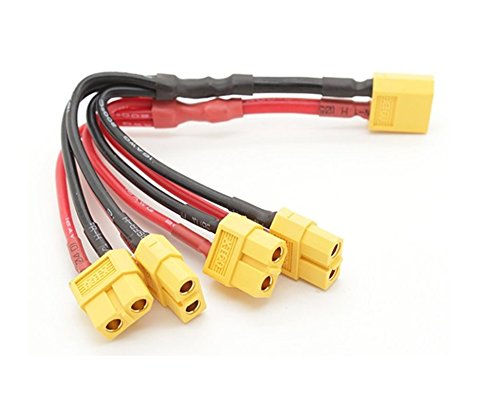
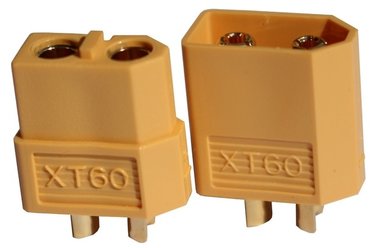
xt60 connectors with wires attached (so that you can crimp them to chargers/appliances)
Click here for a cheap price |
|
Solar Panel Cable Entry Gland
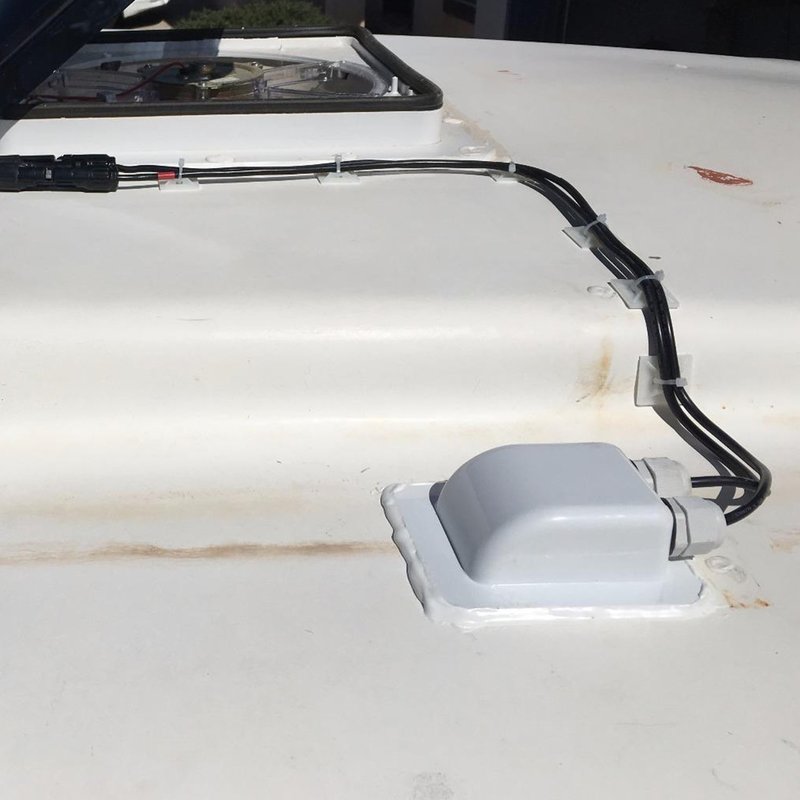
When your solar panel array wires enter your vehicle, you will need to drill two holes. Use this cover to prevent roof leaks from developing. Click Here |
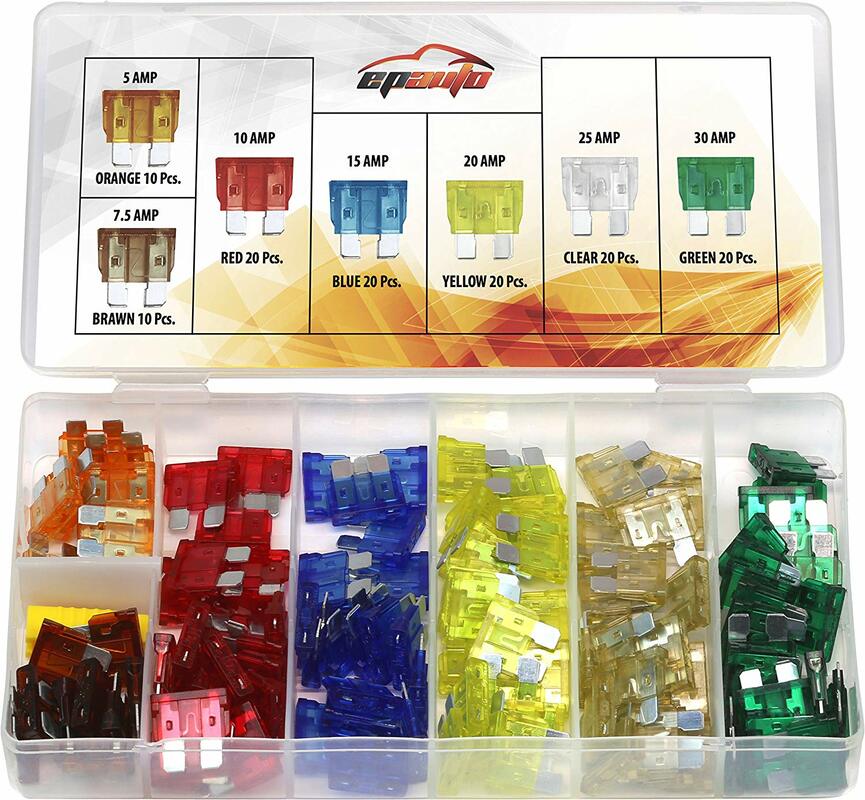
Fuses Required for this system:
|
High Quality In-line Fuse
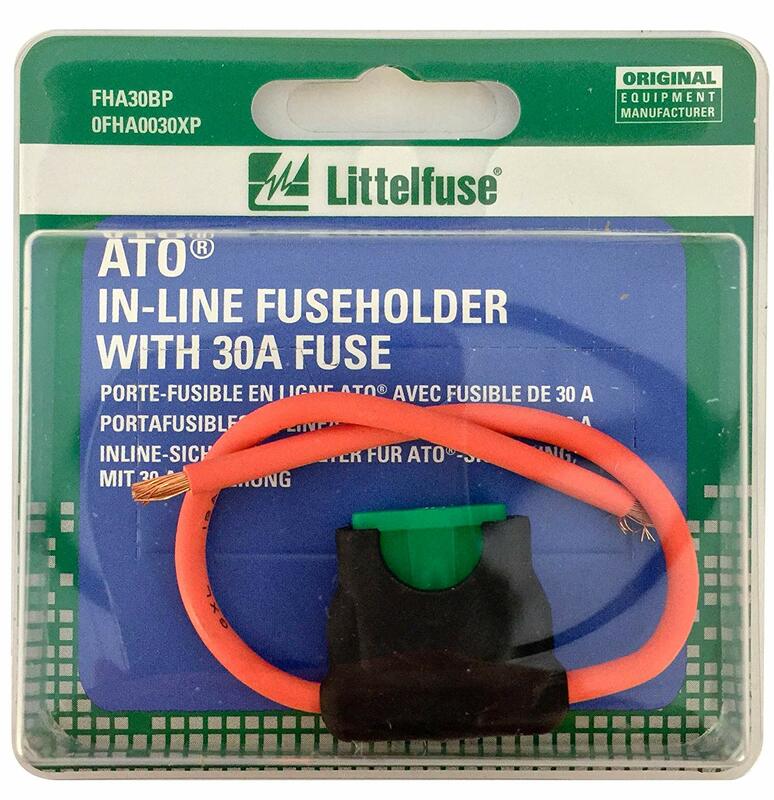
DO NOT use cheap Chinese ones. They will melt before the fuse blows. Spend more money to avoid electrical fires. Click Here |
Solar Panel Mounts:
Every vehicle is different, so check out my book or this page (click here) to figure out how to mount your solar panels
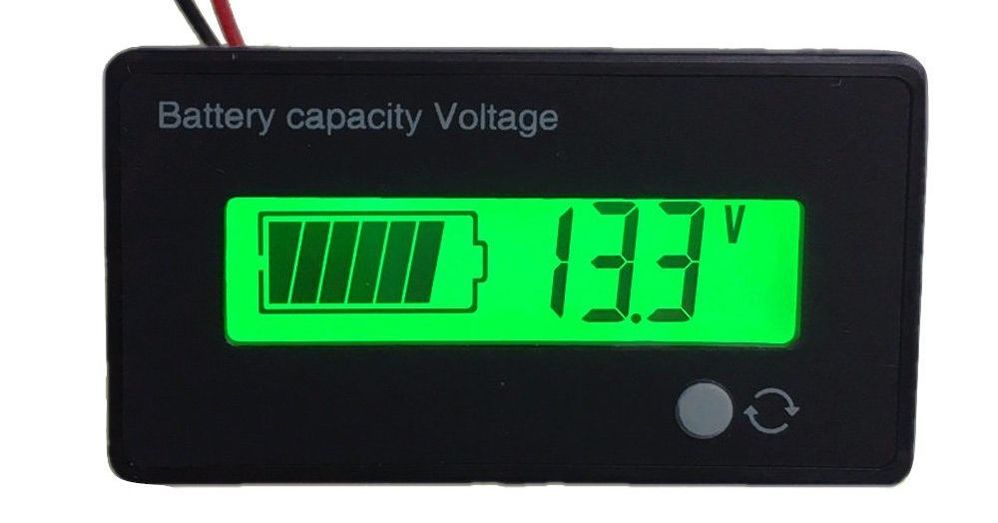
Voltage Monitor
|
This is a basic voltage monitor which will help you *estimate* the current capacity of your battery bank. If your battery bank is being charged by solar, this monitor is pretty much useless and will tell you that your battery is full (even if it is not). If you have a large appliance drawing a lot of power and you look at this monitor, it will tell you that your battery is depeleted (even if it is not).
So the only way to use this monitor is when everything is disconnected from your battery (or your solar power system is not producing power and all appliances are shut off). This monitor is a GREAT idea to have to avoid over discharging (depleting) your batteries during the night. If you have a lead acid battery, use your appliances at night until your batteries voltage is at 12.1-12.2 volts. Click here to buy now |
Required Tools
|
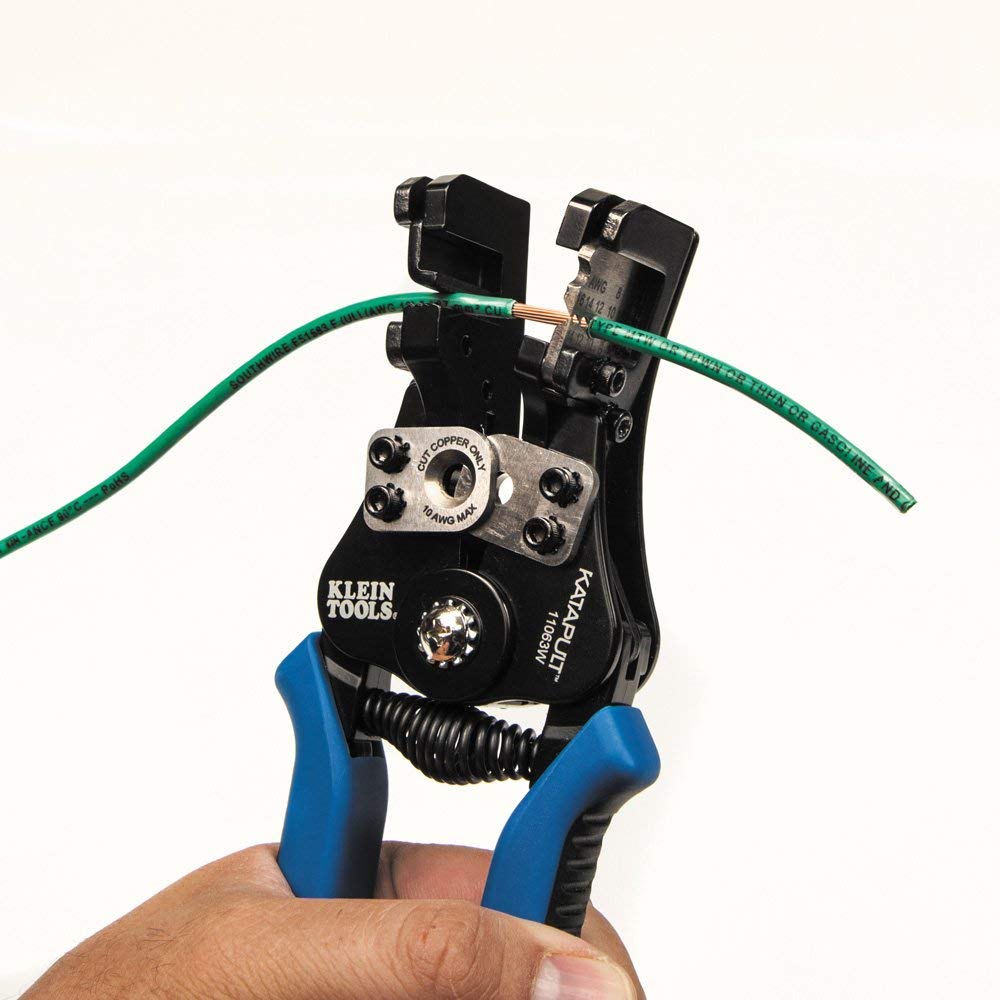
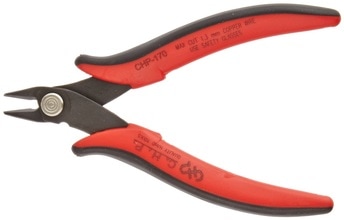
Precision Wire Stripper
(recommended) Only tool you will ever need to strip normal and small size wires. 8-22 gauge wire Click Here |
|
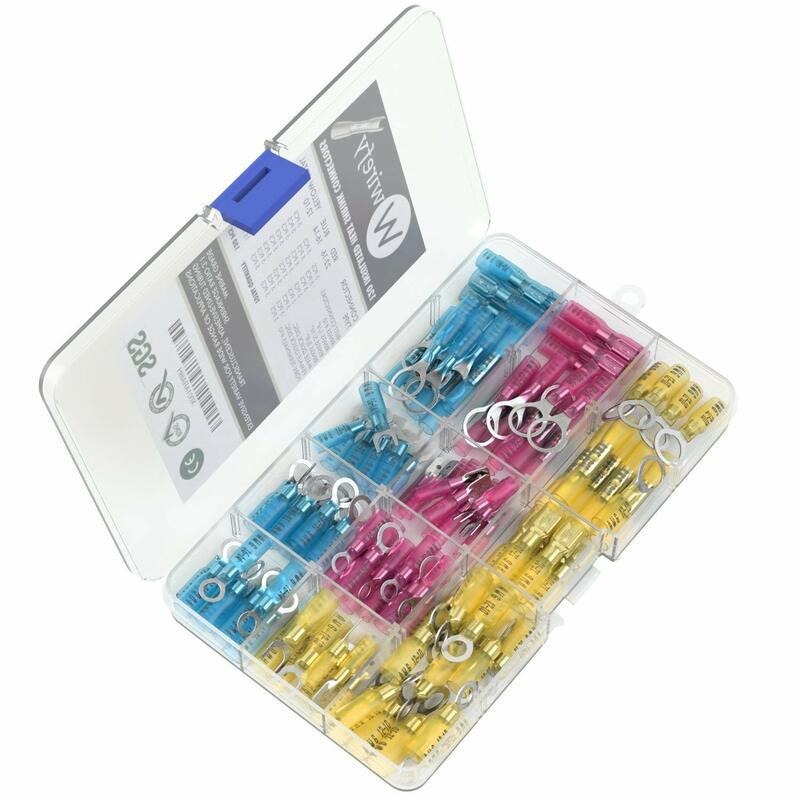
Crimp Connector set
There are cheaper crimp connector sets available, but they are junk! Spend the extra money and buy a high quality set of connectors. The cheap chinese ones will fail and I have had it happen before. This is what I currently use: Click Here |
Accessories:
|
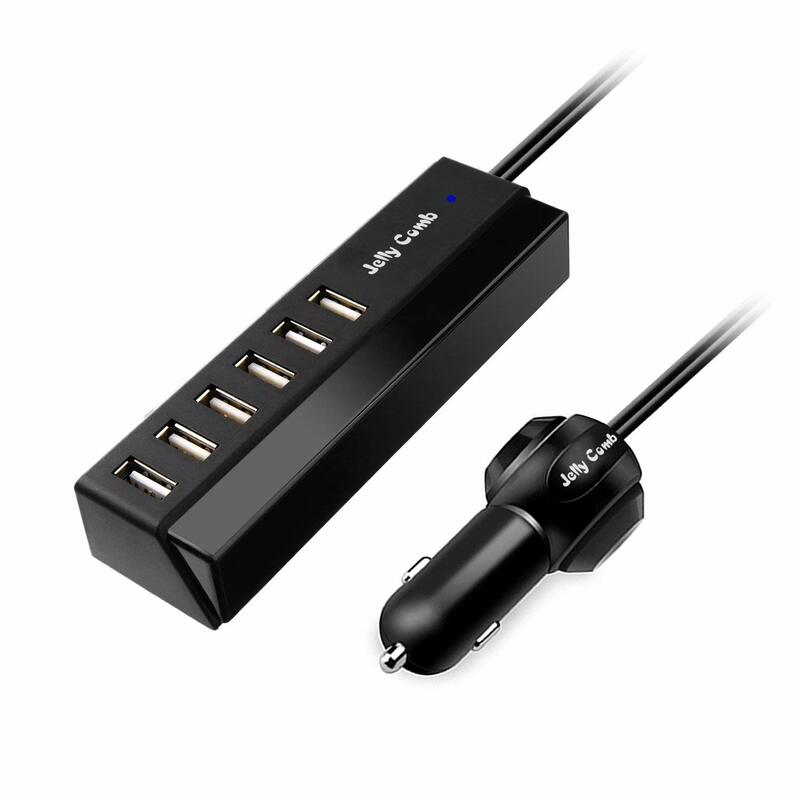
12 volt USB charge strip
Click here |
46 Liter Dometic Solar Power Fridge
Click Here |
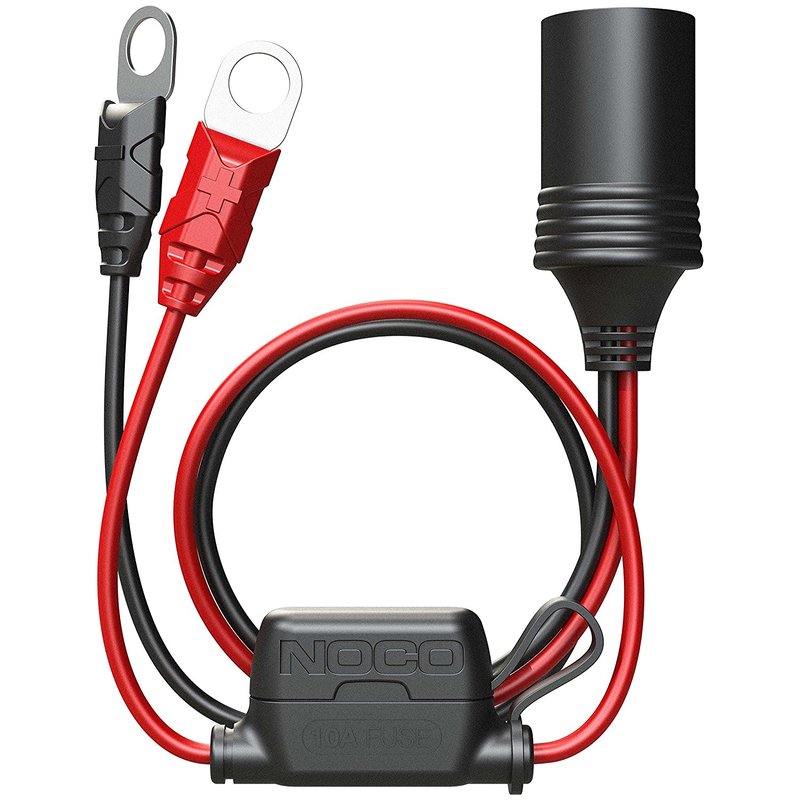
|
When connecting fans or lights or pretty much anything, use these quick connectors that are rated to 60 amps! I have used them for years for my rc airplanes and helicopters, but they are insanely useful for living in a rv.
Click Here |

